> ## Documentation Index
> Fetch the complete documentation index at: https://docs.getthread.com/llms.txt
> Use this file to discover all available pages before exploring further.
# Install the Slack Companion App
> Connect the Thread Companion App to your own Slack workspace so technicians can work threads from Slack, with the /thread commands, Actions, and time entries.
The **Slack Companion App** connects your service threads to your own Slack workspace. Route new
threads to the channels you choose, see updates in-line as they happen, and act on a thread
without leaving Slack.
This guide connects the Companion App to **your own** Slack workspace, for your service team.
To deploy a Slack app to a **customer's** workspace, that's the Slack Service App — a different
app for a different audience.
You can install **either** the Slack Companion App **or** the Slack Service App in a given Slack
workspace — not both in the same workspace.
## What you get
* **Custom Flows** that route newly created threads to the channels you pick — useful for urgent incidents, or for sending new requests to the right team.
* **In-line updates**, notes included, posted back to the originating channel so the team stays current without the channel turning noisy.
* **Actions** — change status, priority, board or contact on a thread and it syncs straight to your ticketing system.
* **Time entries**, added directly from Slack.
* **Assign To**, for managers and dispatchers.
* **Slash commands** — `/thread ticket` creates a service thread, `/thread help` gets help.
## Before you start
Deploy using a **generic Slack admin account**, not your personal one. If a personal account is
ever decommissioned or has its permissions reduced, the app stops working and needs redeploying.
## Connect Slack
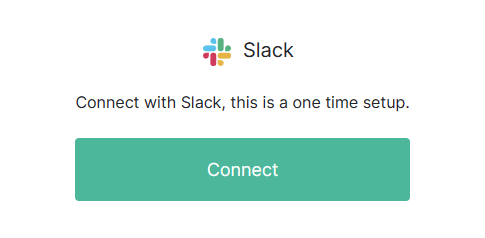
In the Thread Admin Panel, go to **Integrations → Slack** and click **Connect**.
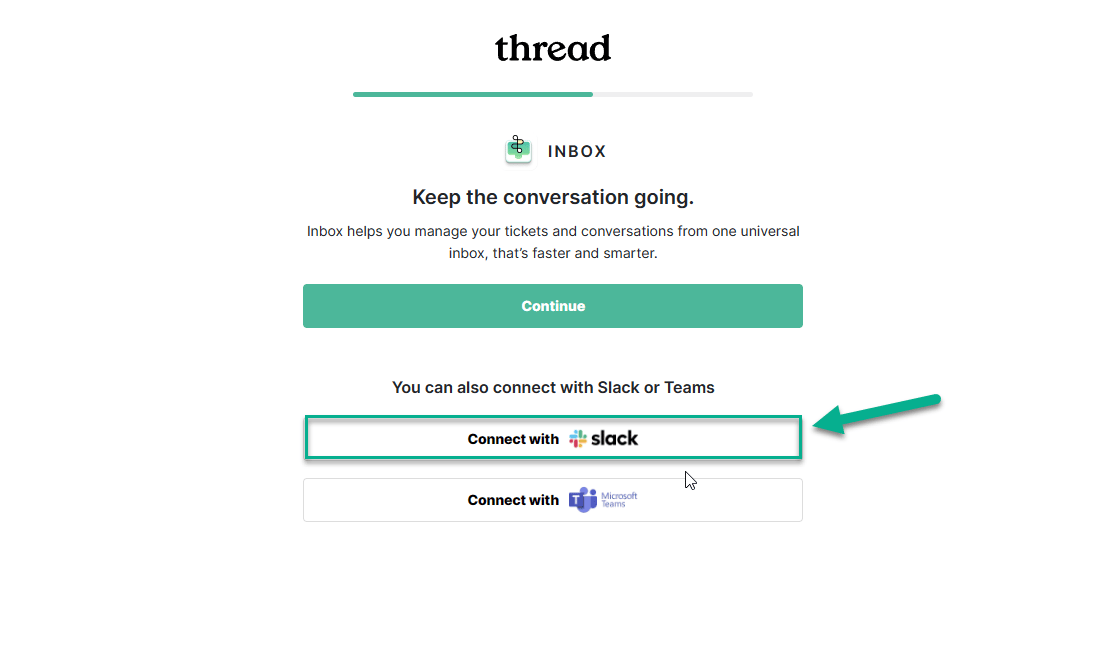 Sign in to Slack and select the workspace you want to connect.
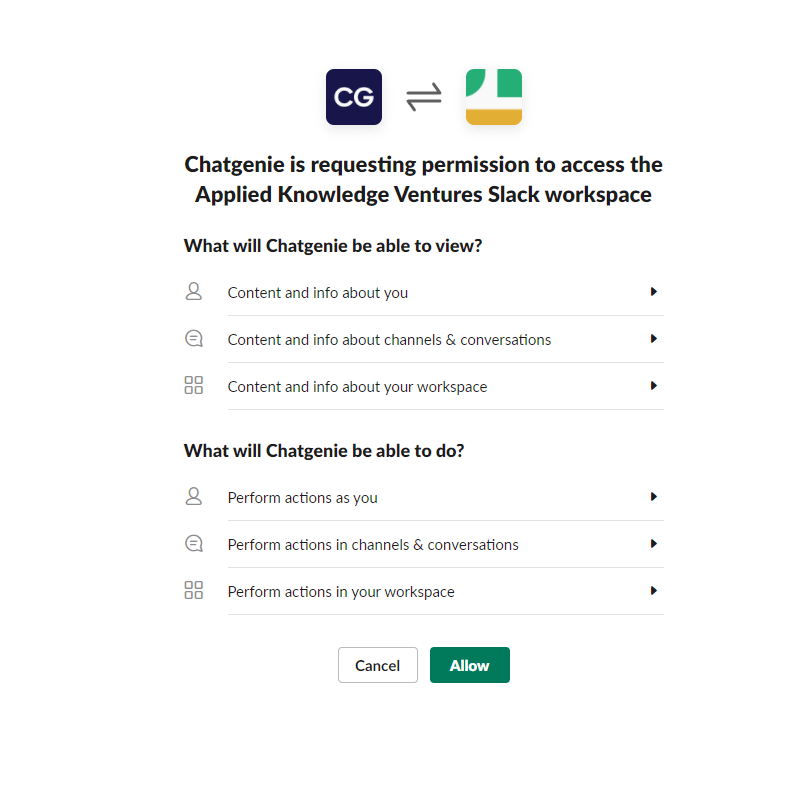
 Slack shows what access the Thread app will have. Click **Allow**. The full breakdown is in the [Slack permissions guide](/security-billing/slack-permissions-guide).
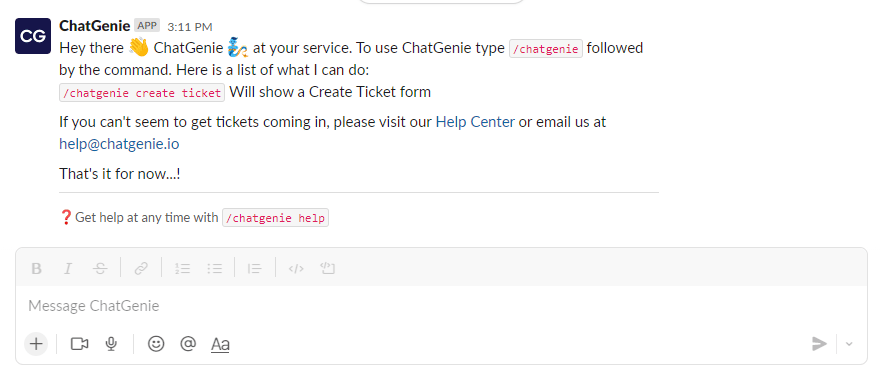
 You should now see a welcome message from the Thread app in Slack.
 ## Replying so the customer sees it
By default a message you send in Slack is recorded as an **internal note**. To send it as an
**external note** the customer can see, add `!send` to the end:
* Internal note — `Checking on this issue now.`
* External note — `We're looking into this for you. !send`
## Next step
Set up [which ticket updates post to a channel](/companion-apps/choose-which-ticket-updates-post-to-channel), then see [how to use the Slack Companion App day to day](/companion-apps/how-to-use-the-slack-companion-app-for-service-teams).
## Related topics
- [Install the Teams Companion App](/companion-apps/install-the-teams-companion-app.md)
- [How Notifications Work for your Team](/notifications/how-will-notifications-work-internally.md)
- [How to Use the Slack Companion App for Service Teams](/companion-apps/how-to-use-the-slack-companion-app-for-service-teams.md)
## Replying so the customer sees it
By default a message you send in Slack is recorded as an **internal note**. To send it as an
**external note** the customer can see, add `!send` to the end:
* Internal note — `Checking on this issue now.`
* External note — `We're looking into this for you. !send`
## Next step
Set up [which ticket updates post to a channel](/companion-apps/choose-which-ticket-updates-post-to-channel), then see [how to use the Slack Companion App day to day](/companion-apps/how-to-use-the-slack-companion-app-for-service-teams).
## Related topics
- [Install the Teams Companion App](/companion-apps/install-the-teams-companion-app.md)
- [How Notifications Work for your Team](/notifications/how-will-notifications-work-internally.md)
- [How to Use the Slack Companion App for Service Teams](/companion-apps/how-to-use-the-slack-companion-app-for-service-teams.md)