

 Magic Library
Messenger
The Messenger tab in the Thread Admin Panel is where you control the settings of your customer Messenger applications. It has five sub-tabs: Settings, Design, Hours, Installation, and Teams Apps.The Settings Tab
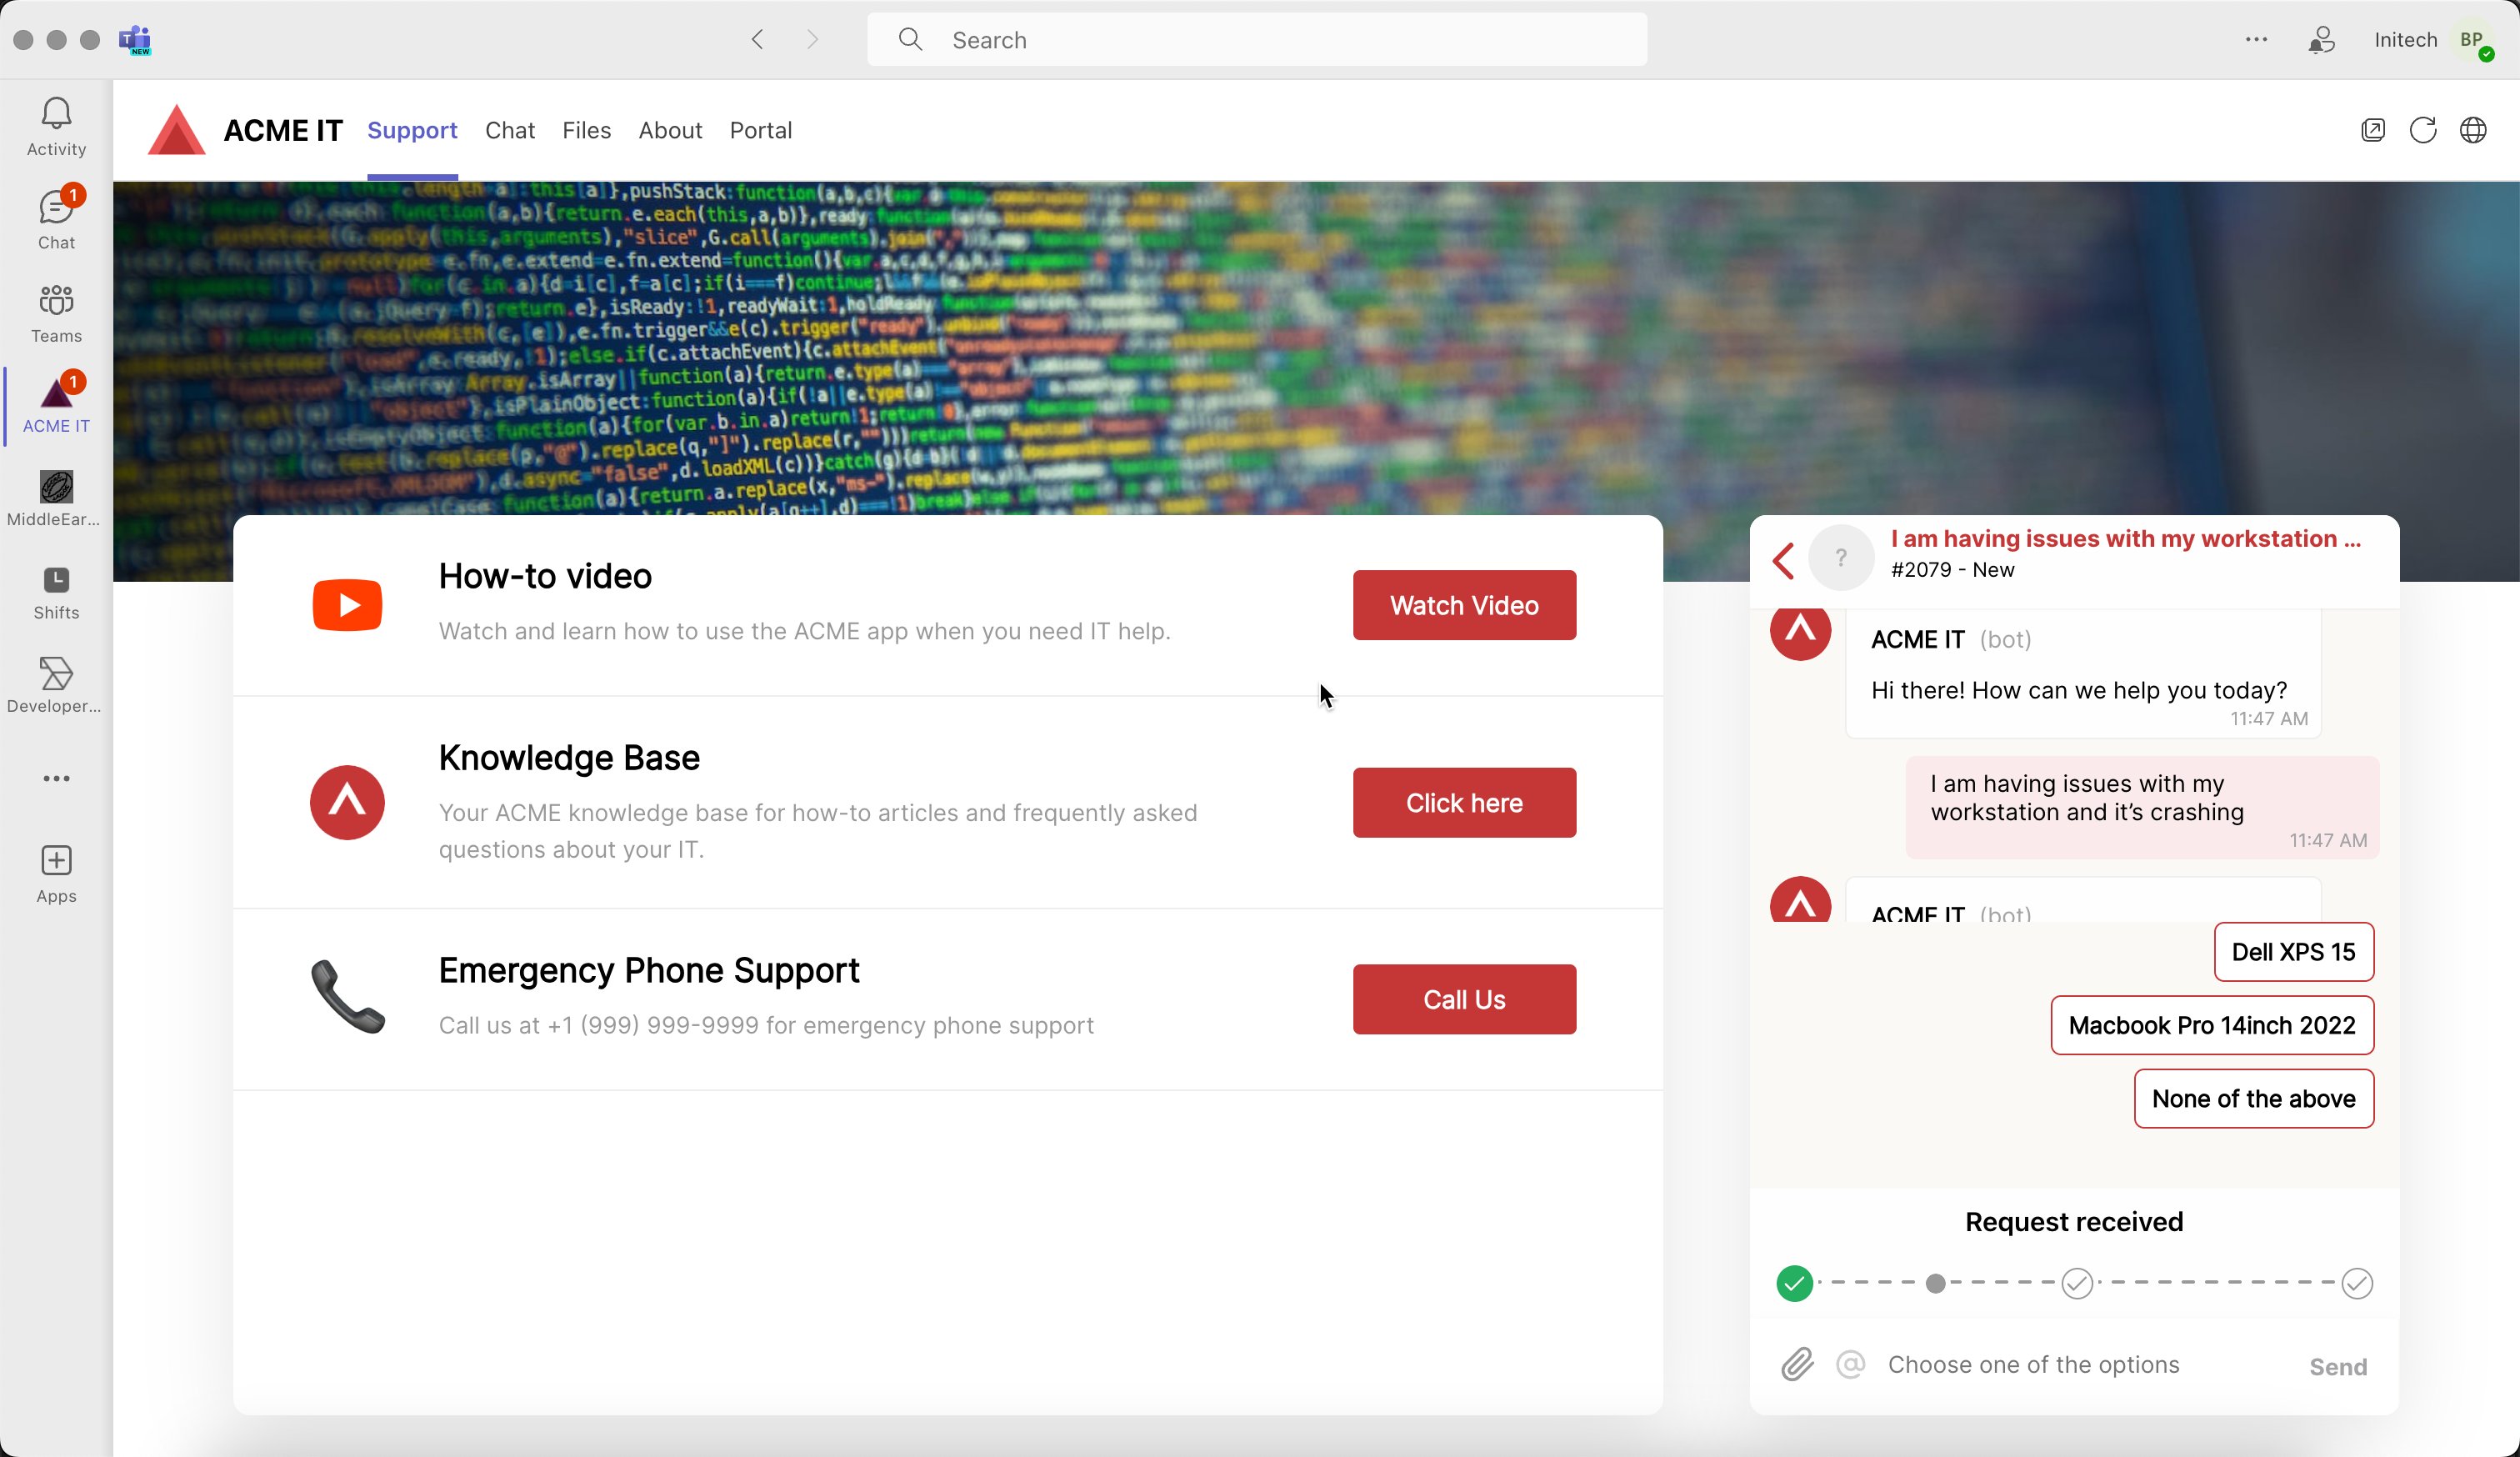
Support type: “Standard Chat” vs “Chat with SLAs”
The Support type is a single choice you make in the Settings tab. It controls the new-request button customers see in Messenger and whether they are shown a response-time expectation. Chat with SLAs is the default. Chat with SLAs — Customers start a new thread with the Chat button, and Messenger tells them when to expect a response to new threads. The default expected response time is 5 minutes, which matches the Swarm Mode response timer in Inbox; you can also change it to No estimate (no time is shown to the customer) or a Custom time. Selecting Chat with SLAs also enables Swarm Mode for your Inbox users. Standard Chat — Customers start a new thread with the Request button. No response-time expectation is set, so these threads can be treated more like an email thread in terms of timed response.Outside your configured support Hours (“After Hours”), Chat with SLAs falls back to the Standard Chat / Request experience so customers aren’t shown a response time your team can’t meet while offline.
OTP sign-in emails
When a contact signs in to Messenger, Thread emails them a one-time verification code (OTP). These emails carry your branding automatically: the email shows your workspace name and logo instead of Thread’s, and the sender line reads as your workspace name “via Thread”. There is nothing to enable. You can also customize the support address shown inside the email. The OTP email tells the contact who to reach if something seems off. By default it directs them tohelp@getthread.com.
To use your own support address instead:
- Go to Admin Panel → Messenger → Settings.
- Scroll to Customize Contact Email, near the bottom of the tab.
- Enter your support email address and click Save.
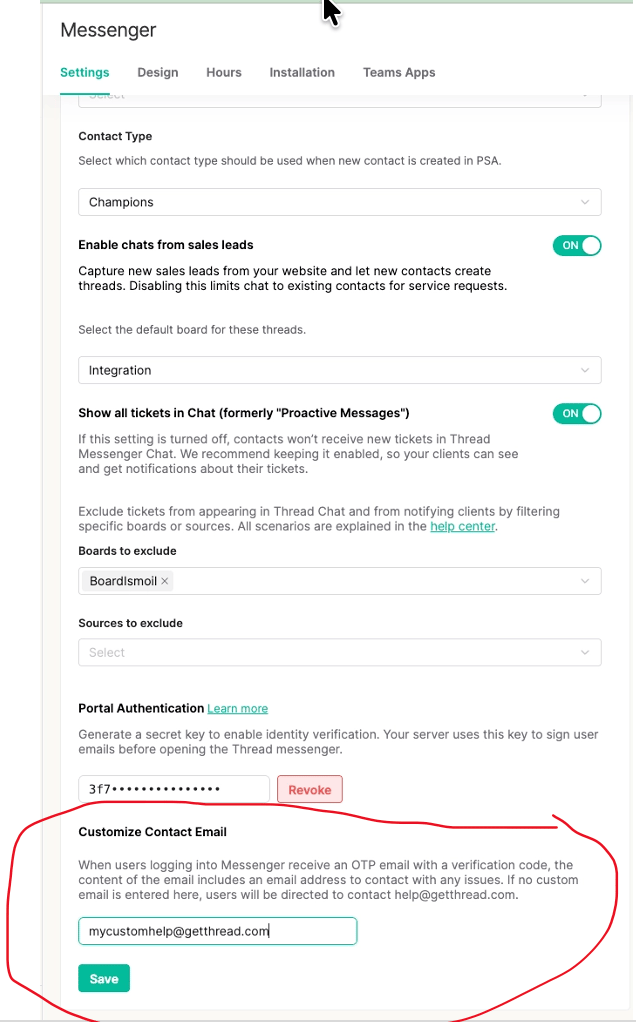
OTP emails are still sent from Thread’s address (
no-reply@getthread.com); the sending address itself can’t be changed. This customization applies to Messenger OTP sign-in emails only. Approval emails are unchanged.The Design Tab
The design section allows you to customize your Messenger experience to your own liking. To learn more about this, see this help doc. Any changes that are made to your Messenger are kept in real time and deployed to the Desktop version and Microsoft Teams version almost instantly.What a customer experiences
Worth knowing when you’re configuring the above, because it’s what your settings produce. A customer clicking Chat is asked to describe their issue. The request has two parts:- Description — becomes the issue description your technician sees. Encourage detail; it’s what makes the request actionable straight away.
- Device — if the contact has configurations associated in your PSA, they’re listed and the customer picks the affected one. Choosing None of the above creates the ticket with no configuration attached.