Magic Library
This is the customer-facing app. For your own service team in your own workspace, use the
Slack Companion App instead. A given Slack
workspace can hold one or the other, never both.
Before you start: request your branded app
Thread builds the branded Slack experience for you — you can’t self-serve it. It’s also worth testing in a sandbox before you touch a real customer. The customer-facing app cannot be installed in your own company’s Slack workspace.Deploy to a customer
1
Find the customer in Thread
In the Thread Admin Panel, open Clients and search for the customer.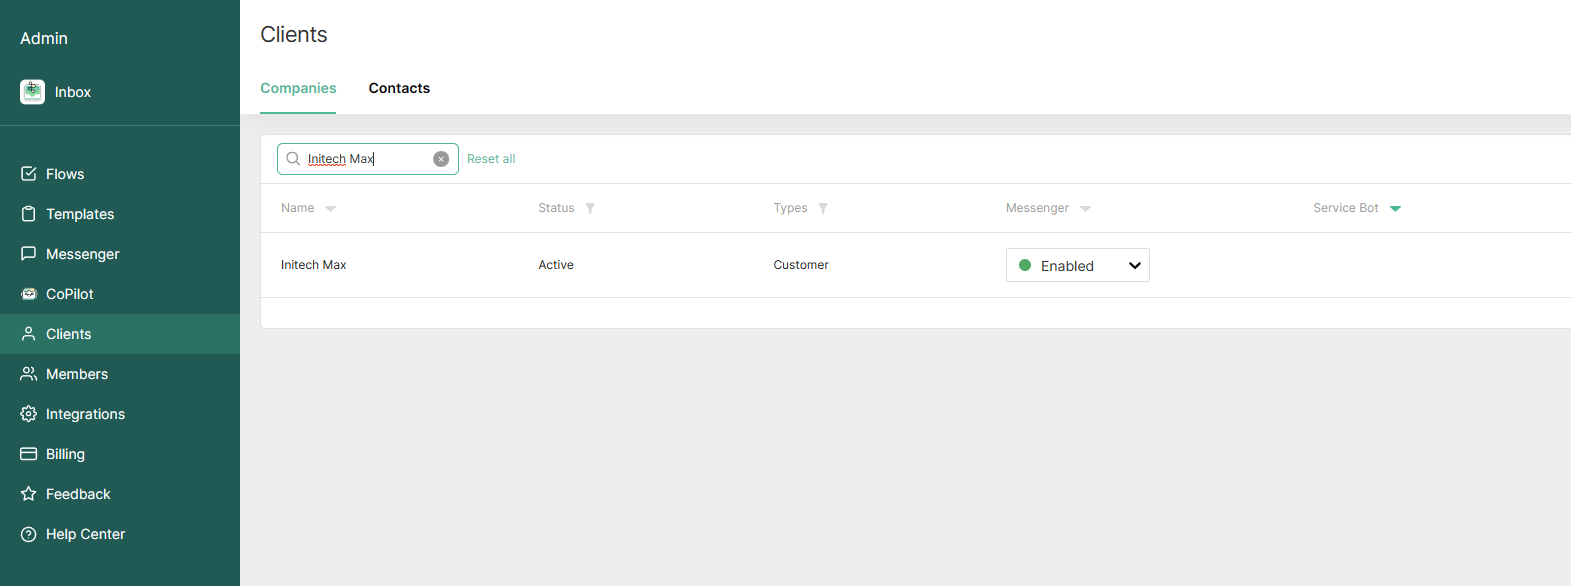
2
Choose Slack
On the Teams/Slack Connect tab, select Slack and click Continue.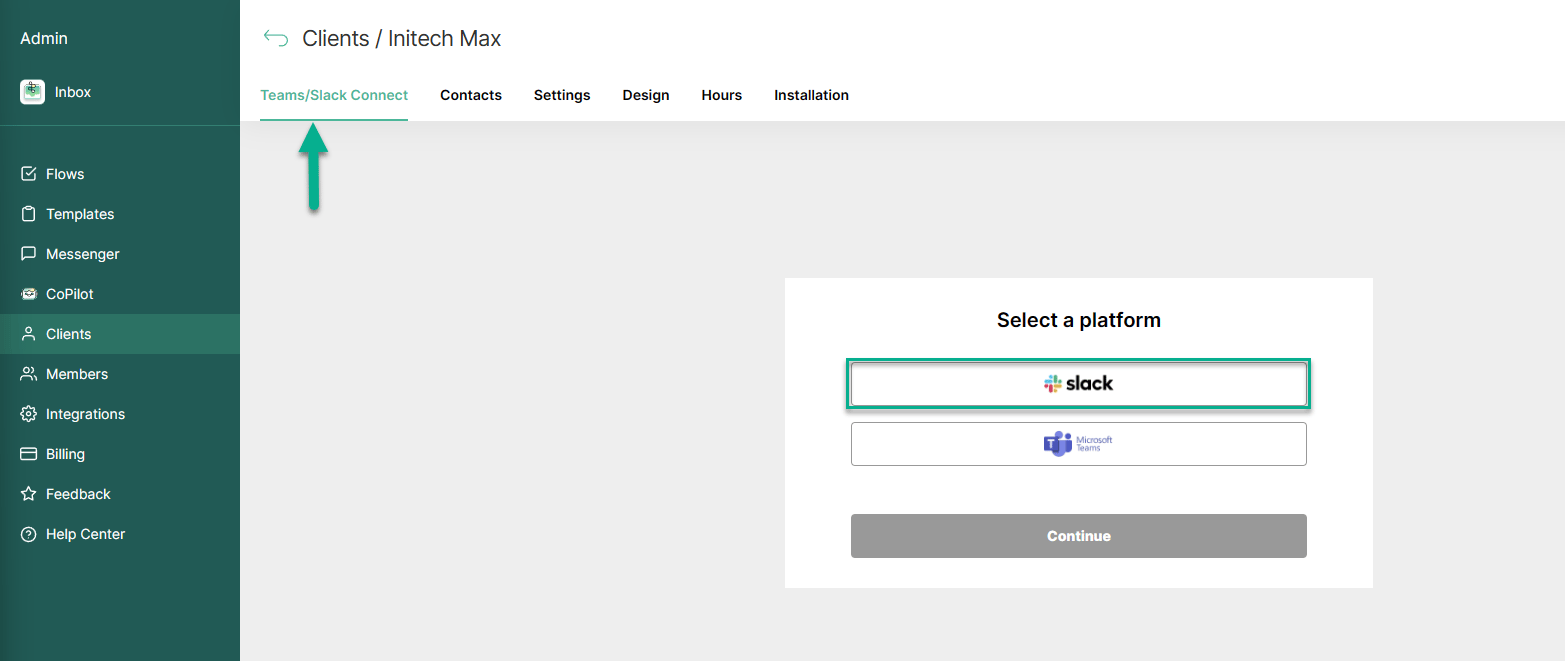
3
Pick how to deploy
Two routes: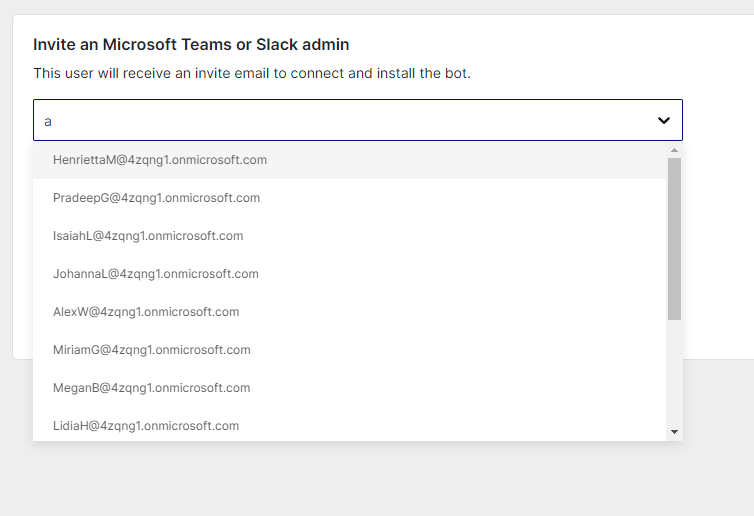
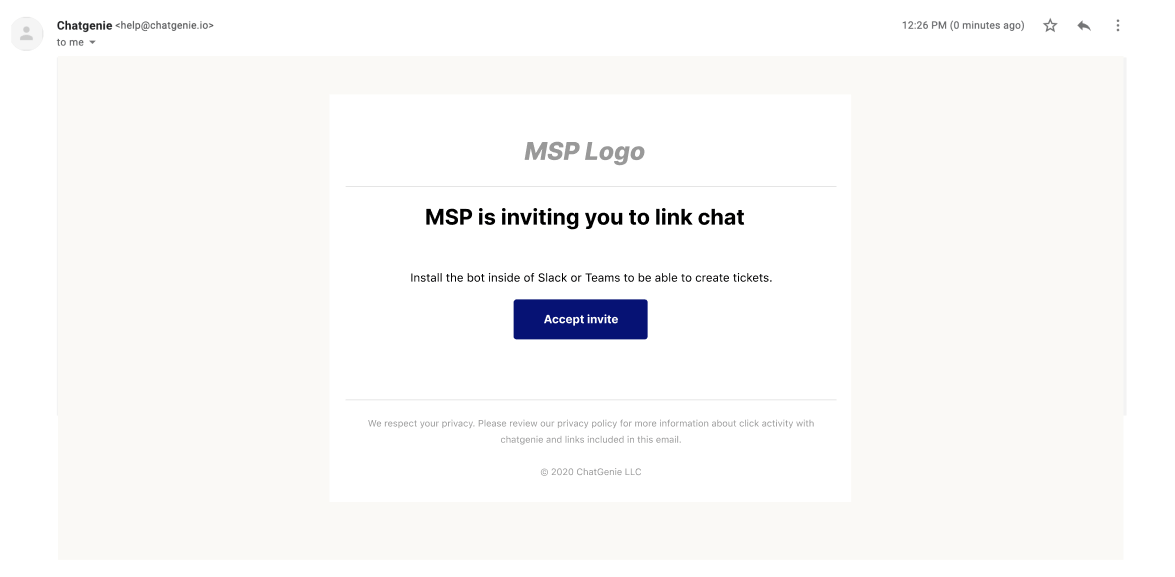
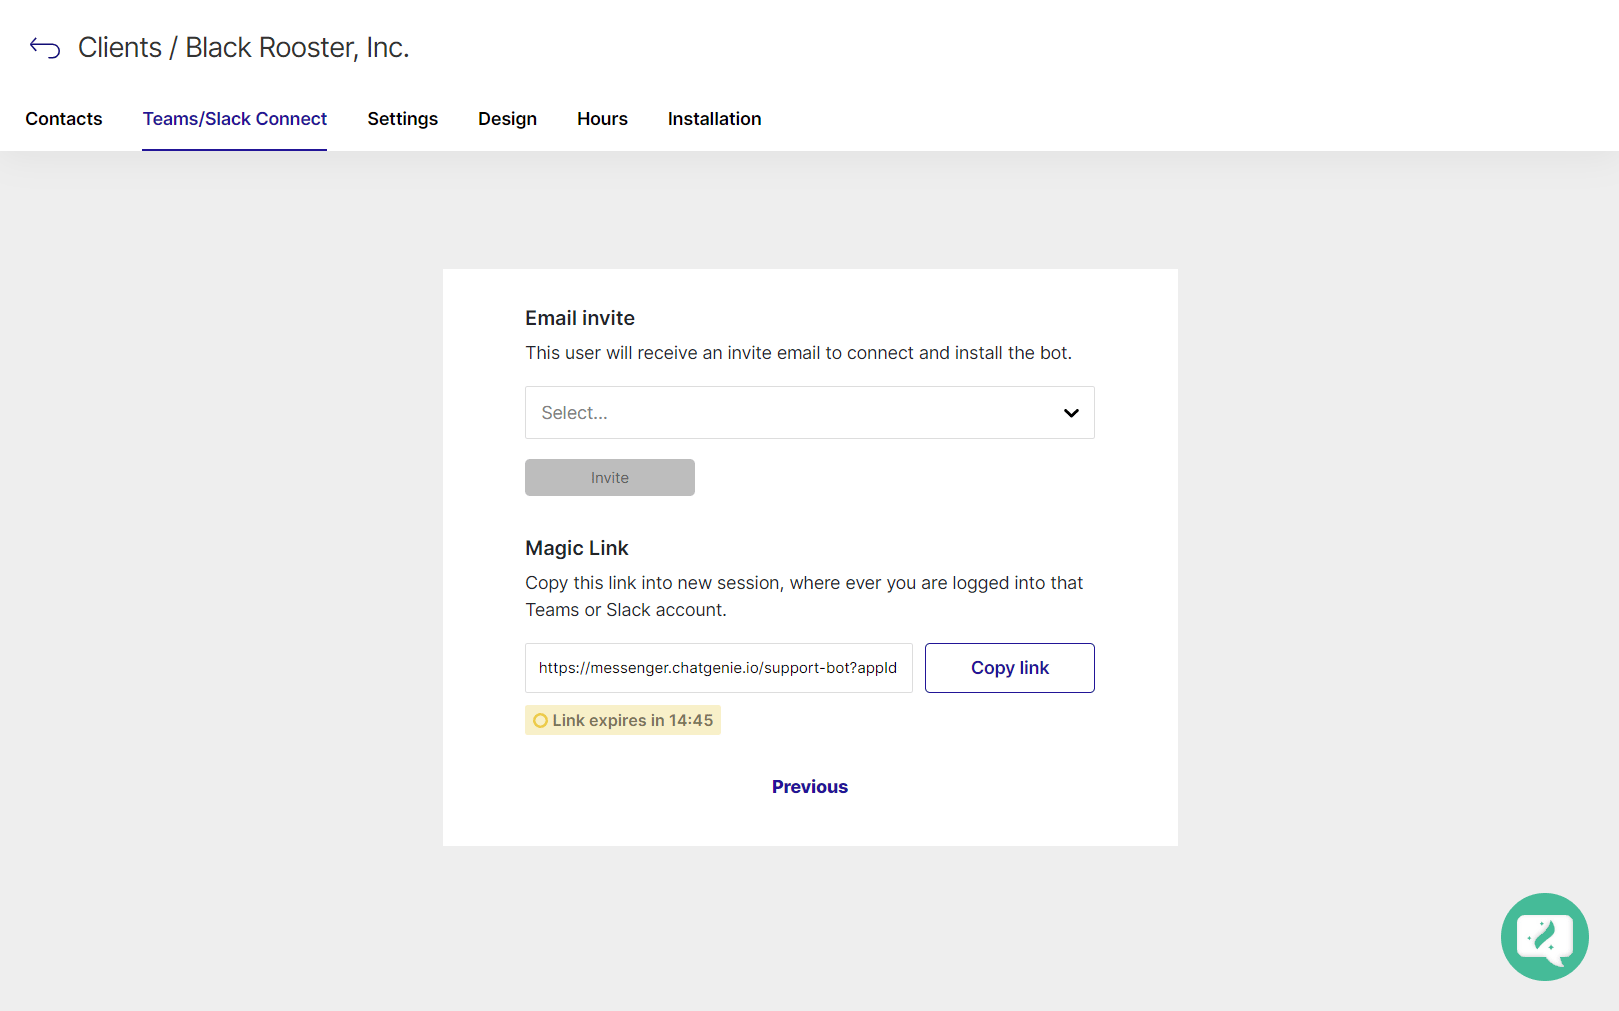
- Email invite: for when you don’t have admin access to the customer’s Slack. Select the contact with Slack admin rights; they get an email and follow the same steps.
- Magic link: for when you do.
4
Open the magic link
Copy it and paste it into a browser session signed into the target Slack account.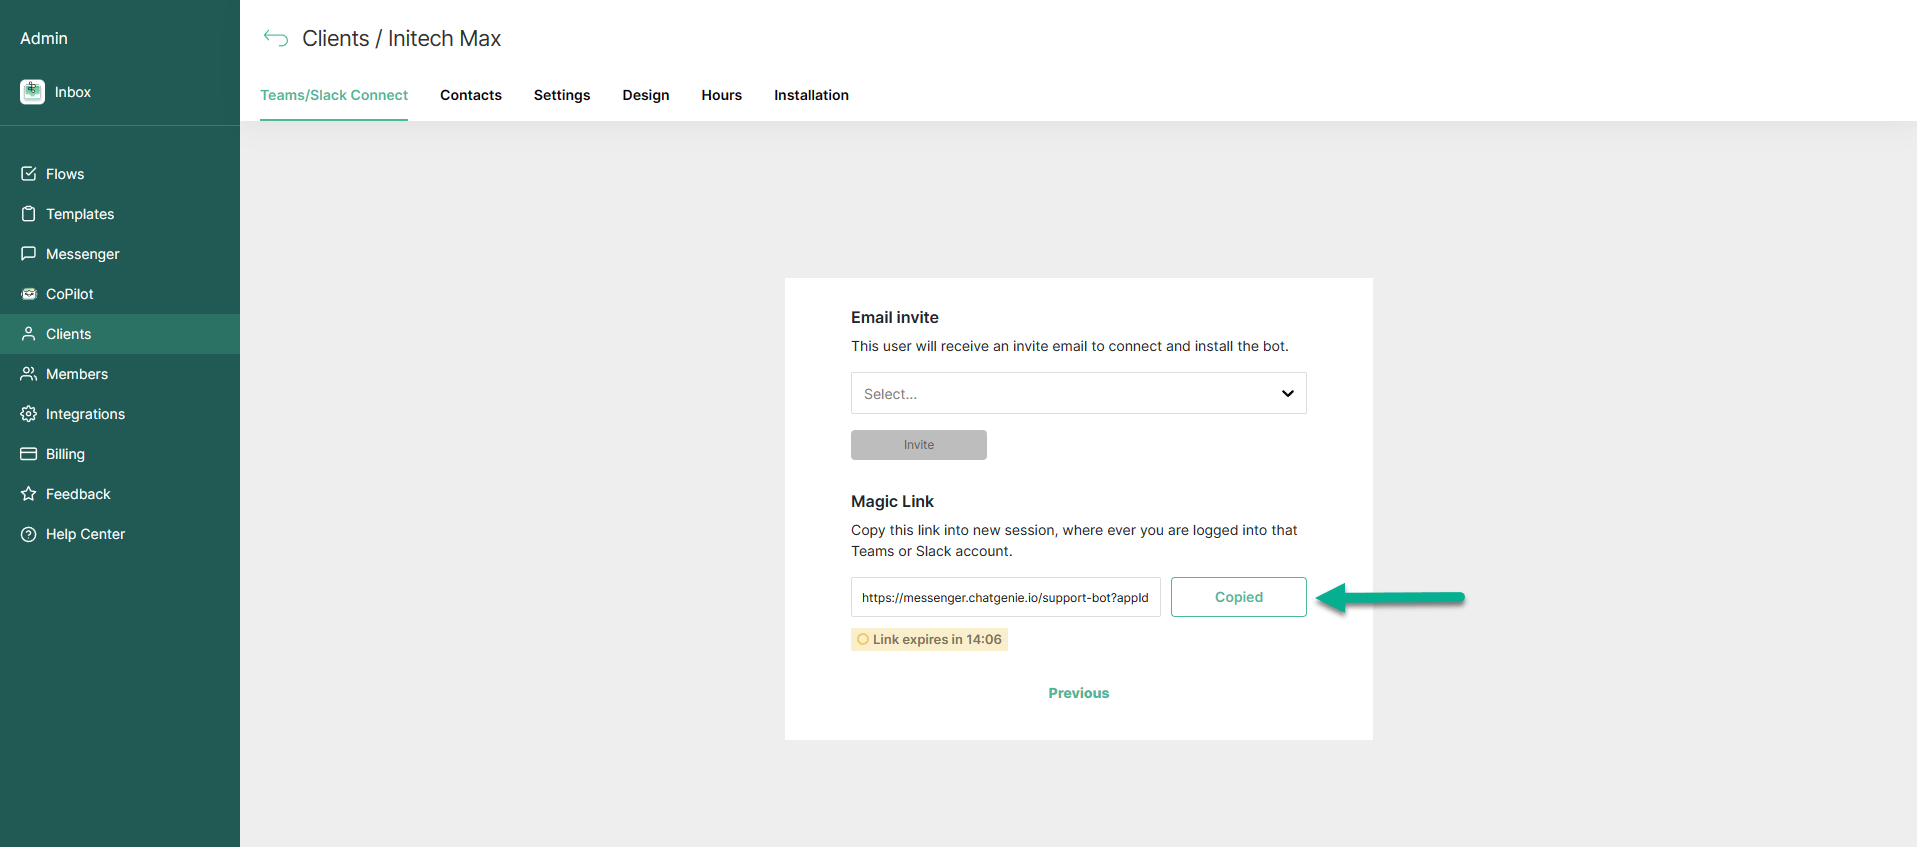
5
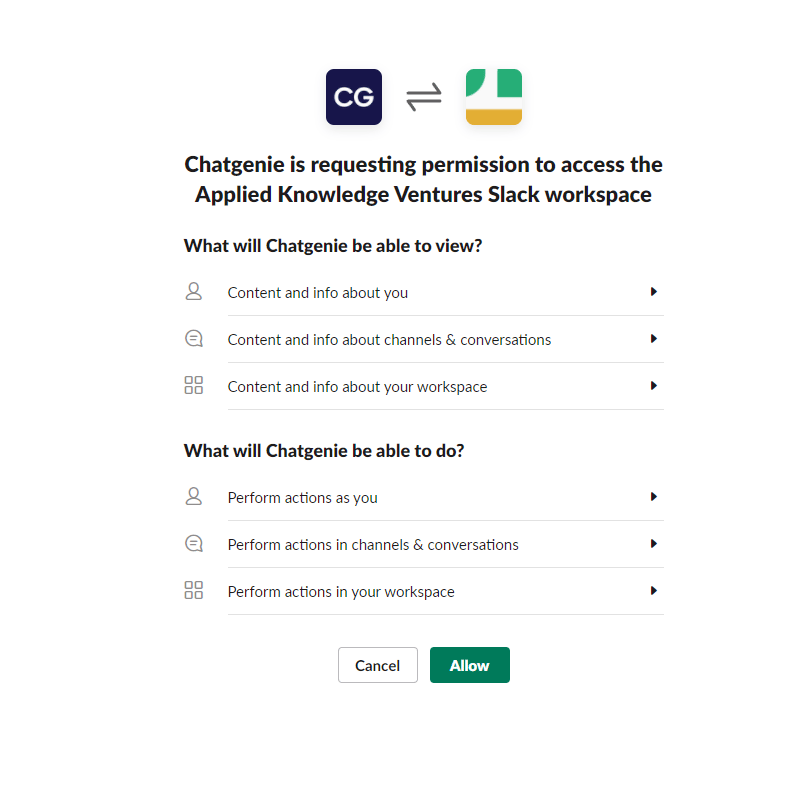
Confirm the workspace and allow
Check it’s the right workspace, then click Allow.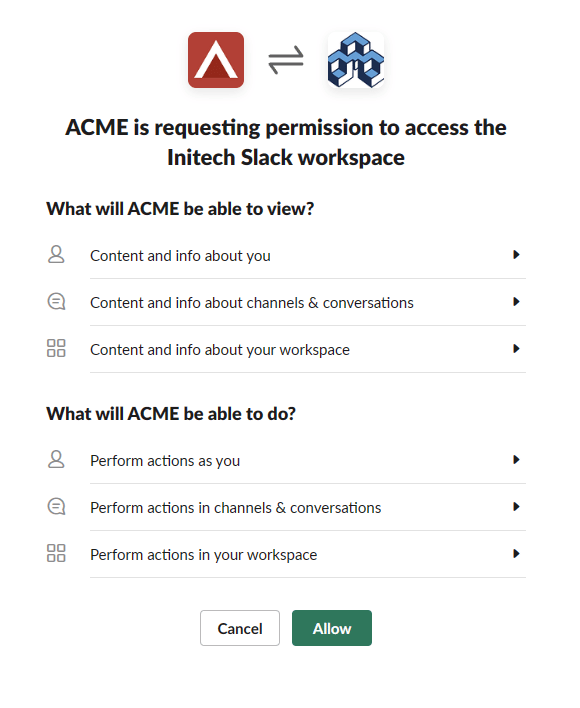
6
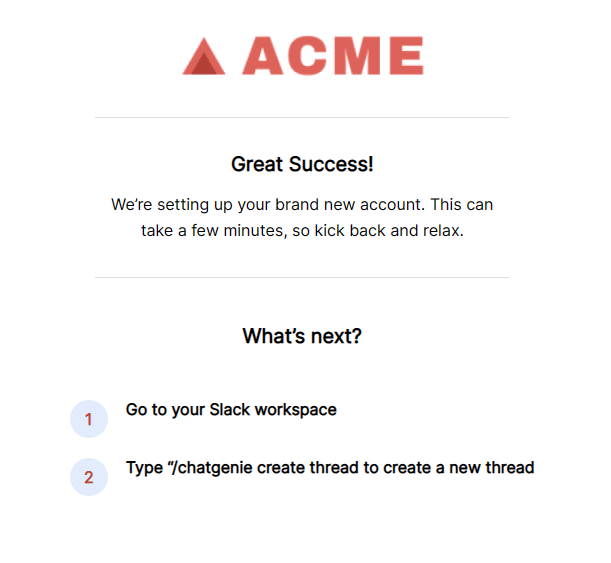
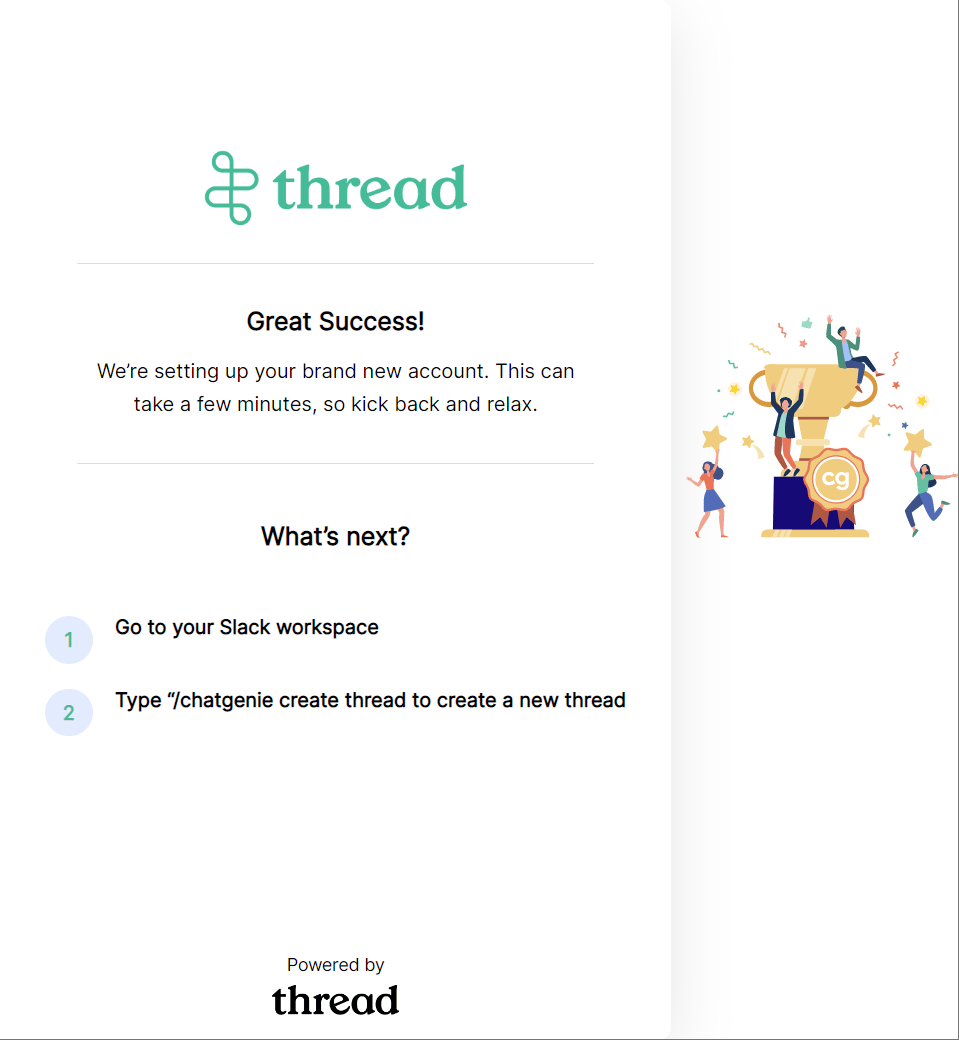
Check for the success message
7
Verify in Slack
Open 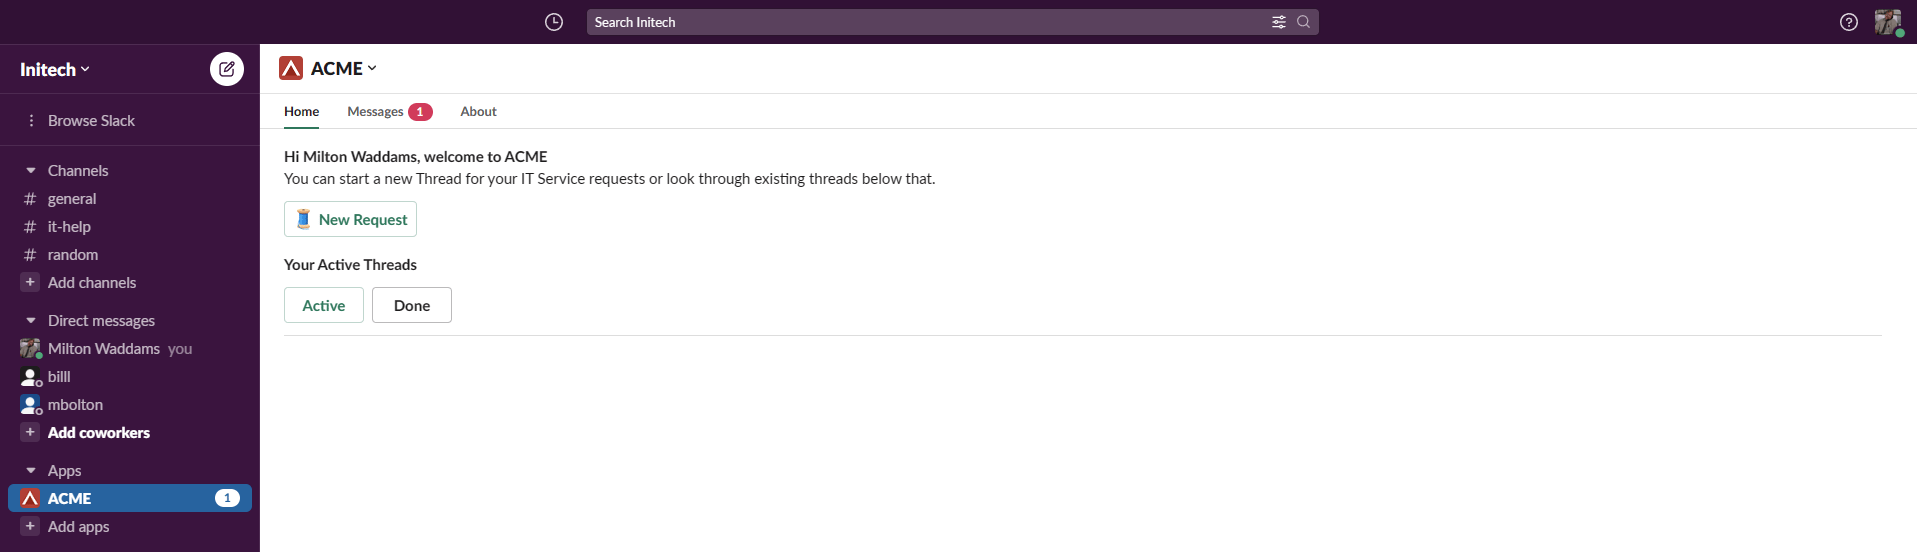
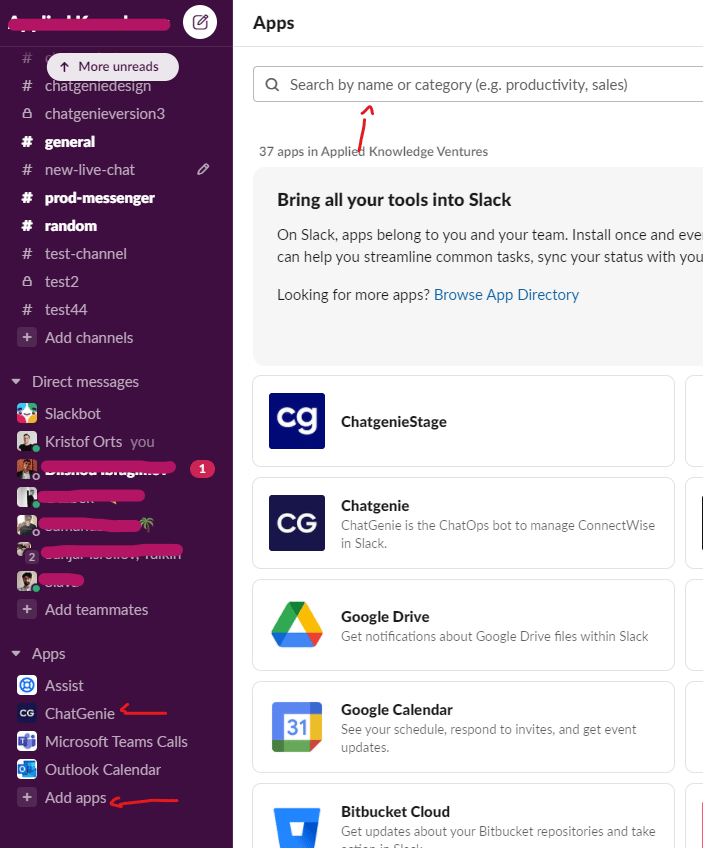
app.slack.com for that workspace and confirm the app is there.Roll out the welcome message
You control who gets greeted, so you can pilot before announcing to everyone. Once the customer accepts the invite, refresh the Admin Panel and reopen the customer — it now shows Connected. Choose Selected users and pick who to greet. When you have approval to go wide, come back and choose All Users, then save.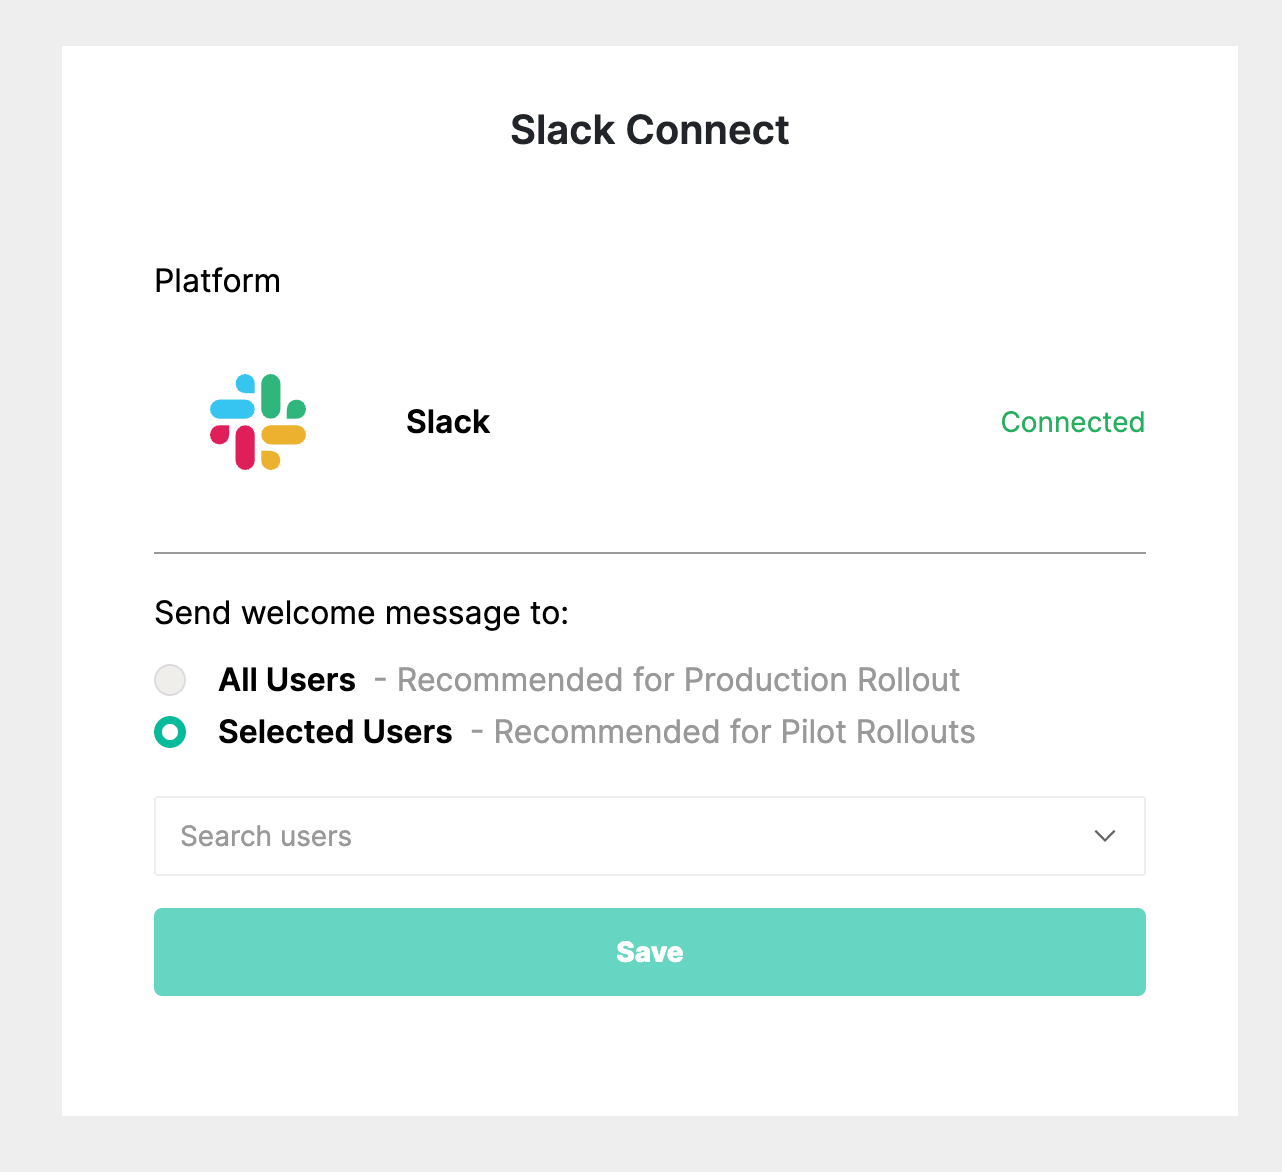
What customers get notified about
Customers get a Slack notification when a new thread is created or a thread receives a reply. By default a person is notified of replies to threads they replied to or were mentioned in.Test in a Slack sandbox first
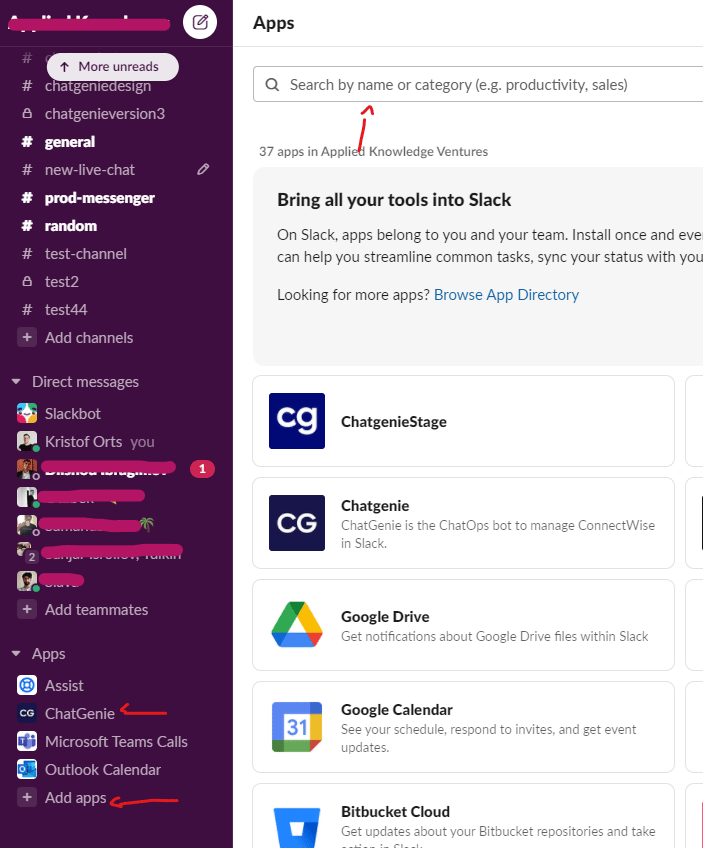
The customer-facing app can’t be installed in your own company’s Slack, so create a free sandbox workspace and deploy there.1
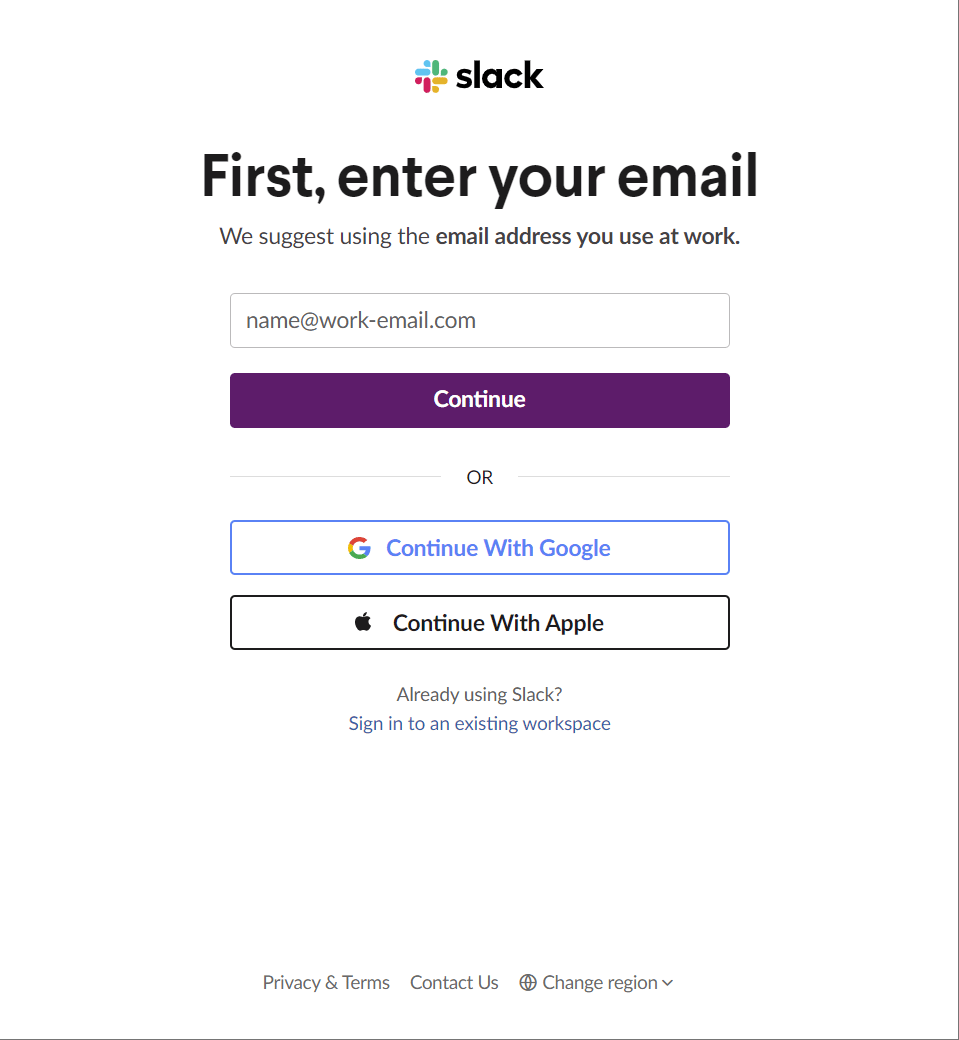
Sign up for a free Slack account
Go to slack.com and sign up with an email not already tied to a Slack account, a throwaway Gmail is ideal.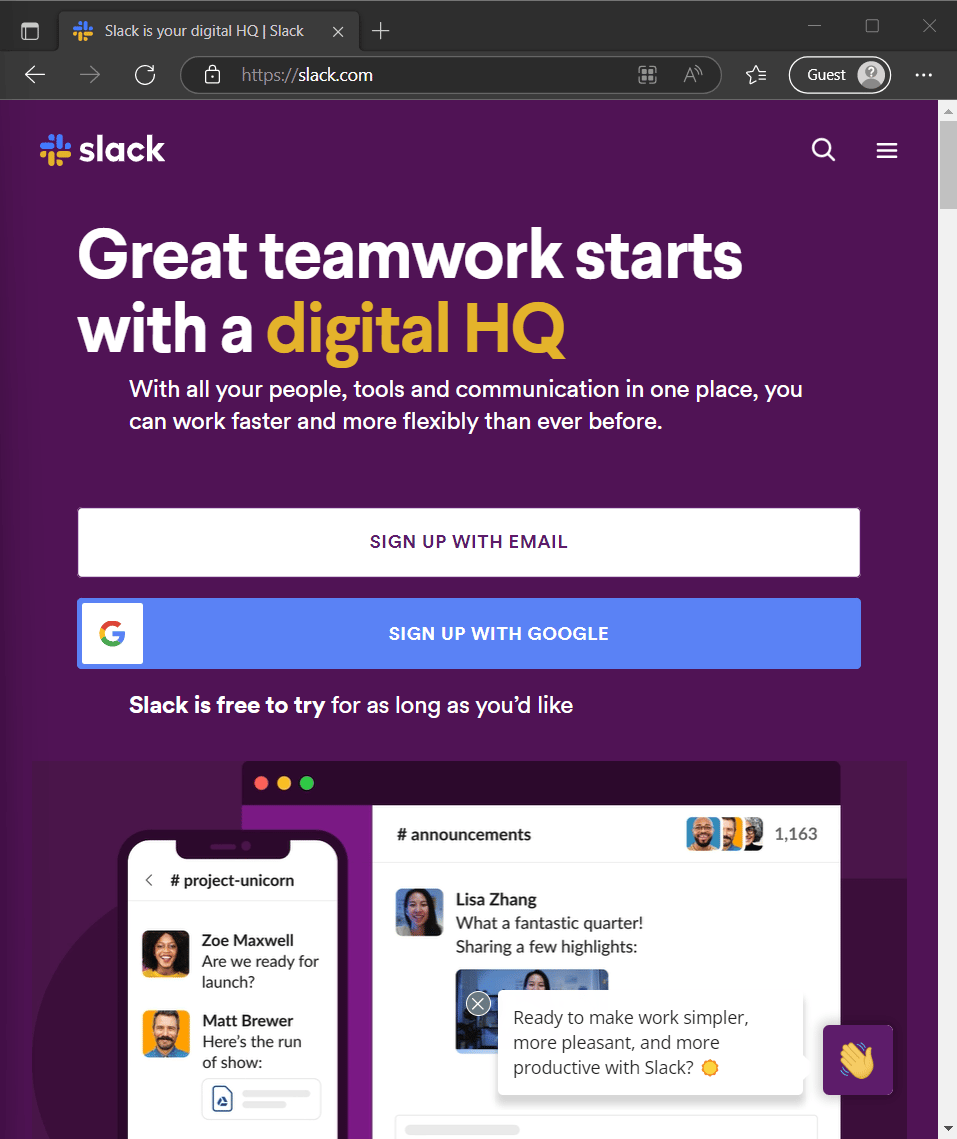
2
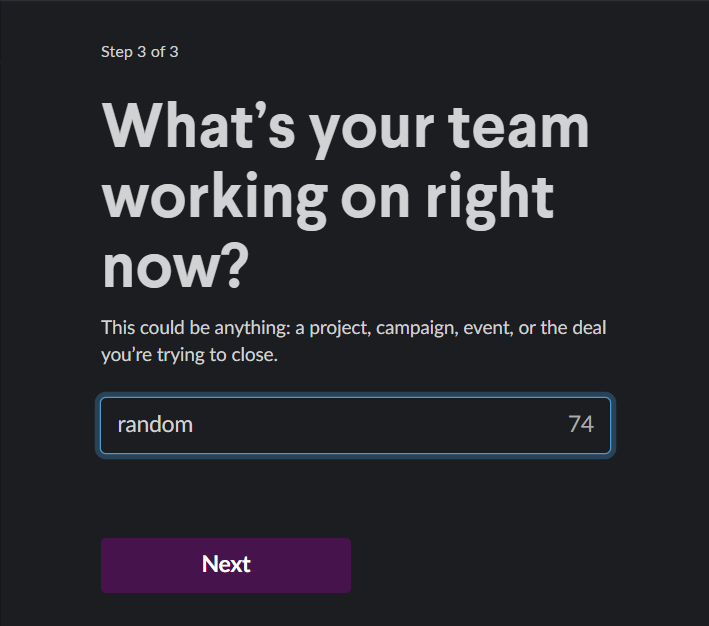
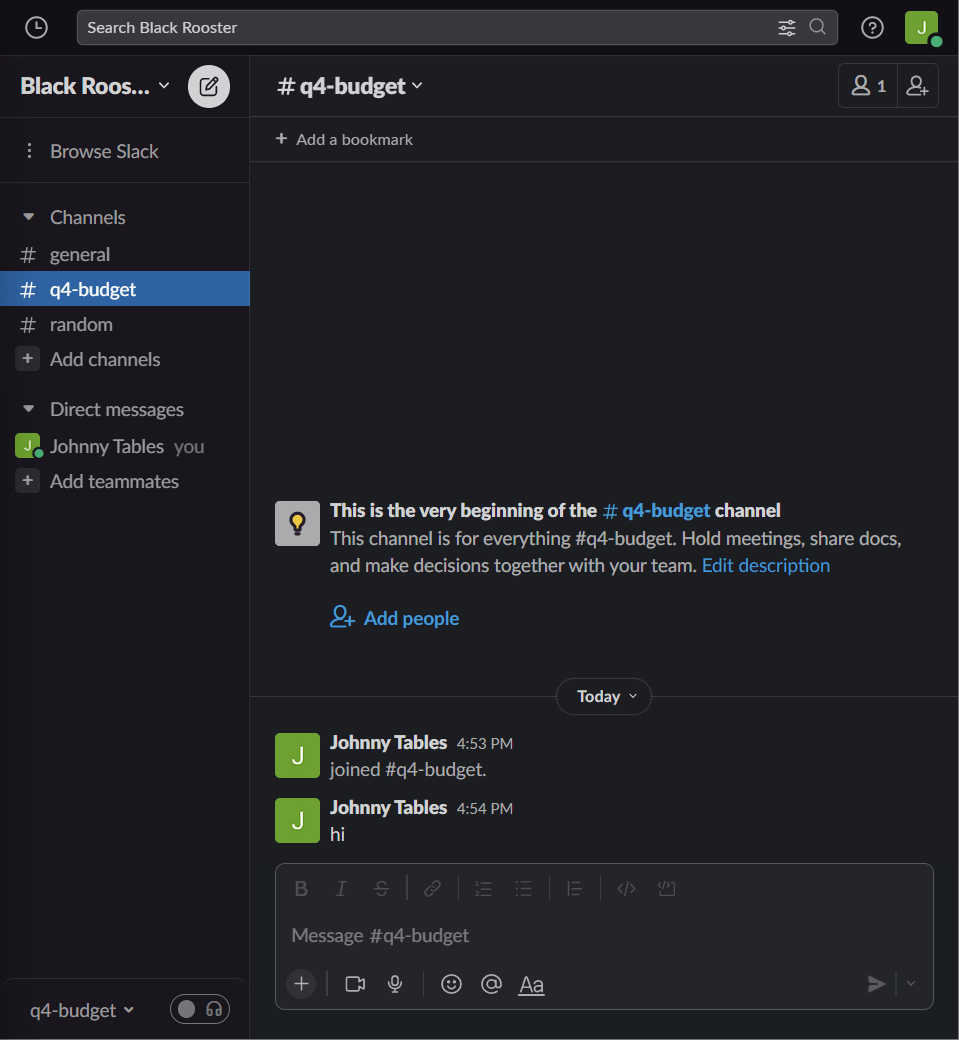
Create the workspace
Choose Create a Workspace, name your fake company, skip step 2, and put anything in step 3.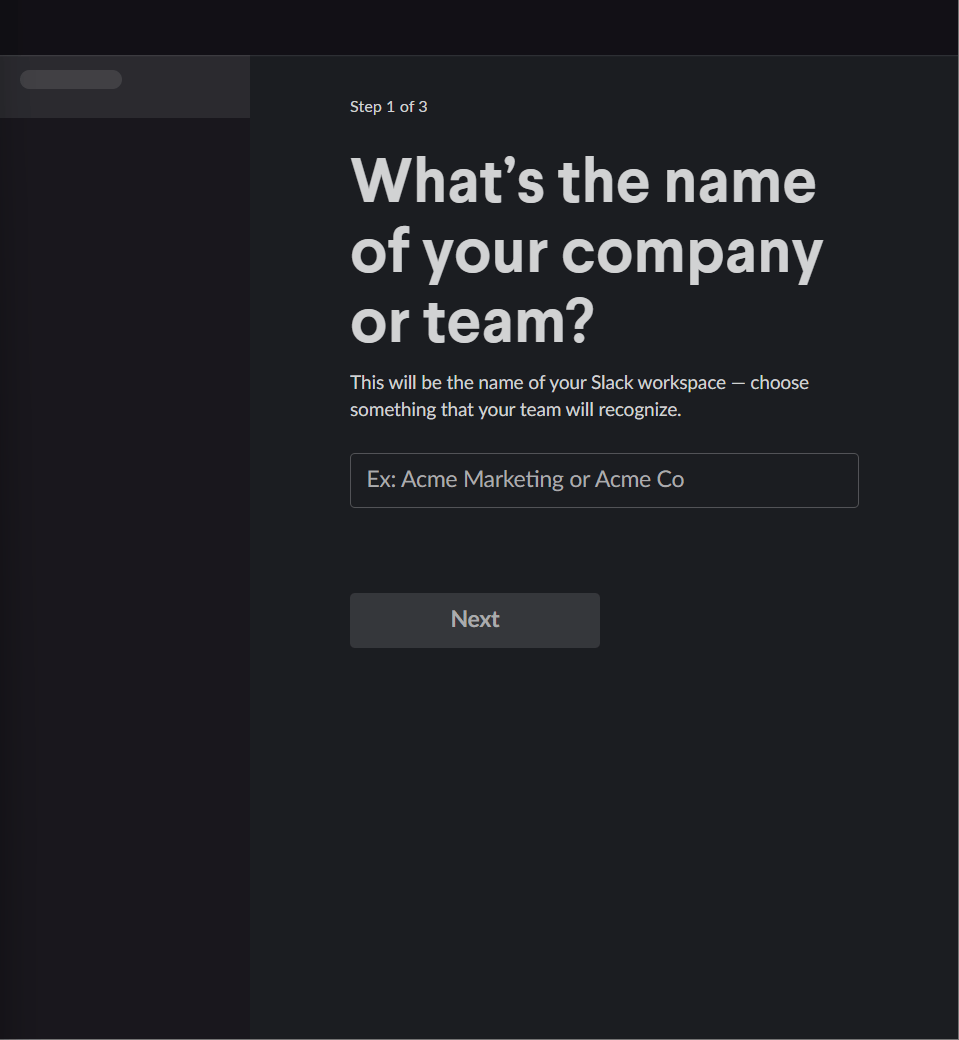
3
Set up a test company in your PSA
Create a test company and add a contact with an email address. That forces the company to sync into Inbox so you don’t have to wait.
Its Service Bot field must be empty — you can only deploy one bot per customer.
4
Start the deployment against the test client
In the Admin Panel go to Clients, select your test client, then the Teams/Slack Connect tab. Choose Slack and Continue.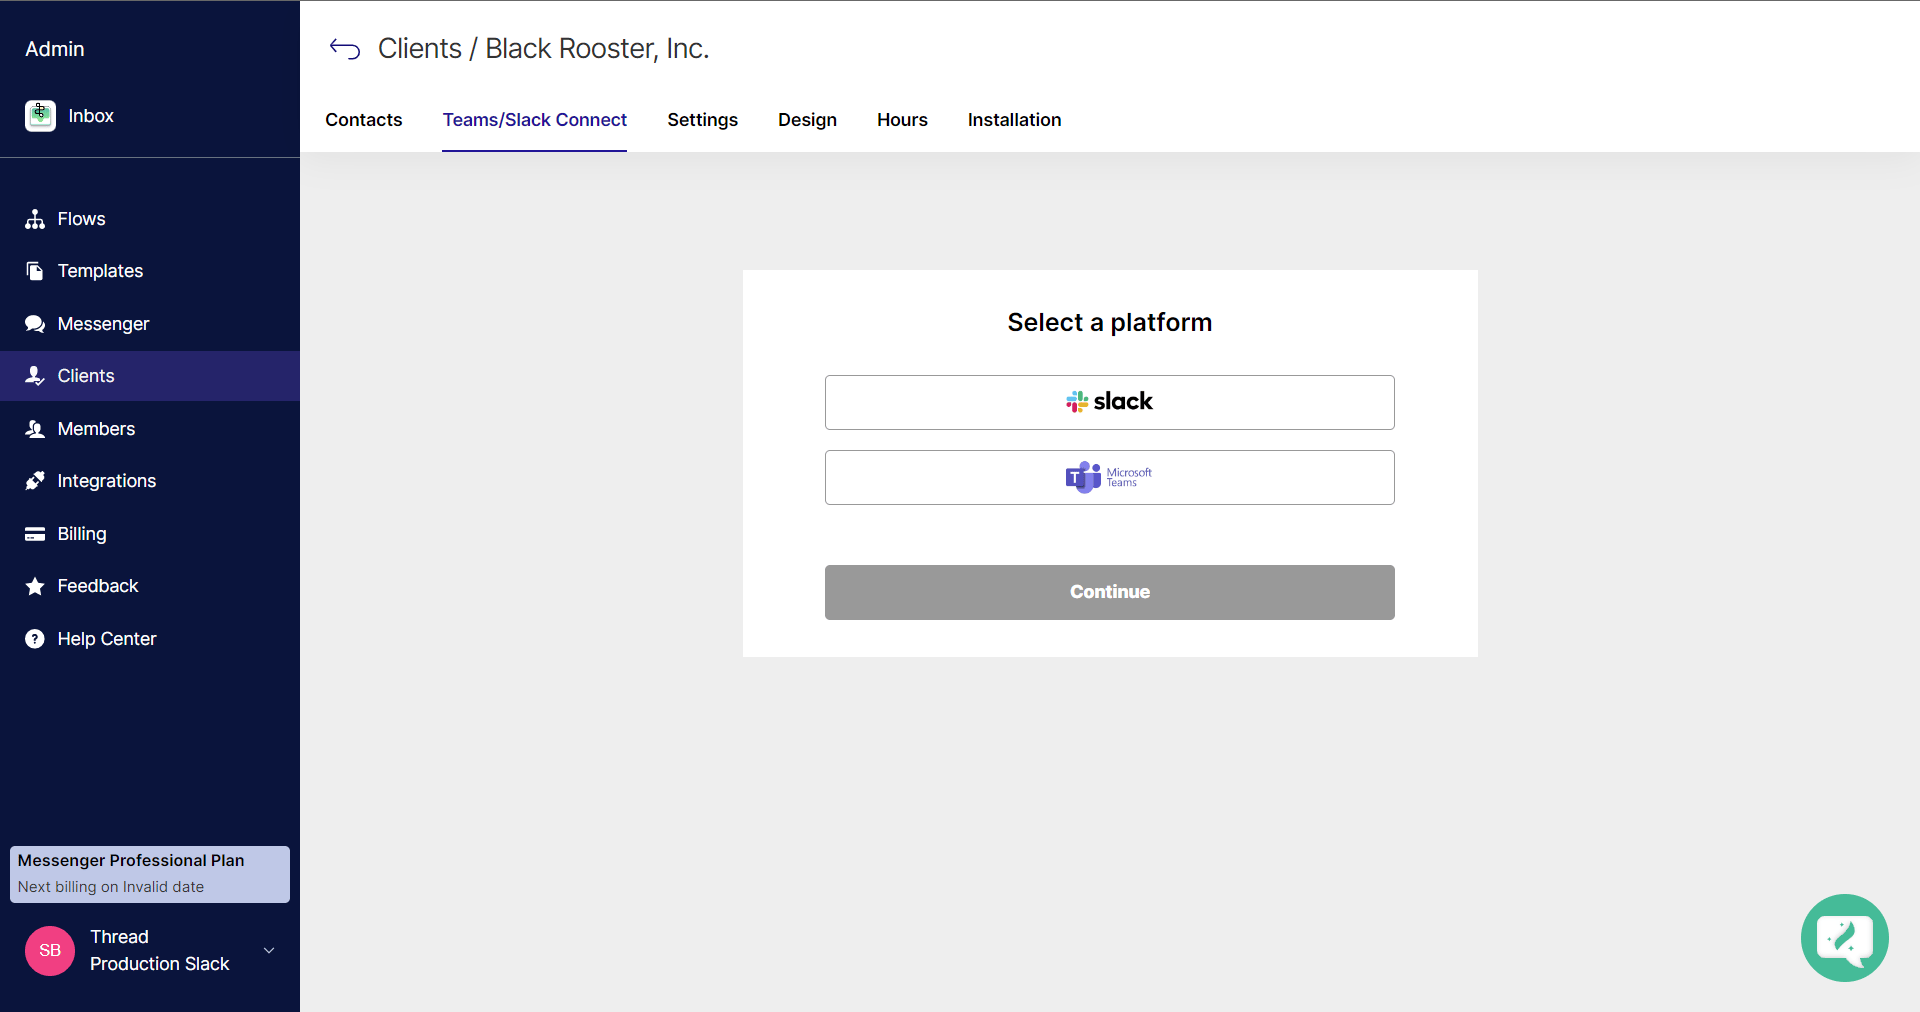
5
Copy the magic link
6
Open it in the sandbox and allow
In a guest browser window signed into your sandbox workspace, paste the magic link and click Allow.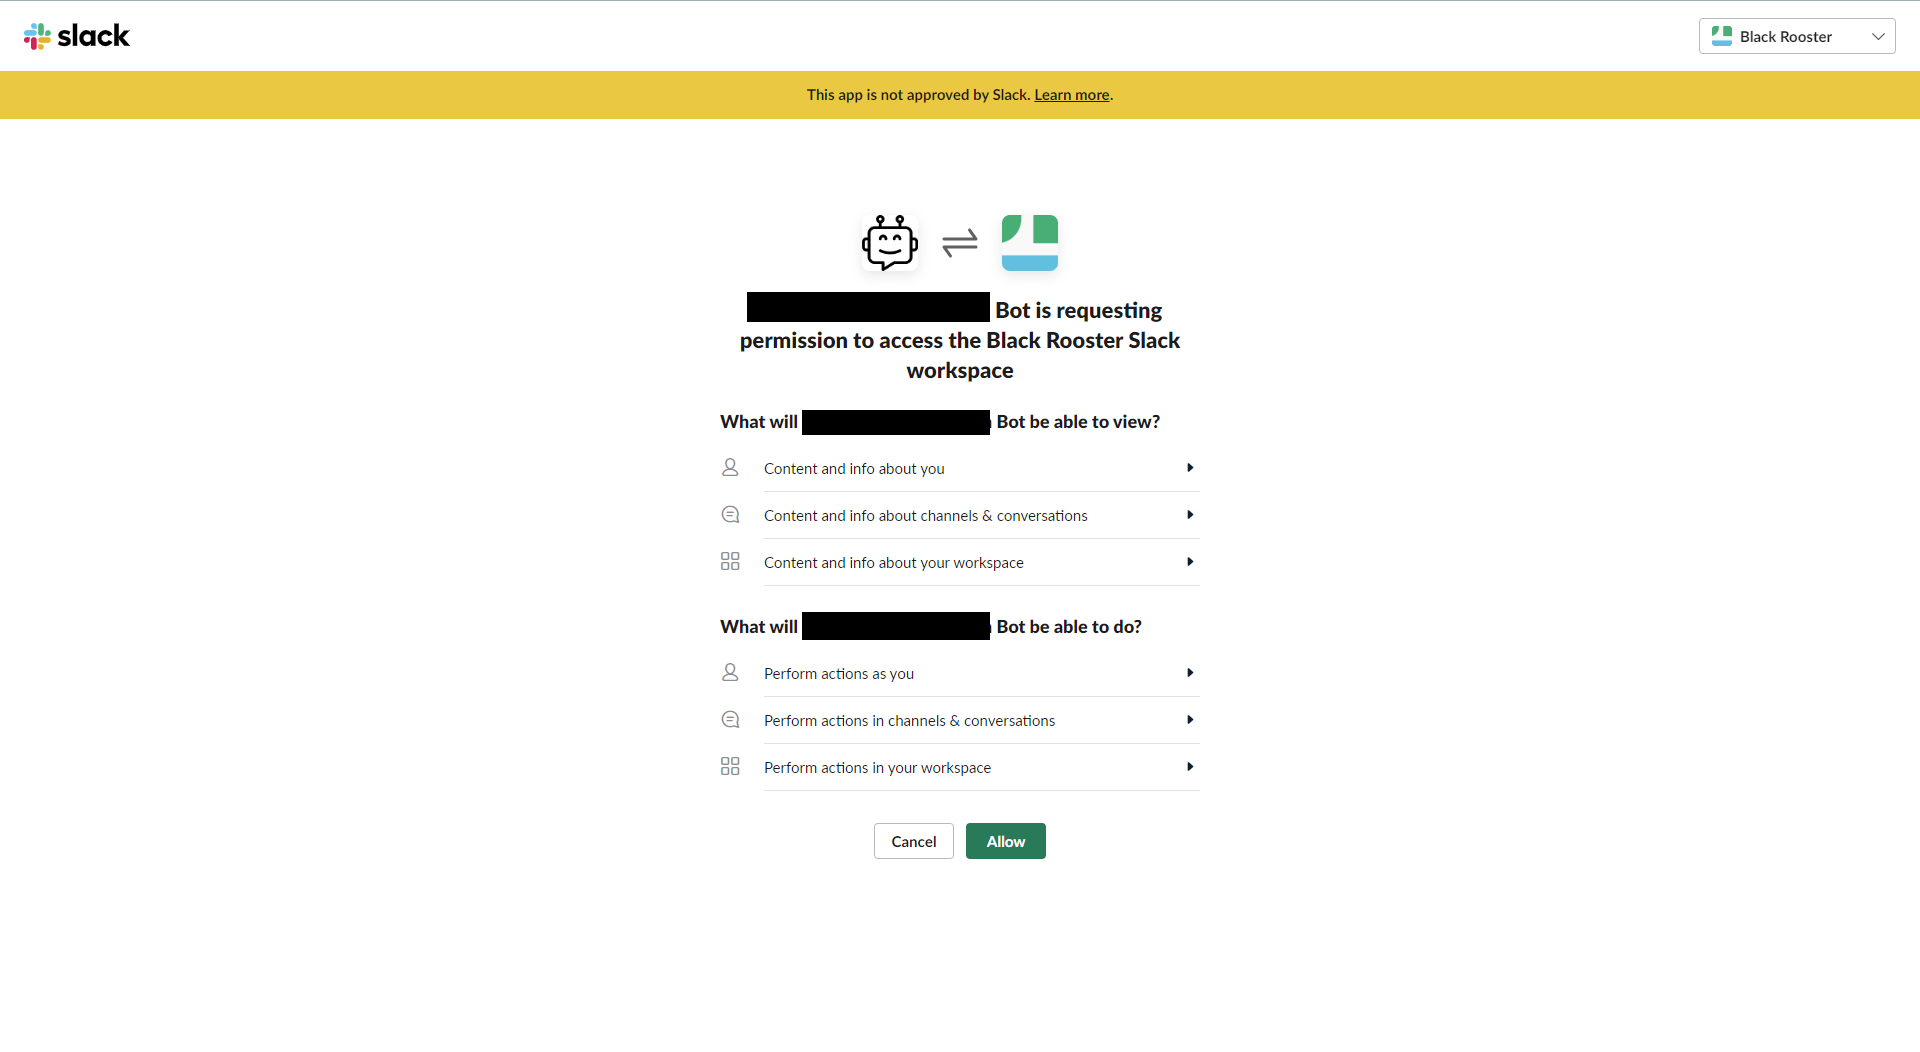
7
Try it as a customer would
Back in the sandbox, the app should be installed — if not, use Add app and search for it. Then create threads and exercise chat and the bot the way a customer would.