Setting Up Your Thread Workspace

Ready to kick off your team's service collaboration journey? Setting up Thread is simple! Follow this guide to complete the first-time setup process, starting with creating your Thread Workspace.
In this guide, you will:
- Create your Thread Workspace.
- Setup your ticketing system.
- Design your customer chat experience.
- Select your default service settings.
- Configure Thread Inbox to receive chats.
- Start learning Inbox with your first chat.
1. Create Your Thread Workspace
- Navigate to the Thread Workspace setup link provided by your Customer Success Manager, or as outlined in your Thread Onboarding Plan.
- Enter your email and click Submit.
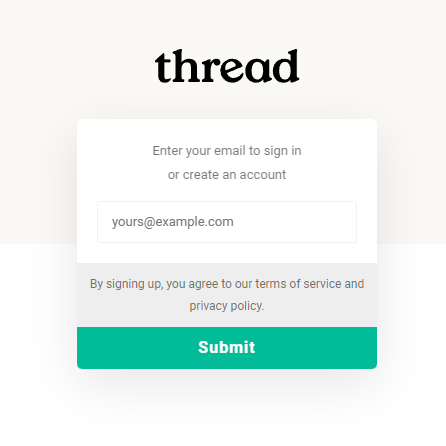
- Enter the one-time passcode sent to your email and click Submit.
- Enter your Full name, Workspace name and Upload your logo.If you don't have your company logo ready, you can use the default "Thread" logo for now. You can easily change it later from the Thread Admin Panel once your workspace is set up.
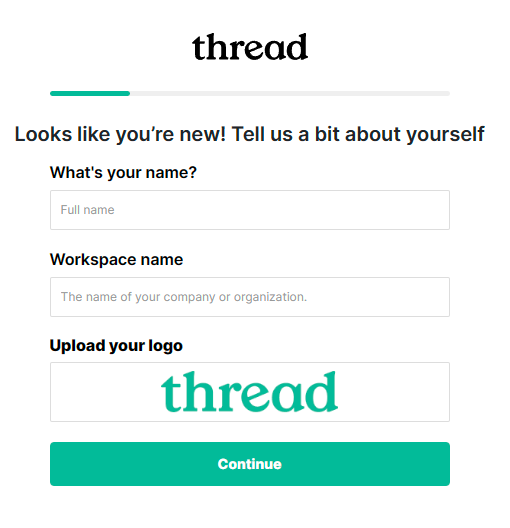
- Once you're finished, click Continue!
2. Setup Your Ticketing System
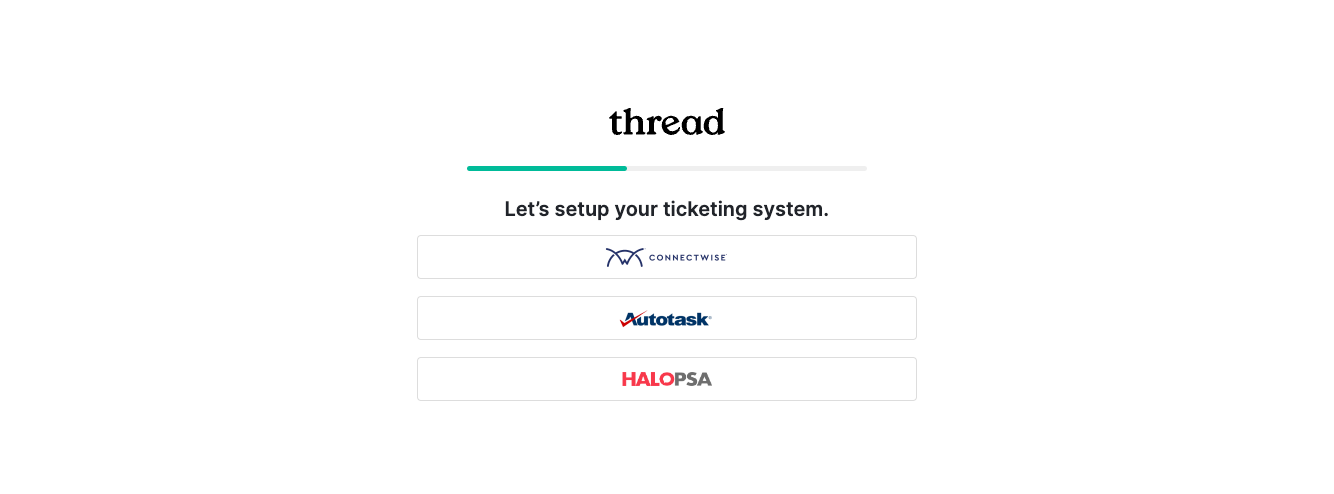
It's time to connect your ticketing system. Thread seamlessly integrates with popular ticketing systems, allowing you to effortlessly bring your tickets, companies, and contacts into Thread with deep bi-directional integrations.
- Select your ticketing system to integrate with Thread.
- Follow the setup guides specific to your chosen ticketing system here:
3. Design Your Customer Chat Experience
With your ticketing system integrated, it's time to personalize the chat support experience for your customers. Add your branding to make the chat experience truly yours.
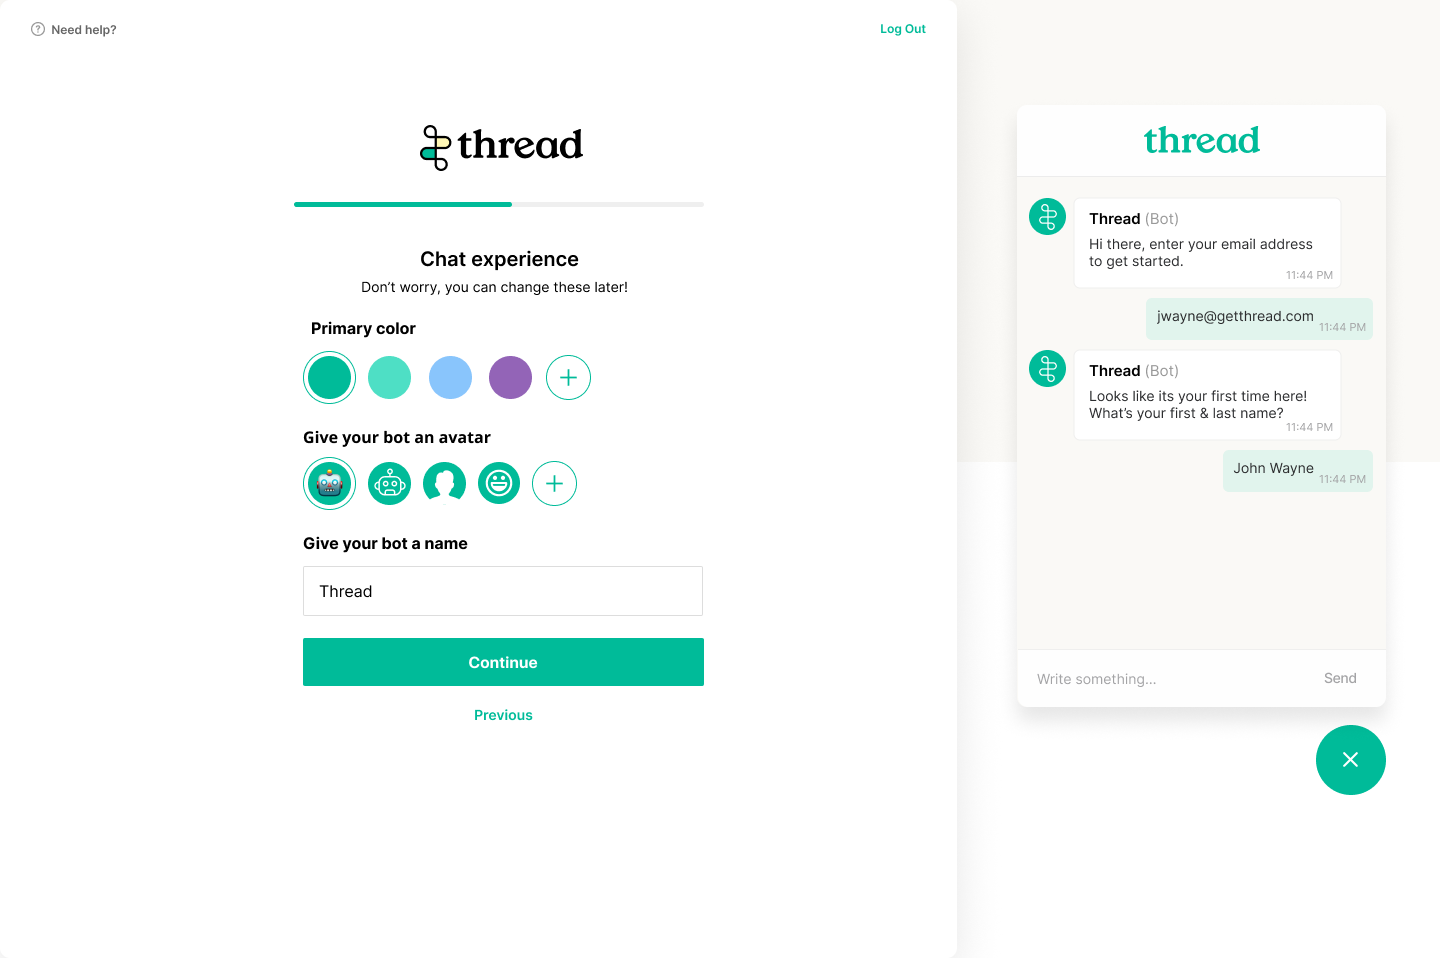
- Set your Primary Color. Use one of our pre-defined colors, or choose a color from the color wheel by clicking the +.
- Give your bot an avatar. Use a pre-built avatar or upload your own by clicking the +.
- Lastly, give your bot a name! We recommend something fun that your customers will recognize.
- Click Continue when done with this step!
4. Select Your Default Service Settings
Next, we'll set up default settings for incoming chats. The options vary slightly depending on your ticketing system.
Chat Settings for ConnectWise PSA

- Service Board - Set the default service board you want chats to route in to.
- Email Source - Set the source you use in ConnectWise to categorize email tickets
- Phone Source - Set the source you use in ConnectWise to categorize phone tickets
Chat Settings for Autotask PSA
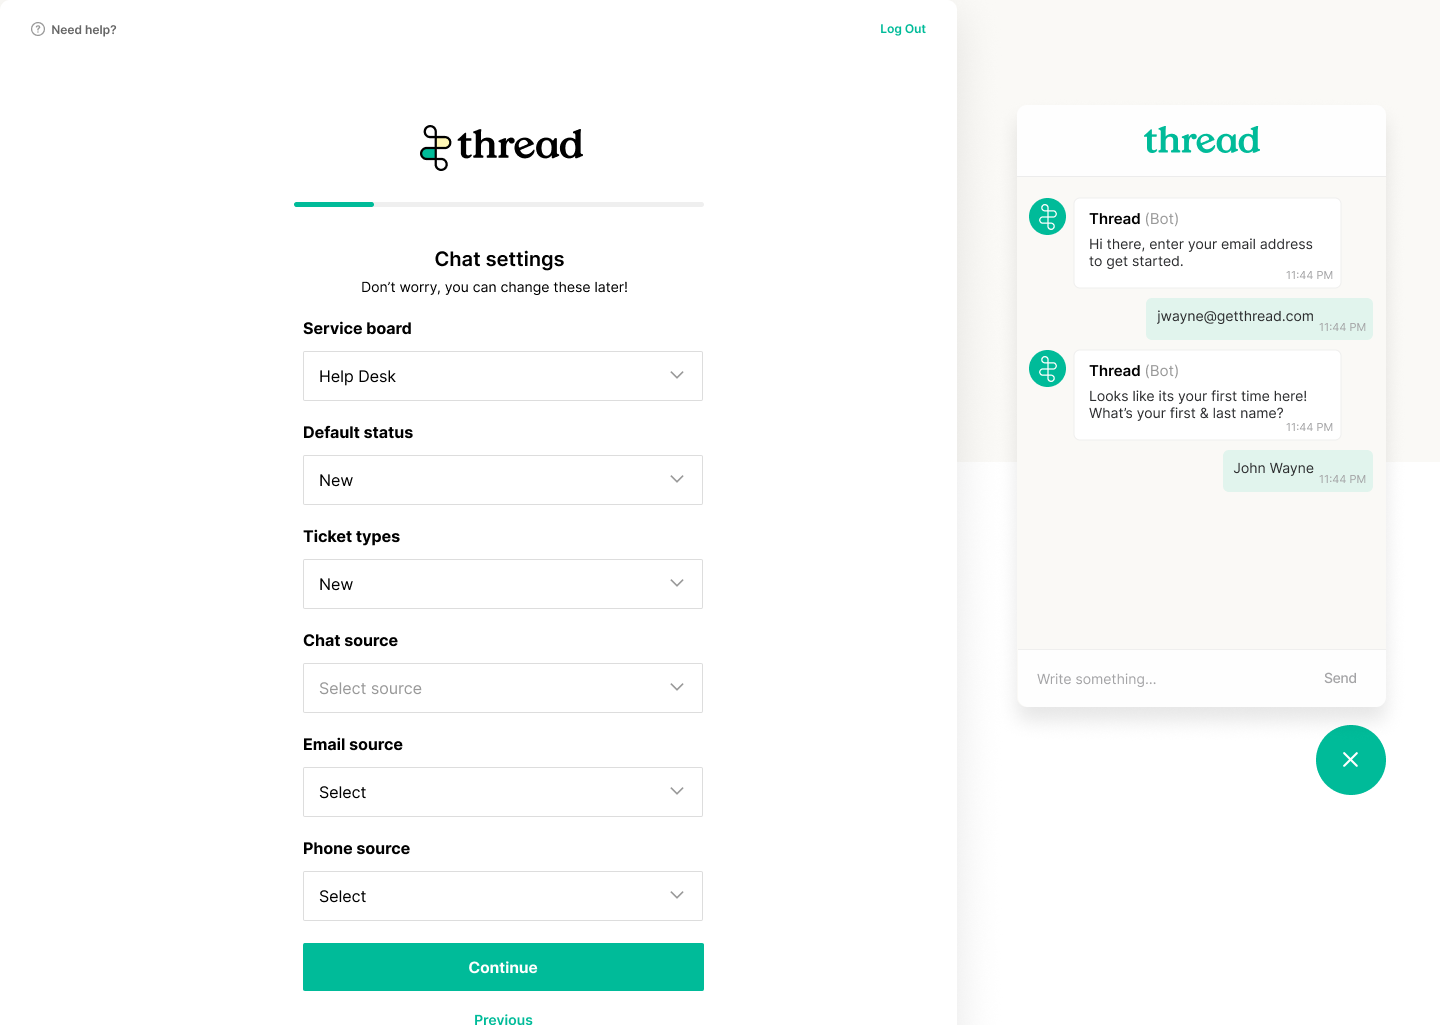
- Service Board - Set the default service board you want chats to route in to.
- Default Status - Set the default status for incoming chats
- Ticket Types - Set the Default ticket type for incoming chats
- Chat Source - Set the default source you use in Autotask to categorize chats
- Email Source - Set the source you use in ConnectWise to categorize email tickets
- Phone Source - Set the source you use in ConnectWise to categorize phone tickets
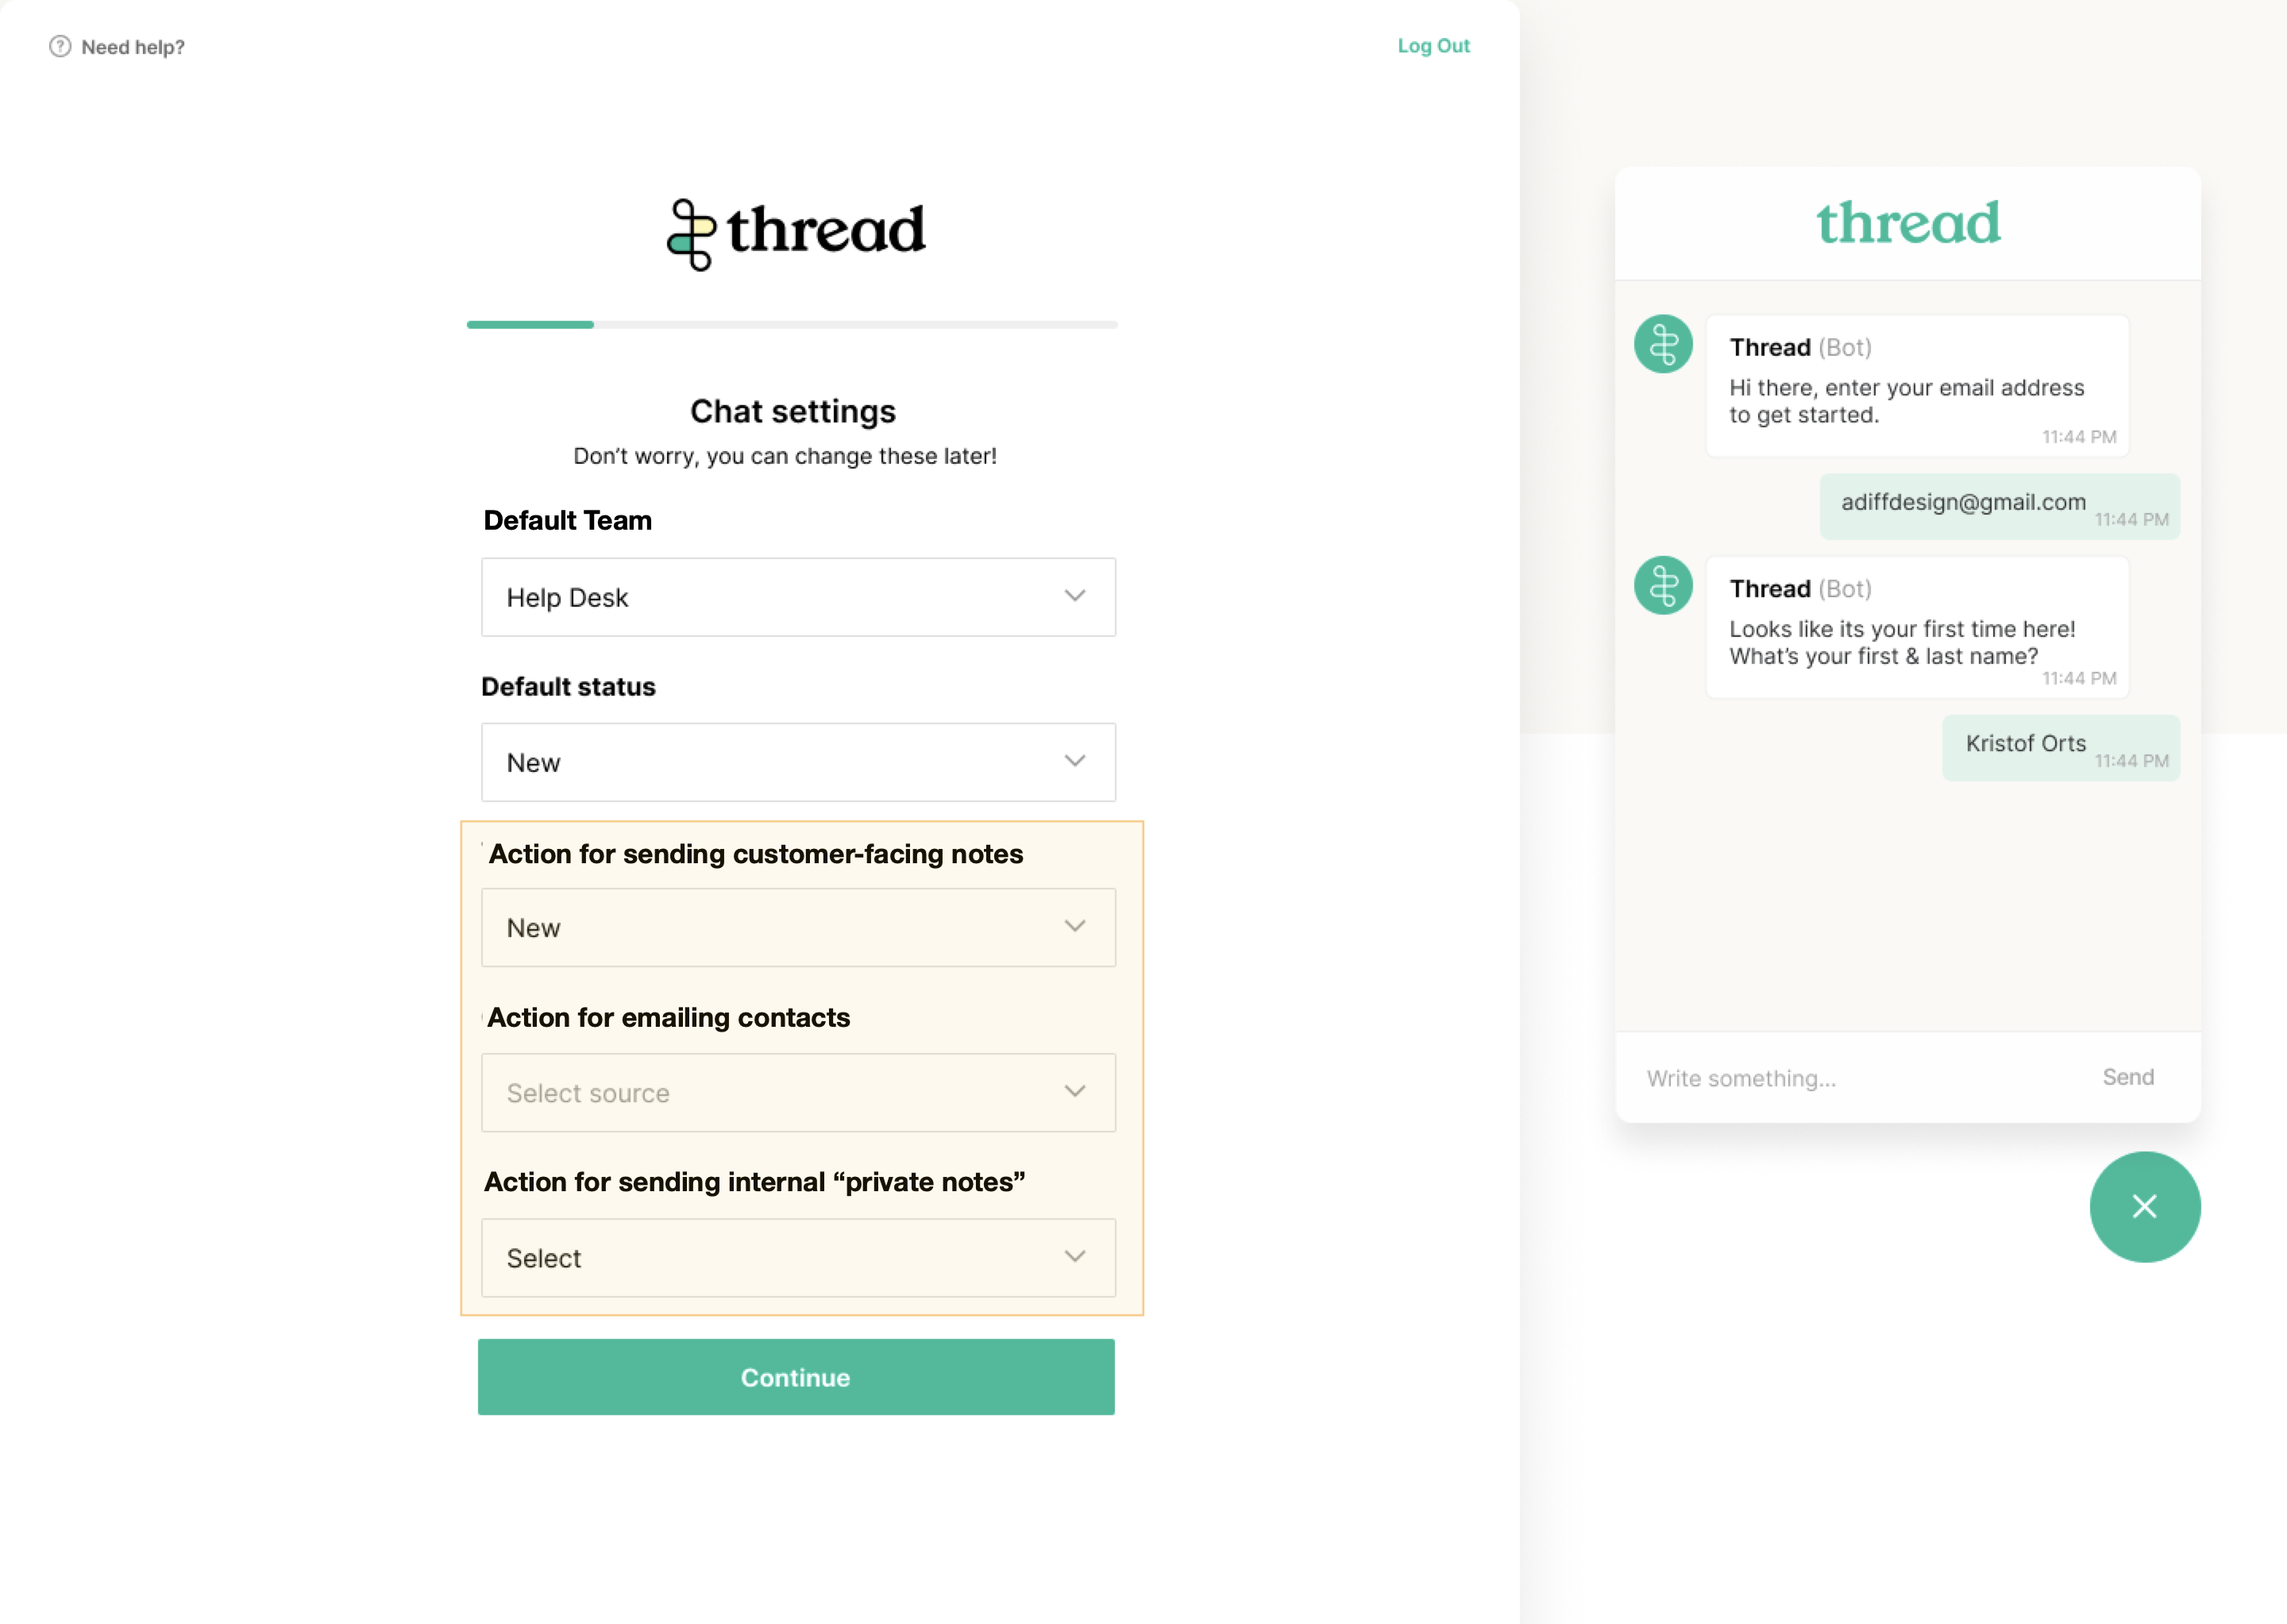
Chat Settings for HaloPSA
- Team - Set the default team you want chats to route in to.
- Default Ticket Type - Set the Default ticket type for incoming chats.
- Action for sending customer-facing notes - Choose the action in HaloPSA to send customer-facing (public) notes.
- Action for emailing contacts - Choose the action in HaloPSA to send emails to users.
- Action for sending internal "private notes" - Choose the action in HaloPSA for sending internal (private) notes.
5. Get Started with Thread Inbox
It's time to set up Inbox! Inbox is where your Service Team works to respond to customers in real-time! It is the app you use, as the service provider, to collaborate with your teammates and customers. Inbox was designed to give your team service superpowers so that you can focus on providing a great customer experience!
When you log into Thread Inbox for the first time, you'll notice the "Views" section on the left-hand side. Let’s walk through the steps to create your very first view!
Steps to Create a New View
- Click the "+" icon next to Views in the left-hand navigation
- Apply "Source" is not blank. Alternatively, you can apply additional filters, such as Service Boards, Teams, or Queues, to help organize and display all tickets more effectively.
- Enter a name for your view All Tickets
- Customize Your View (Optional)
- (Optional) Choose an emoji to represent your view
- (Optional) Invite members to access the view
- Click Save
Learn More About Views & Insights
To explore more about creating and managing views, check out our guide on Views & Insights
5. Set up Status Mapping
Now that your inbox is ready to go, move on to set up status mapping, to create simple, powerful automations within Thread Inbox.