How to Test the Slack Service App in a Sandbox Environment
 Updated
by
Stephen Boss
Updated
by
Stephen Boss
After you have completed setting up and designing your customer-facing Slack service app, we recommend testing the customer experience before you install the app in your actual customers' environments. If you have not yet set up a customer-facing Slack app, view info here.
It is not possible to install the customer-facing Slack app in your own company's Slack environment. Therefore, you will need to first create a free Slack sandbox environment and then install the Slack app in that environment.
Step 1: Create a Free Slack Sandbox Environment
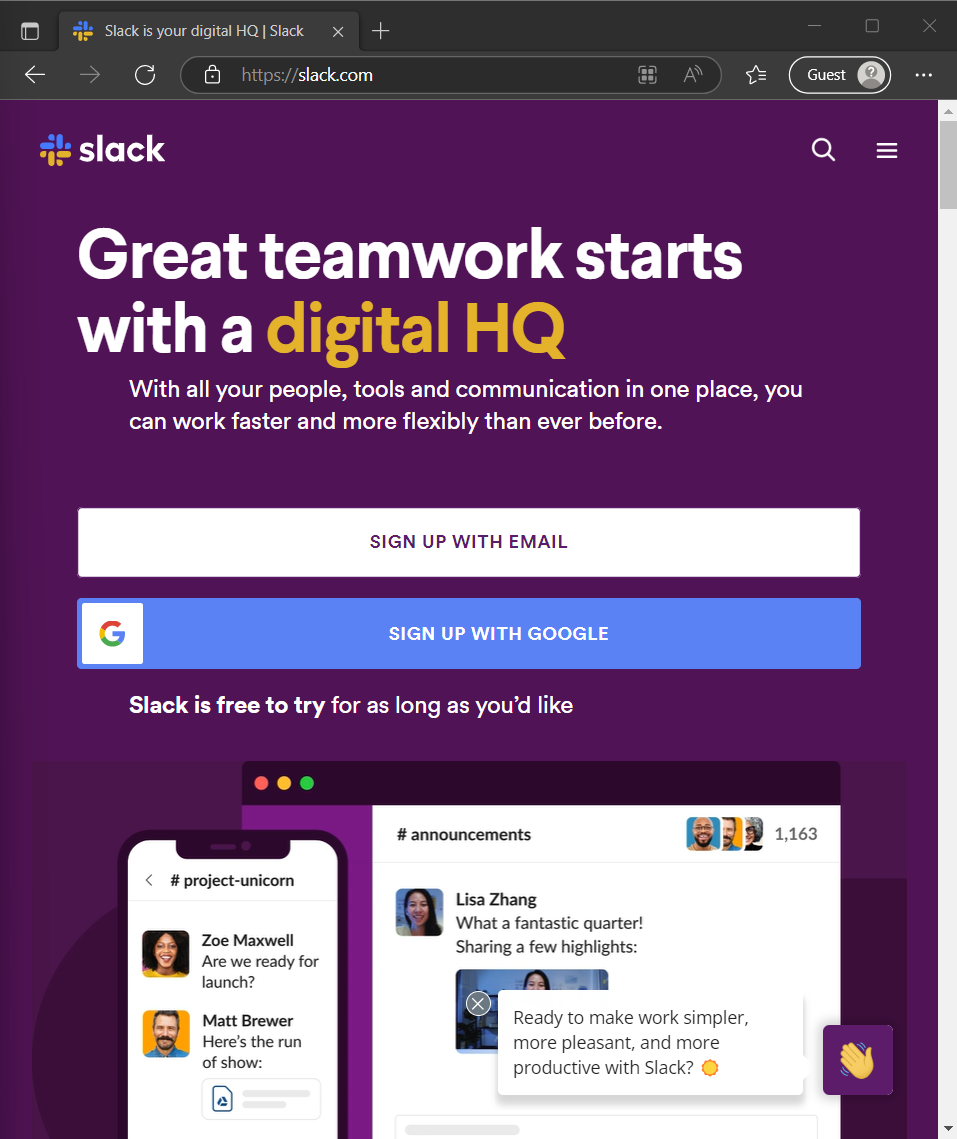
- Navigate to https://slack.com/
- Click an option to Sign Up.
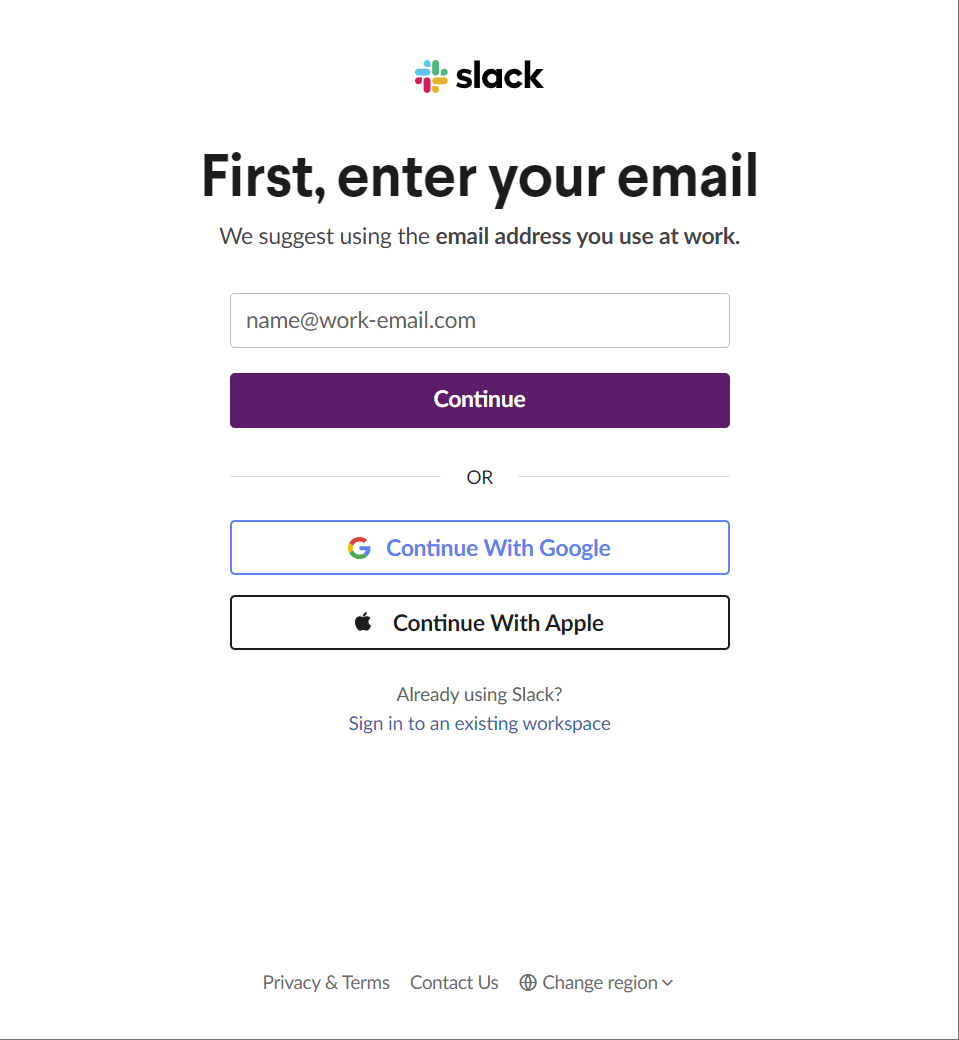
- Enter in an email that is not tied to an existing Slack account and click Continue.We recommend setting up a free gmail or other free email account to use for your sandbox environment. Just choose something you can use for testing.
- Once you have set up your account, click Create a Workspace.
- You will be asked to perform a quick setup.
- Enter the name of your fake company and click Next.

- On step 2 click Skip this step.
- On step 3, enter whatever you want.
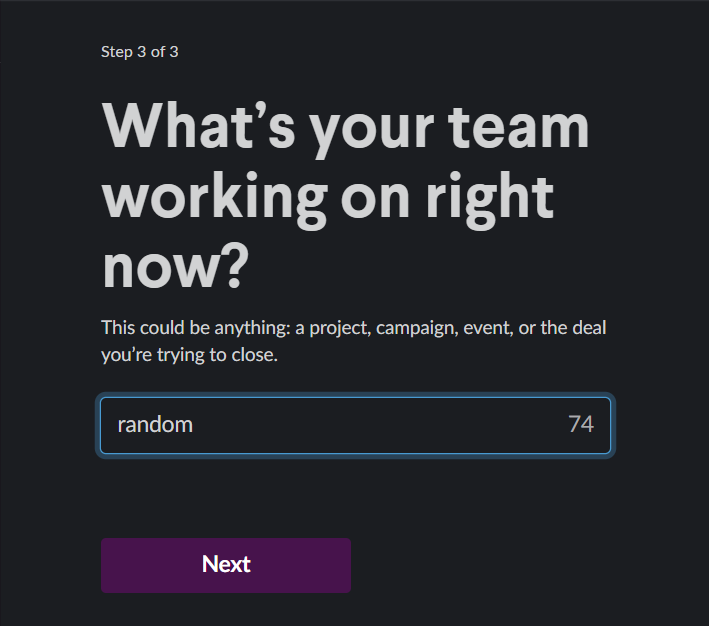
- Enter the name of your fake company and click Next.
- Congrats! A Slack sandbox account is set up. You can now add the customer Slack app to this tenant.
Step 2: Deploy Customer-facing Slack App to Sandbox
Now that we've set up a Slack sandbox environment, we can deploy our custom-built customer-facing Slack app to that environment.
- Navigate to the Thread Admin Panel -> Clients.
- In the Admin Panel, select the client you want to use for this test. Since we are setting up a sandbox environment for testing, this should not be a real customer of yours.Service Bot field for the customer you intend to deploy should be empty. You can only deploy one bot per customer.
- After selecting the client, navigate to the Teams/Slack Connect tab.
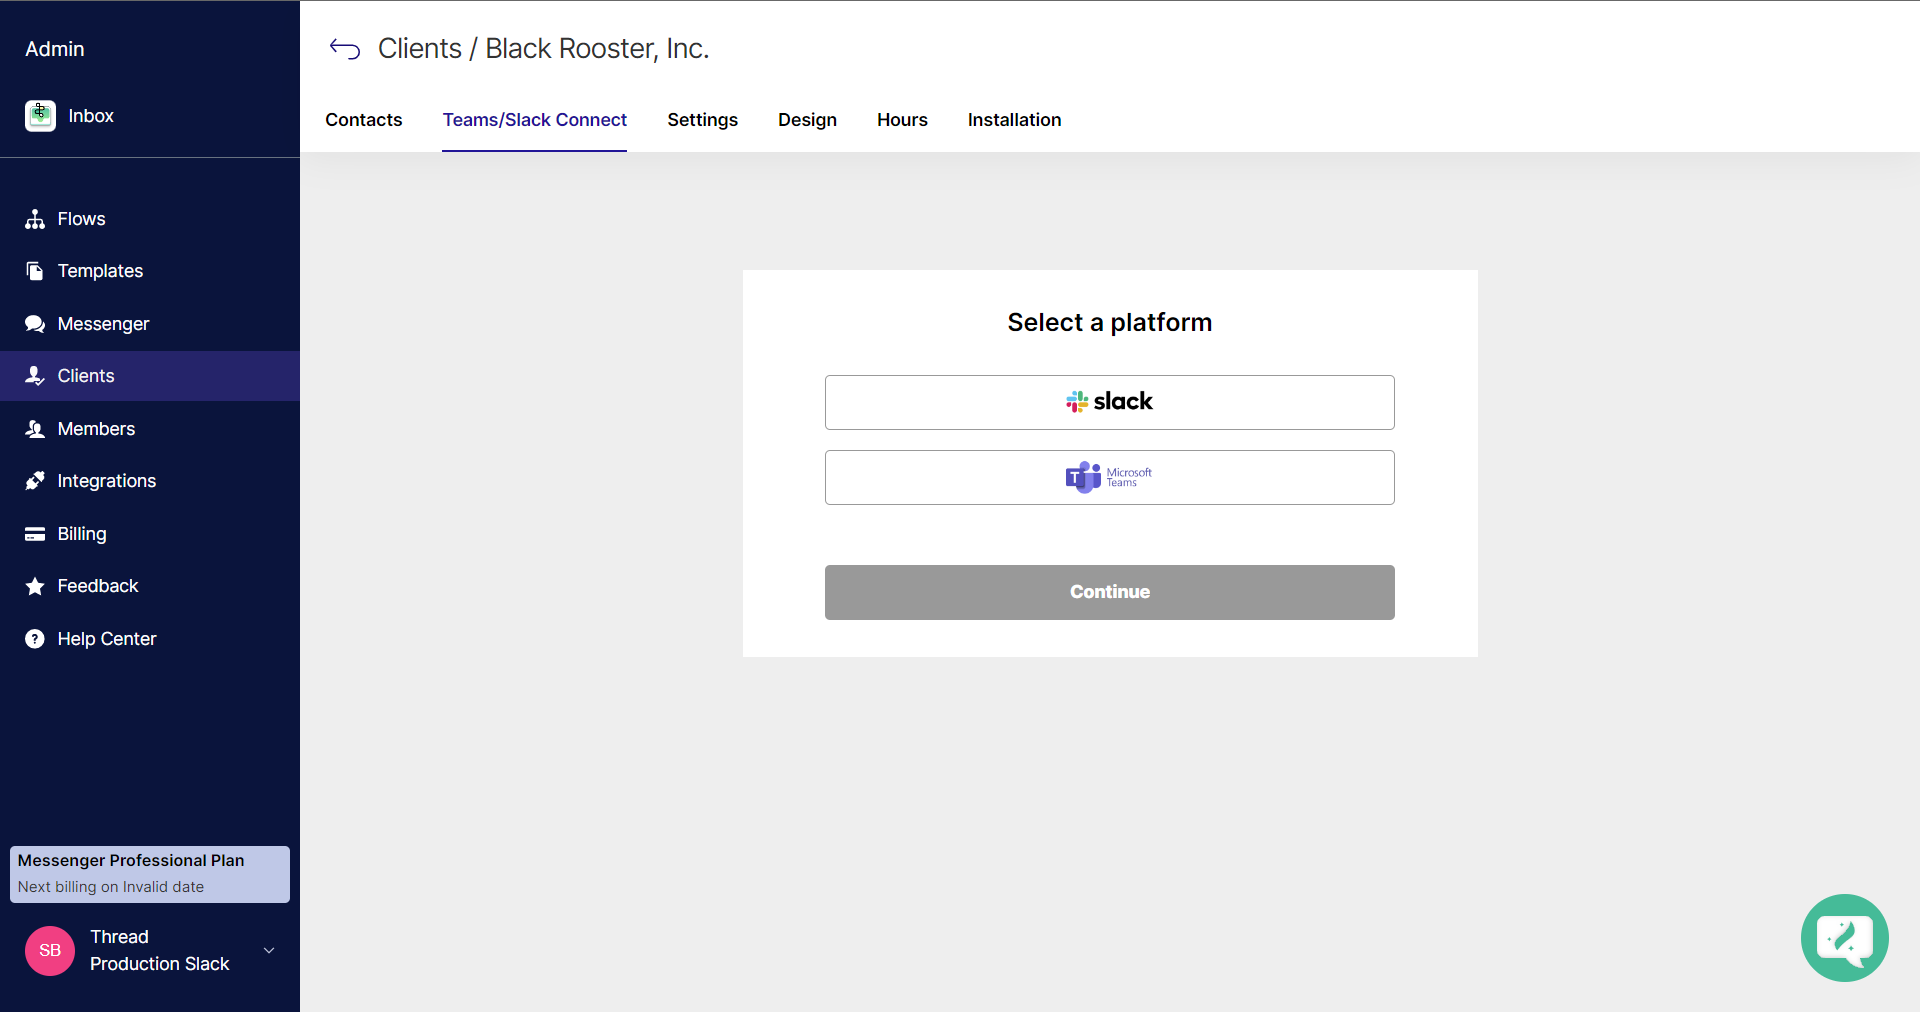
- Select Slack and click Continue.
- On the following screen, you will be presented with a couple options:
- Email Invite - Use this option when you don't have admin access to the Customer's Slack environment, and you need another Admin to help complete the deployment. They will receive a link via email which will walk them through the deployment steps.
- Magic Link - We will choose this option since we have admin access to the Slack environment that we will be deploying to.
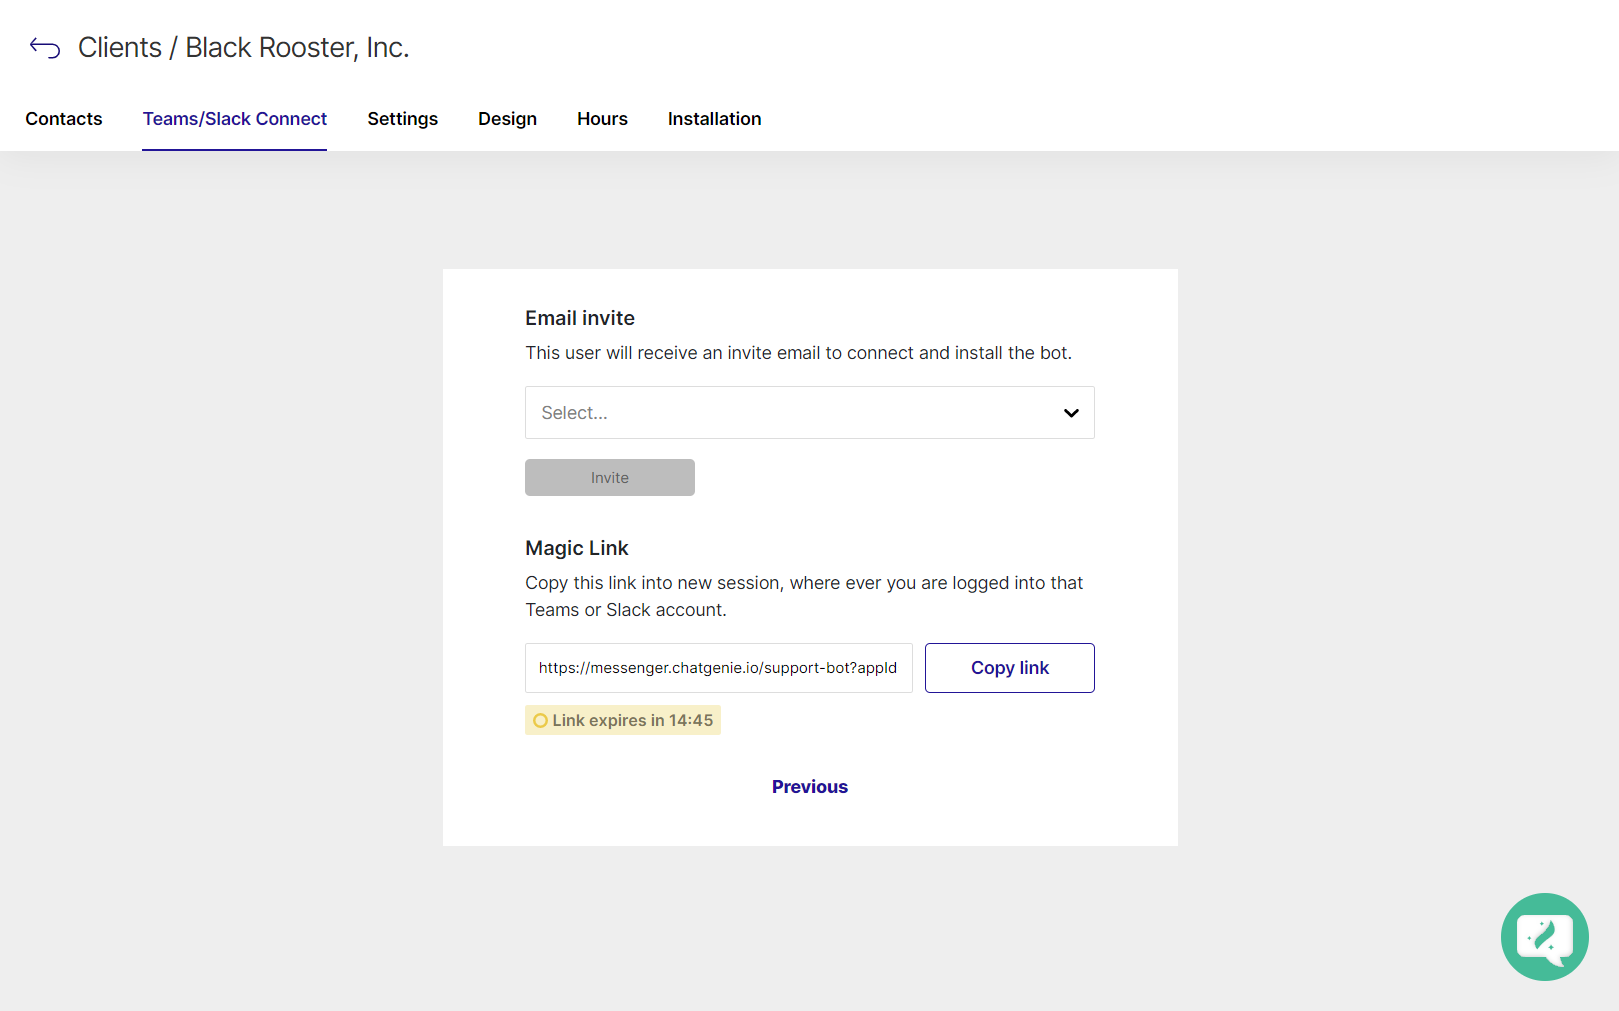
- Click Copy link to copy the magic link.The magic link will expire after 15 minutes so act quickly or go back to the previous page and start again.
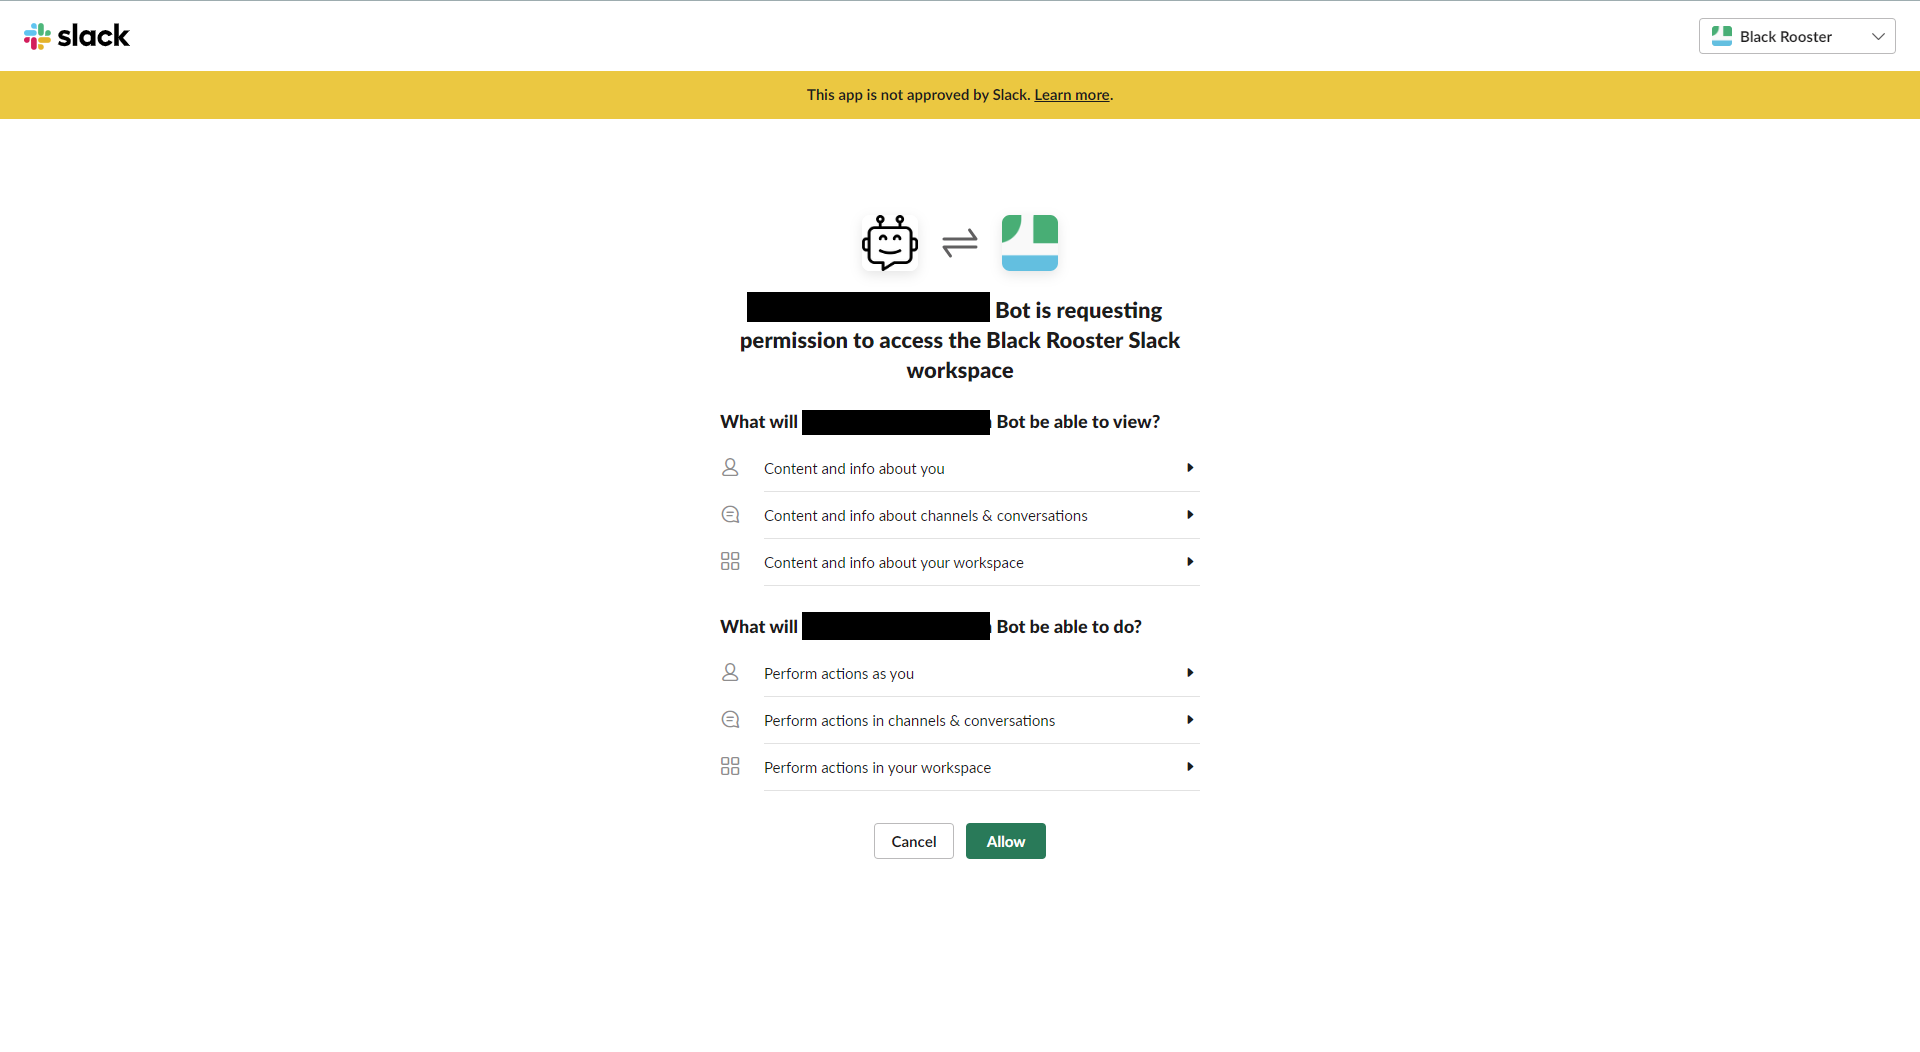
- In a guest browser window where you are logged into the Sandbox Slack environment you created in Step 1, paste and navigate to the magic link before it expires.
- Slack will ask you to approve permissions for the bot, click Allow.
- Custom app example:
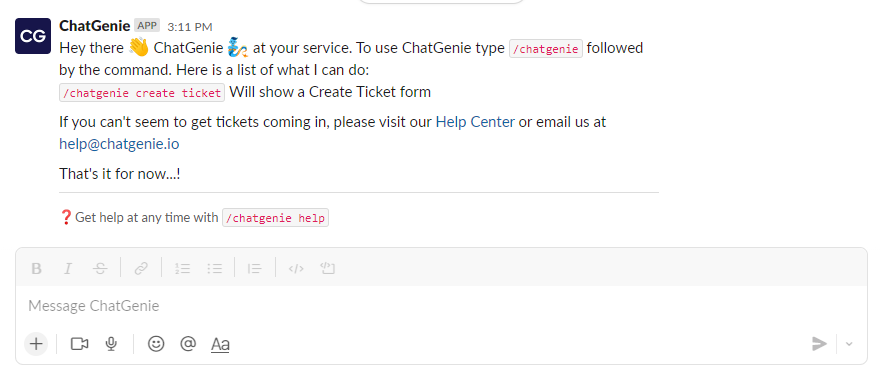
- (default) Chatgenie app example:
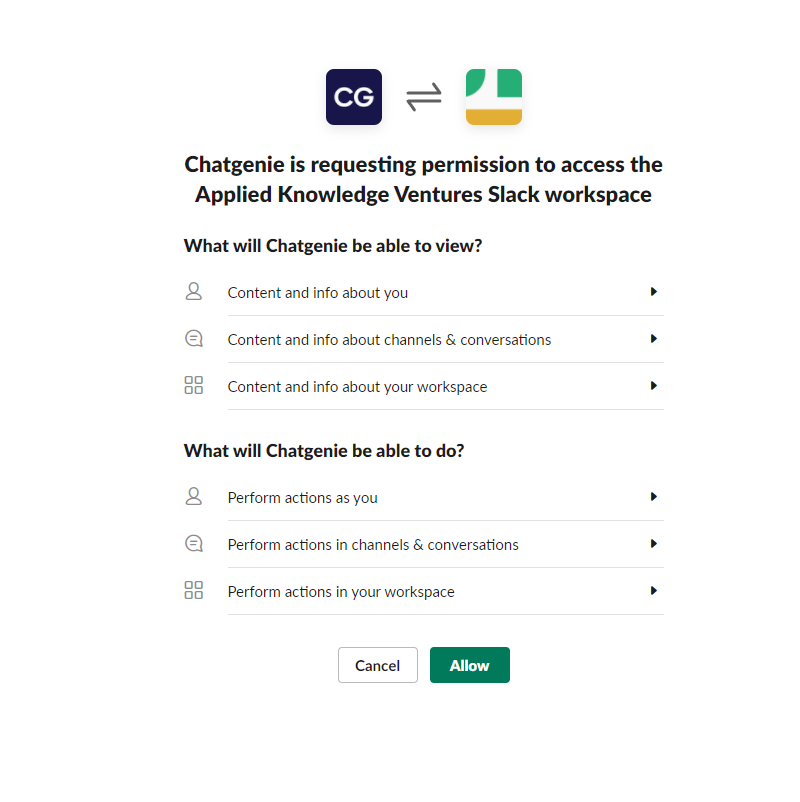
- Custom app example:
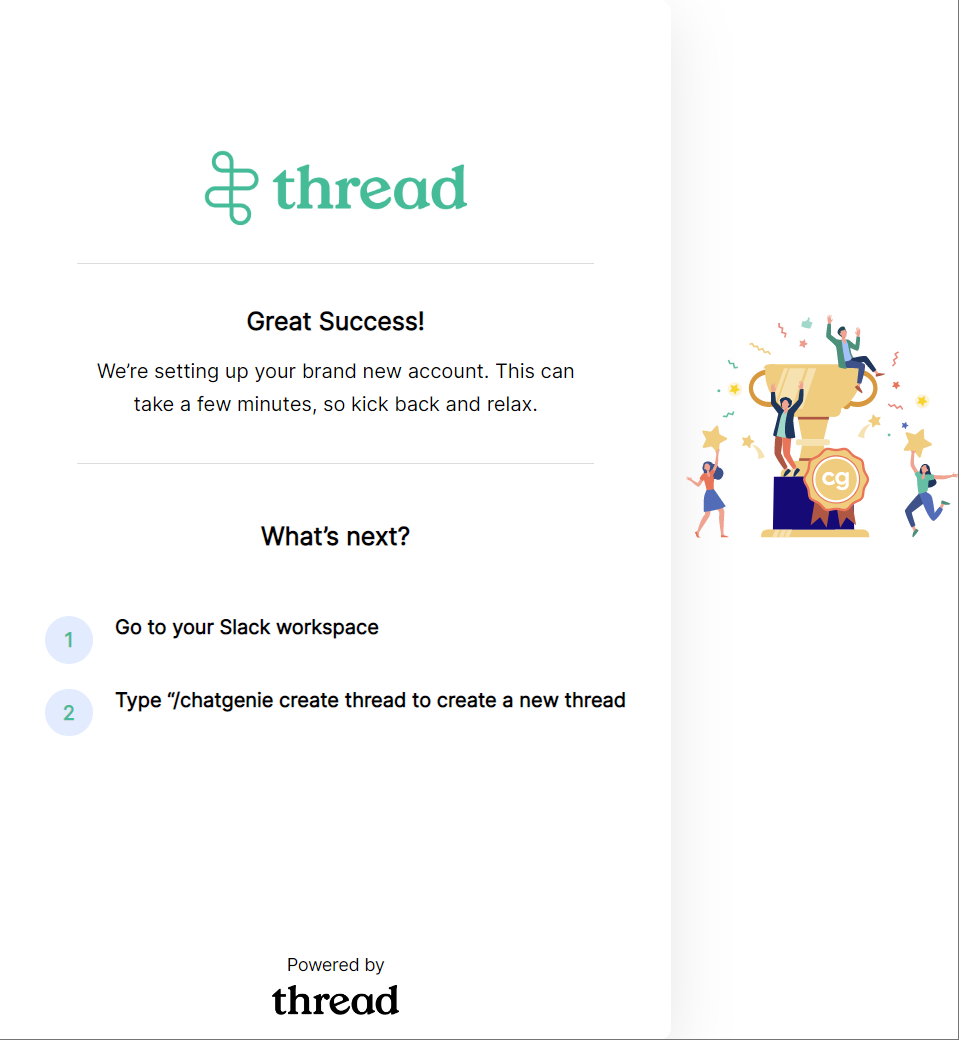
- You successfully deployed the app, you should see a success message.
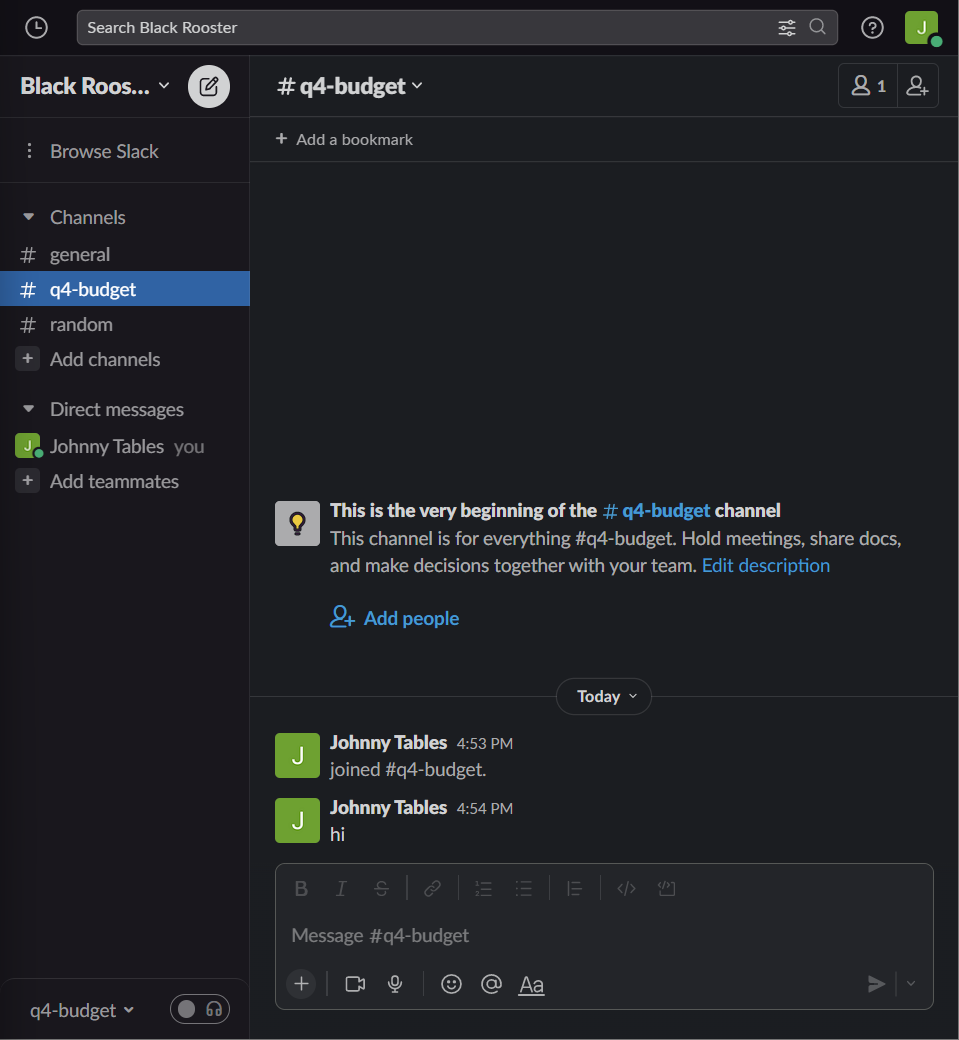
- Next, navigate back to the Slack Sandbox environment. The app should be installed in the Slack workspace. If the app does not show in the list of apps, go to Add app and search for Chatgenie to add it manually.
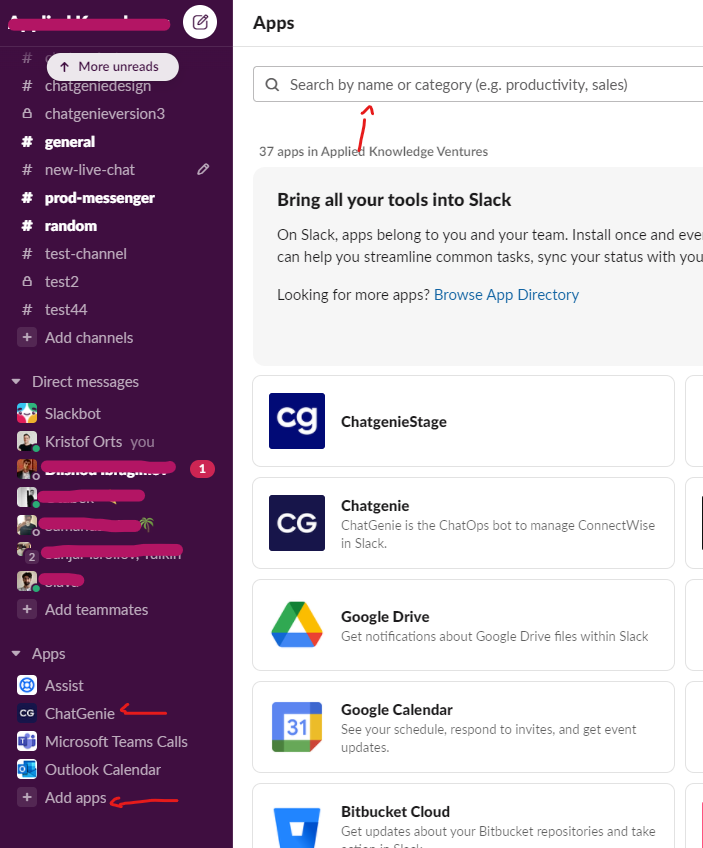
- Under the Chatgenie app (or if you have a custom app, the custom app name), you can test the client experience by creating new threads and testing chat and other bot capabilities.