How to Deploy the Teams Service App

- Q: "After publishing, the icon is not appearing correctly. How do I fix this?"
- Q: "I am getting a "Insufficient privileges to complete the operation" error when trying to deploy the teams service app. What should I do?"
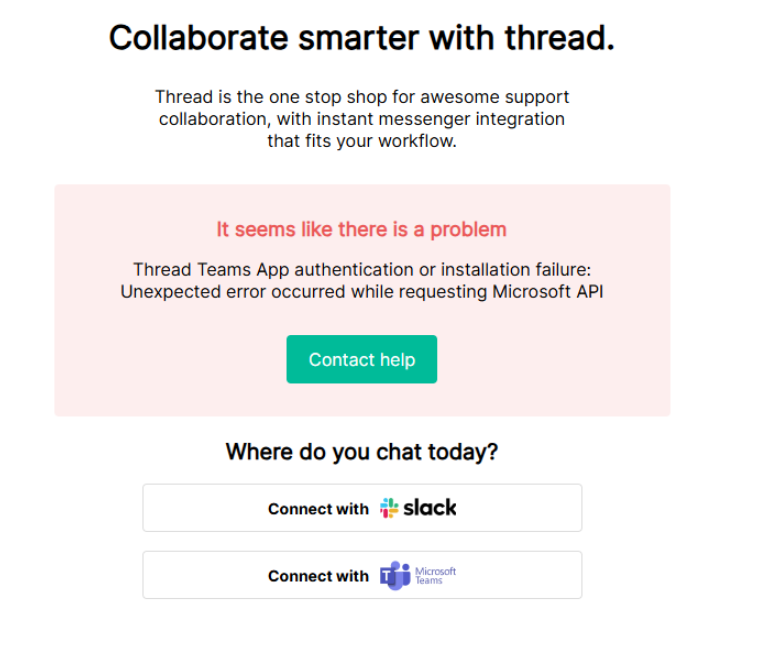
- Q: "I am getting a "Thread Teams App authentication or installation failure: Unexpected error occurred while requesting Microsoft API" error when trying to deploy the teams service app. What should I do?"
Overview
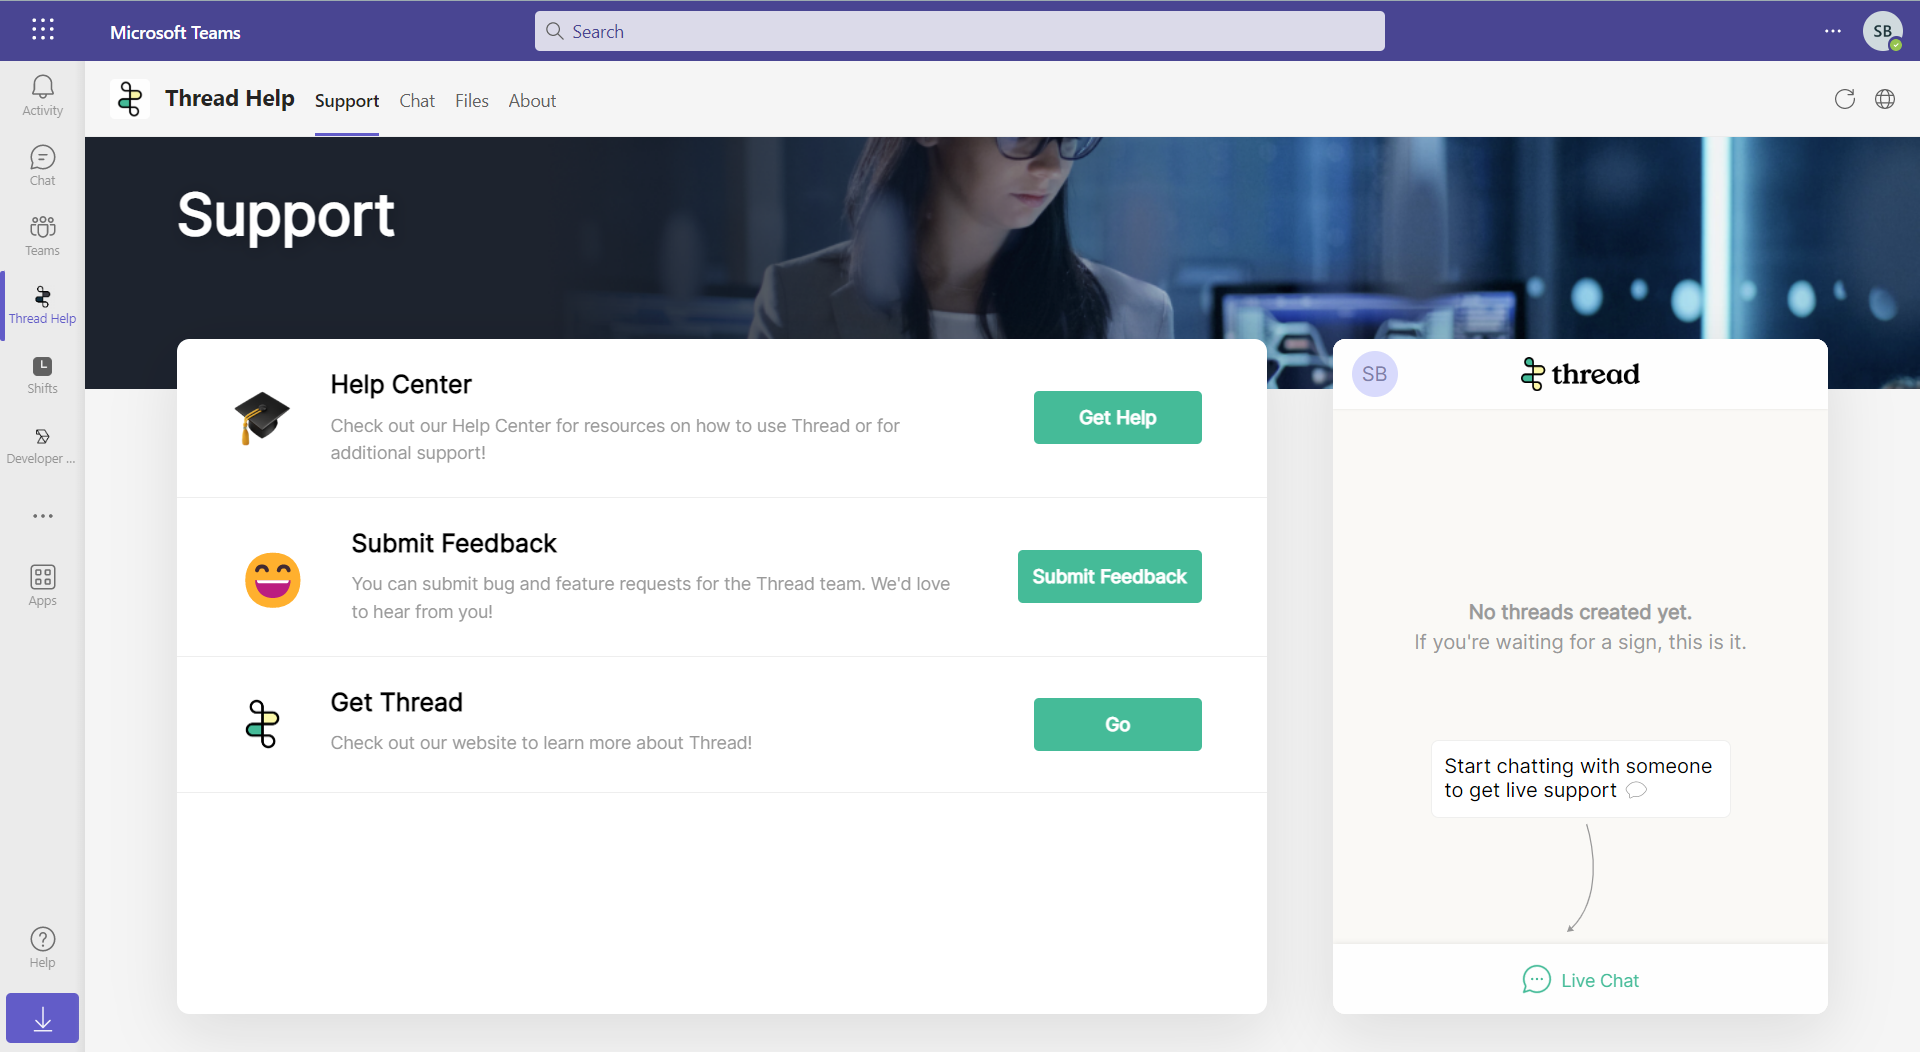
The Teams Service app is a white-labeled application designed for deployment in your customers' environments. This app seamlessly integrates Messenger as an iframe into Microsoft Teams, allowing customers to interact with your service team for real-time updates on their tickets and threads—right where they work!
Key Features:
- White-Labeled: Customize the app with your branding. Create as many branded applications as you need, each tailored to a specific customer—putting the power of customization in your hands! Click here to learn more about customizing your app's design.
- Messenger Integration: Embed Messenger (chat) within Microsoft Teams as an iframe.
- Connect with Your Customers, Where They Work: Allows customers to connect with their service team and receive real-time updates on their tickets and threads.
Deploying the Teams Service App
Preliminary Steps
- Customize Messenger and Teams App:
- Ensure you have completed the Messenger setup and customized the Teams app to your liking.
- Deploy Chat to Your Team First:
- Deploy the service app internally to help your team learn the platform and provide a testing environment before deploying to customers.
- If you don’t use Teams or can't deploy internally, check our guide on deploying to a sandbox environment.
Deployment Process
- Open a separate browser session in incognito mode to ensure you sign into the correct Microsoft Teams environment.
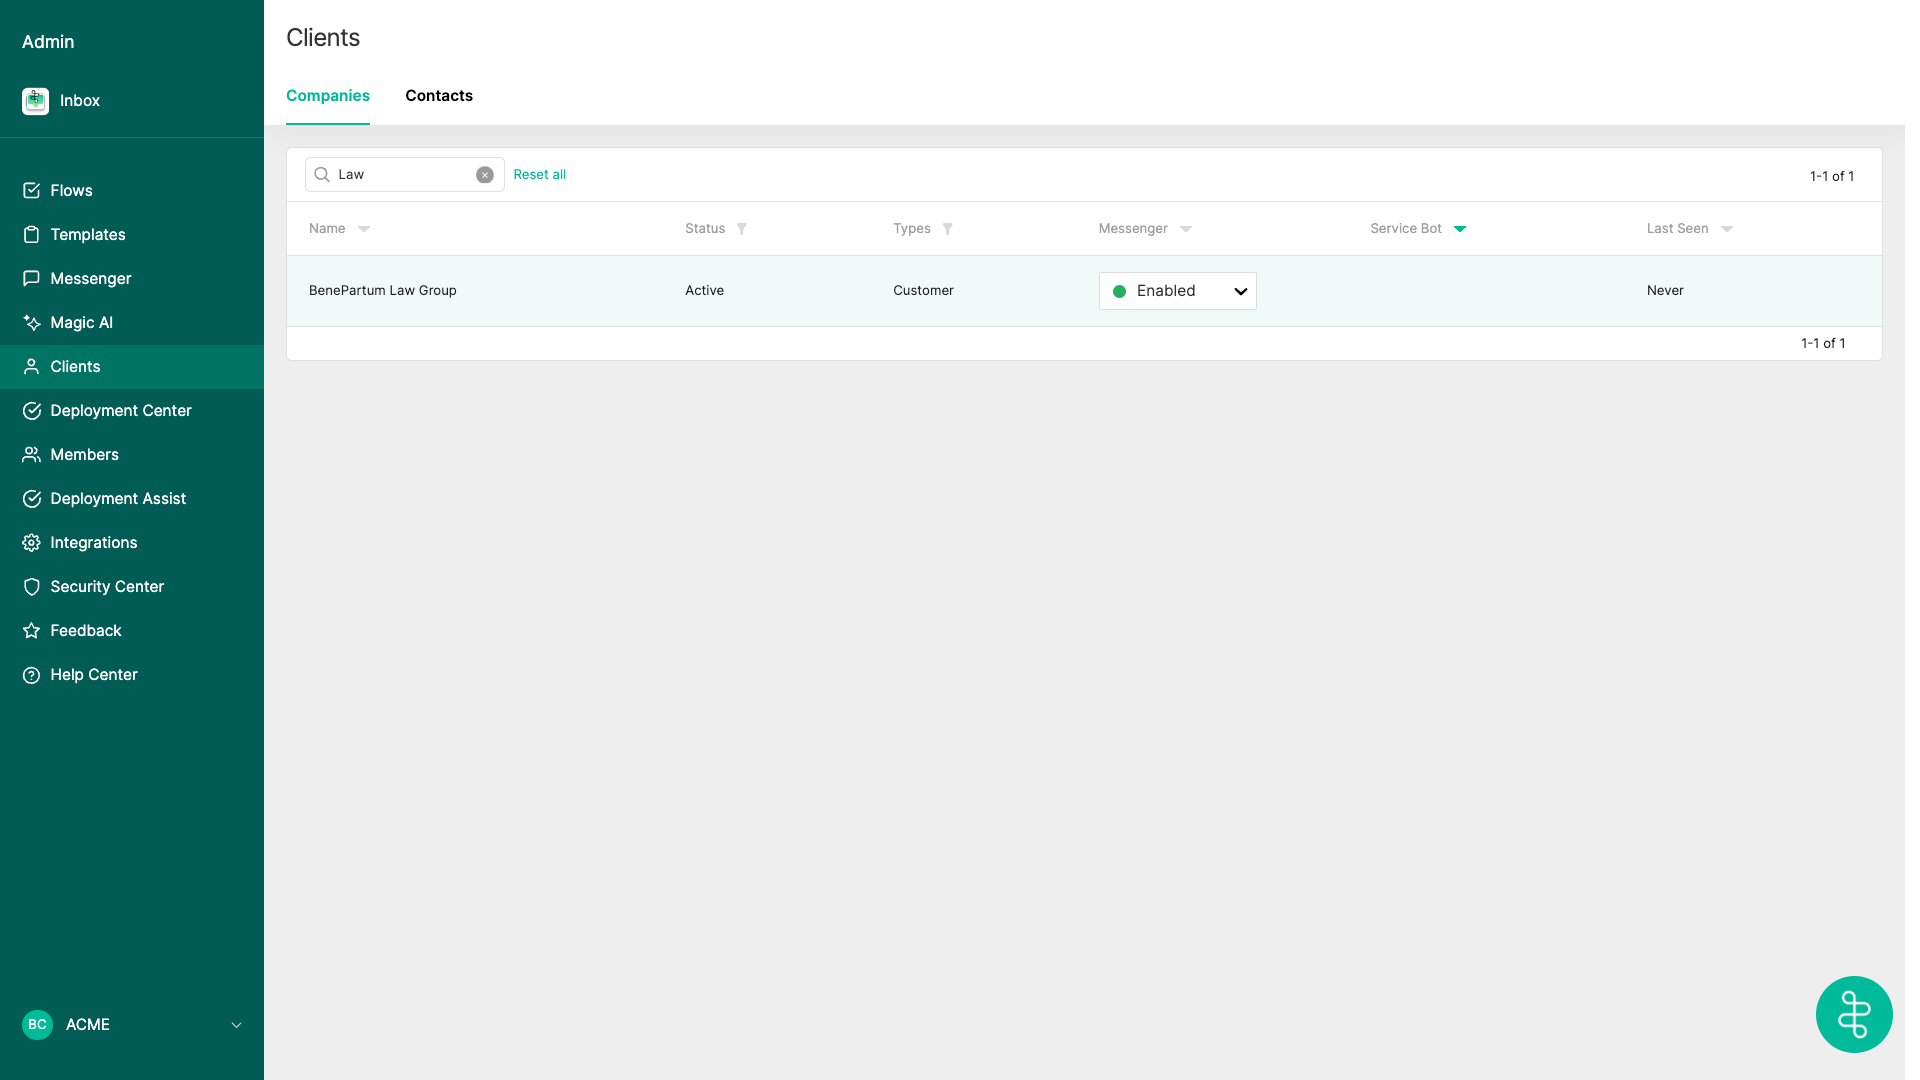
- Sign in to the Thread Admin Panel and Navigate to the Clients tab.
- Click the Magnifying Glass icon to search for the company you want to deploy to, then select it.
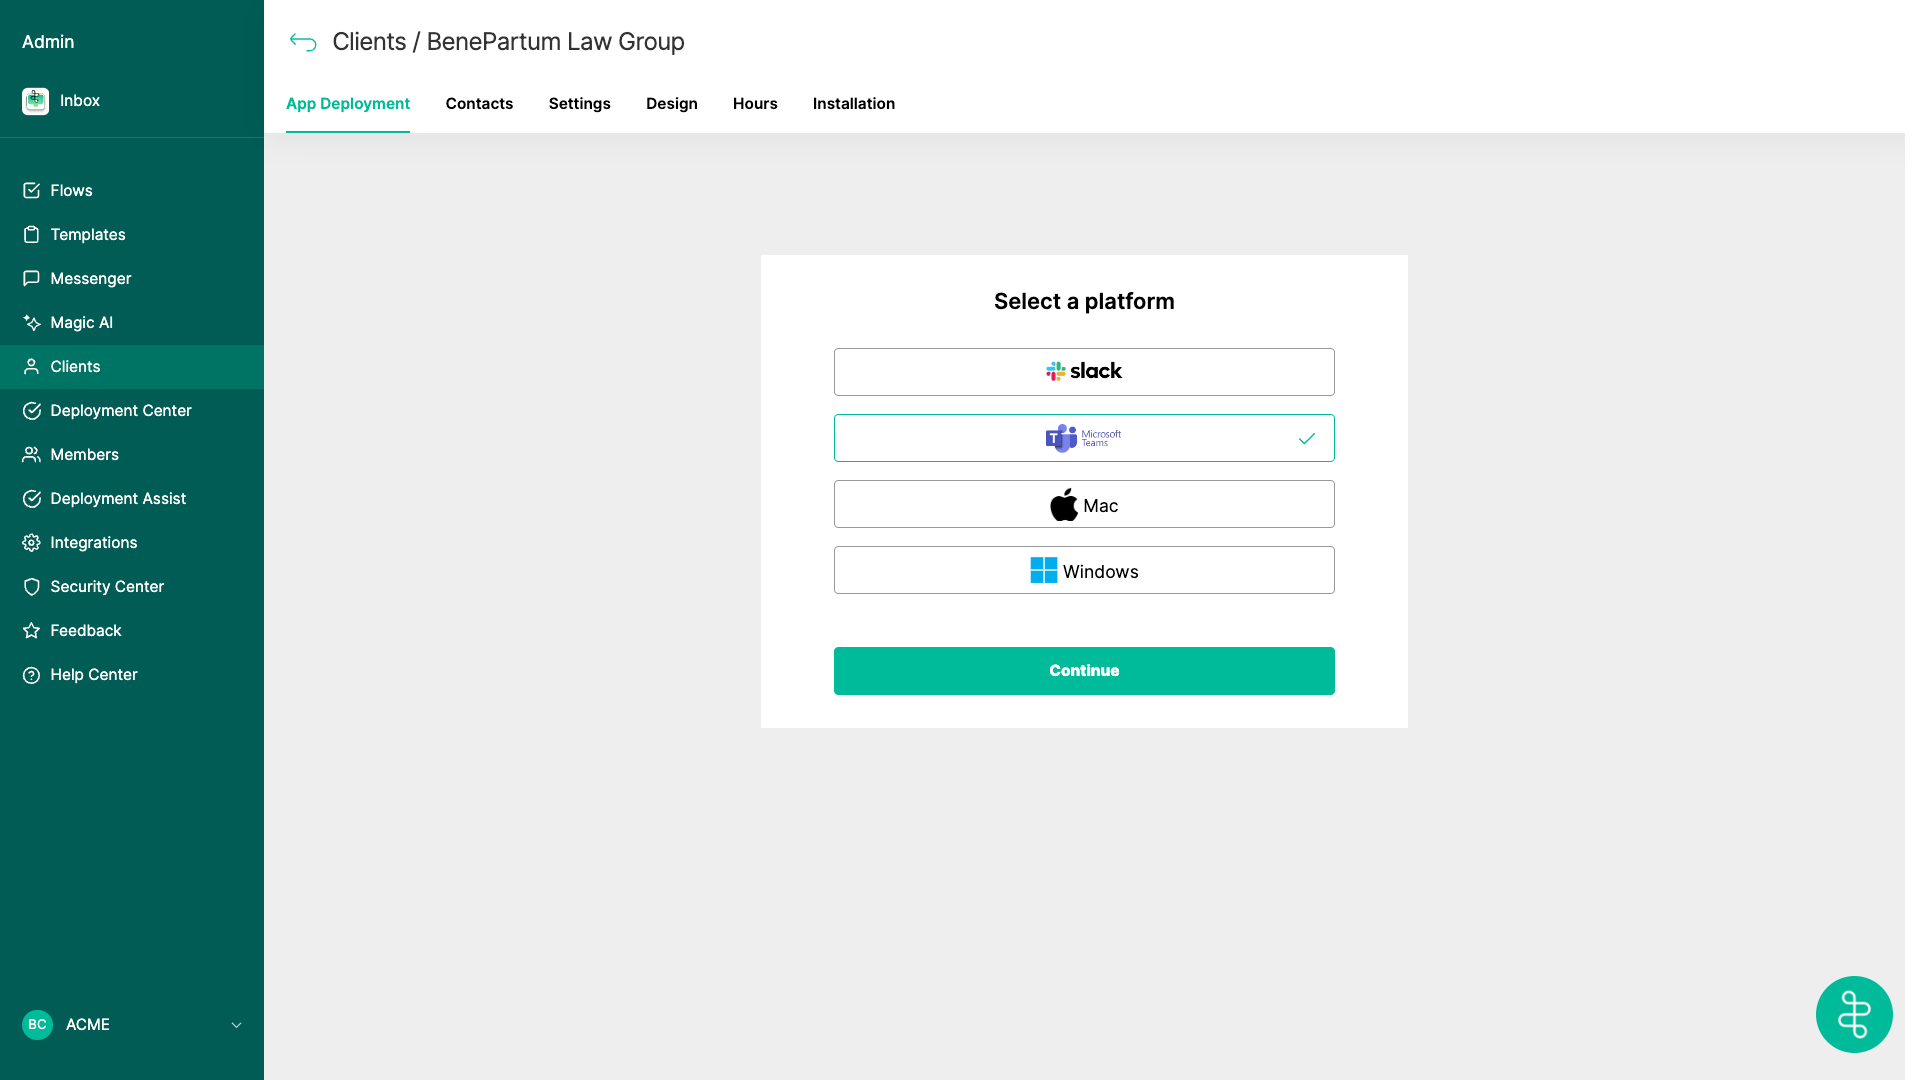
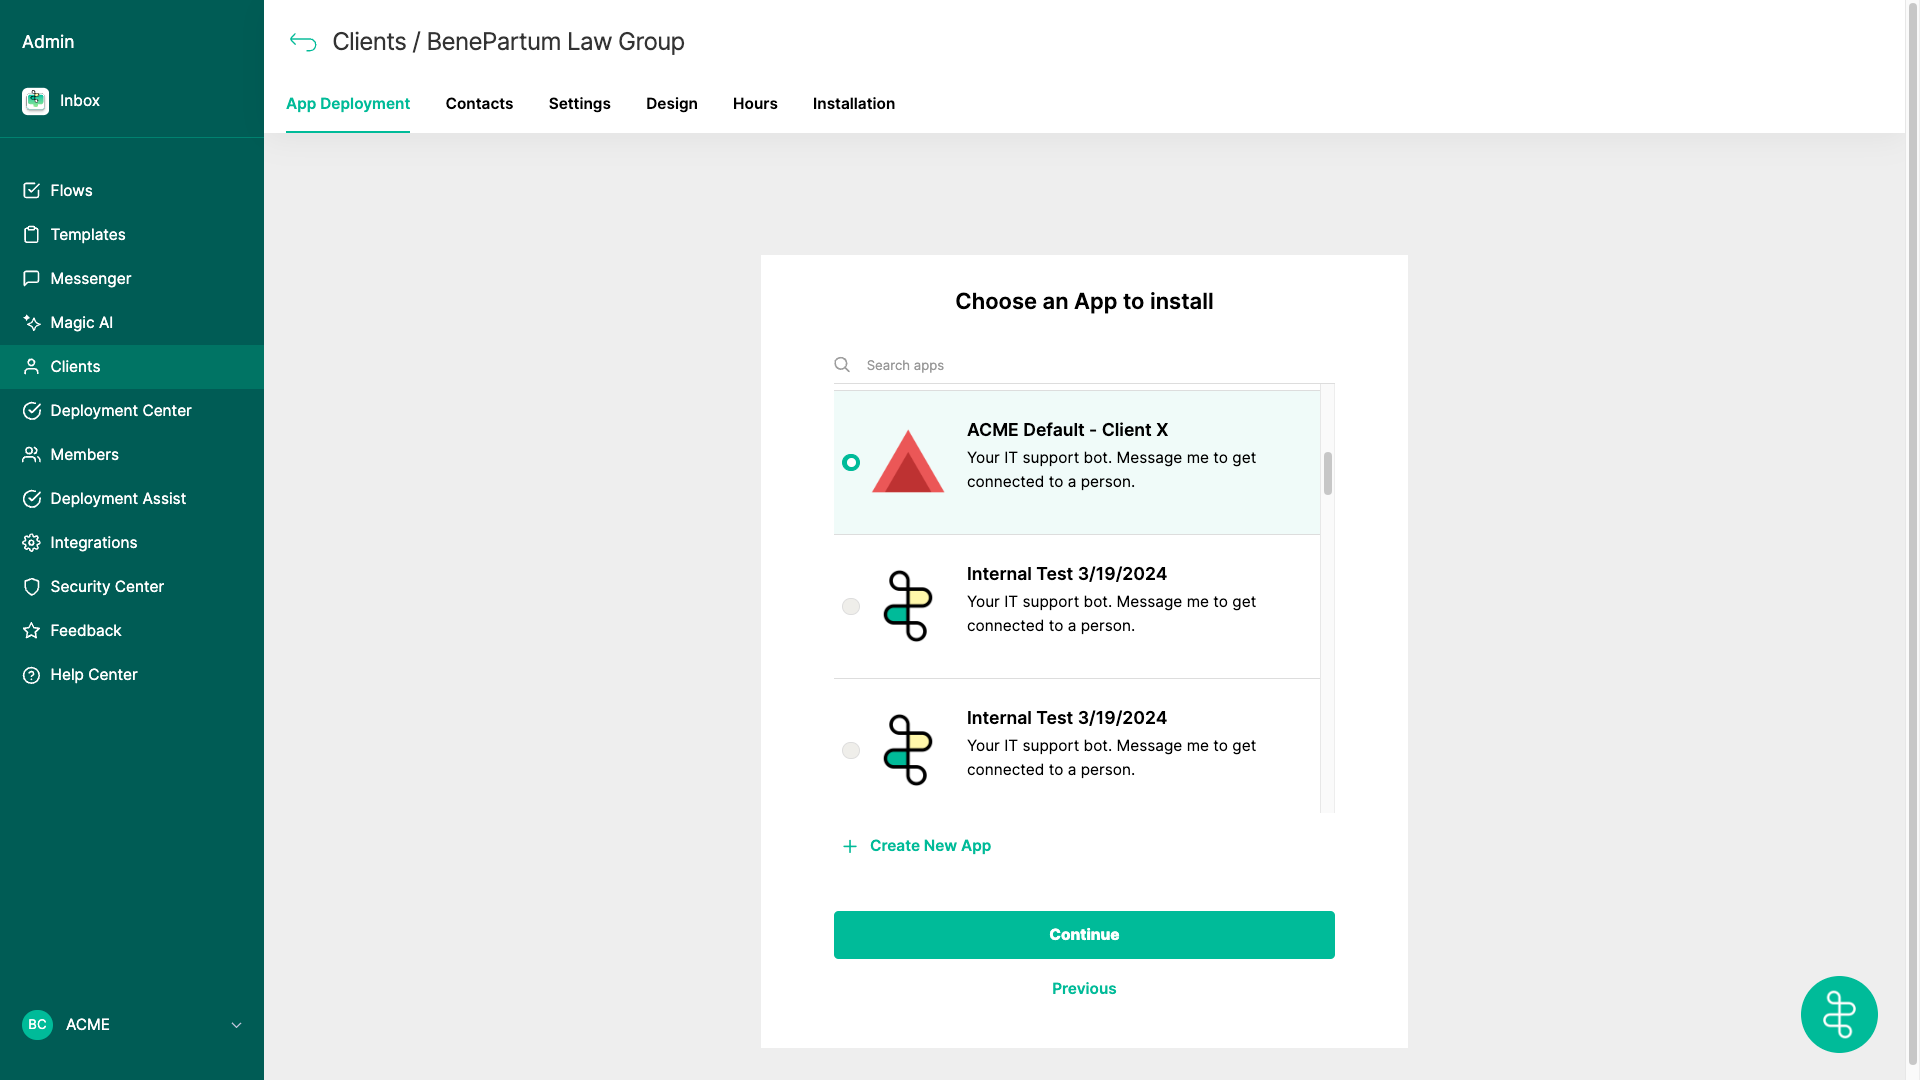
- After selecting the client, navigate to the App Deployment tab, choose Microsoft Teams, and click Continue.
- Select the Teams app you want to deploy to the customer's Microsoft 365 environment, then click Continue.
- On the following screen, you will see two options:
Email Invite: Use this option if you don’t have admin access to the customer's Teams environment. Send the link to an administrator in the Microsoft 365 tenant (the account must have email set up). They will receive an email guiding them through the deployment steps.
Magic Link: Use this option if you have administrative access to the Microsoft 365 environment you are deploying to.This guide follows the Magic Link option. The email invite process is similar but involves the user receiving a link via email.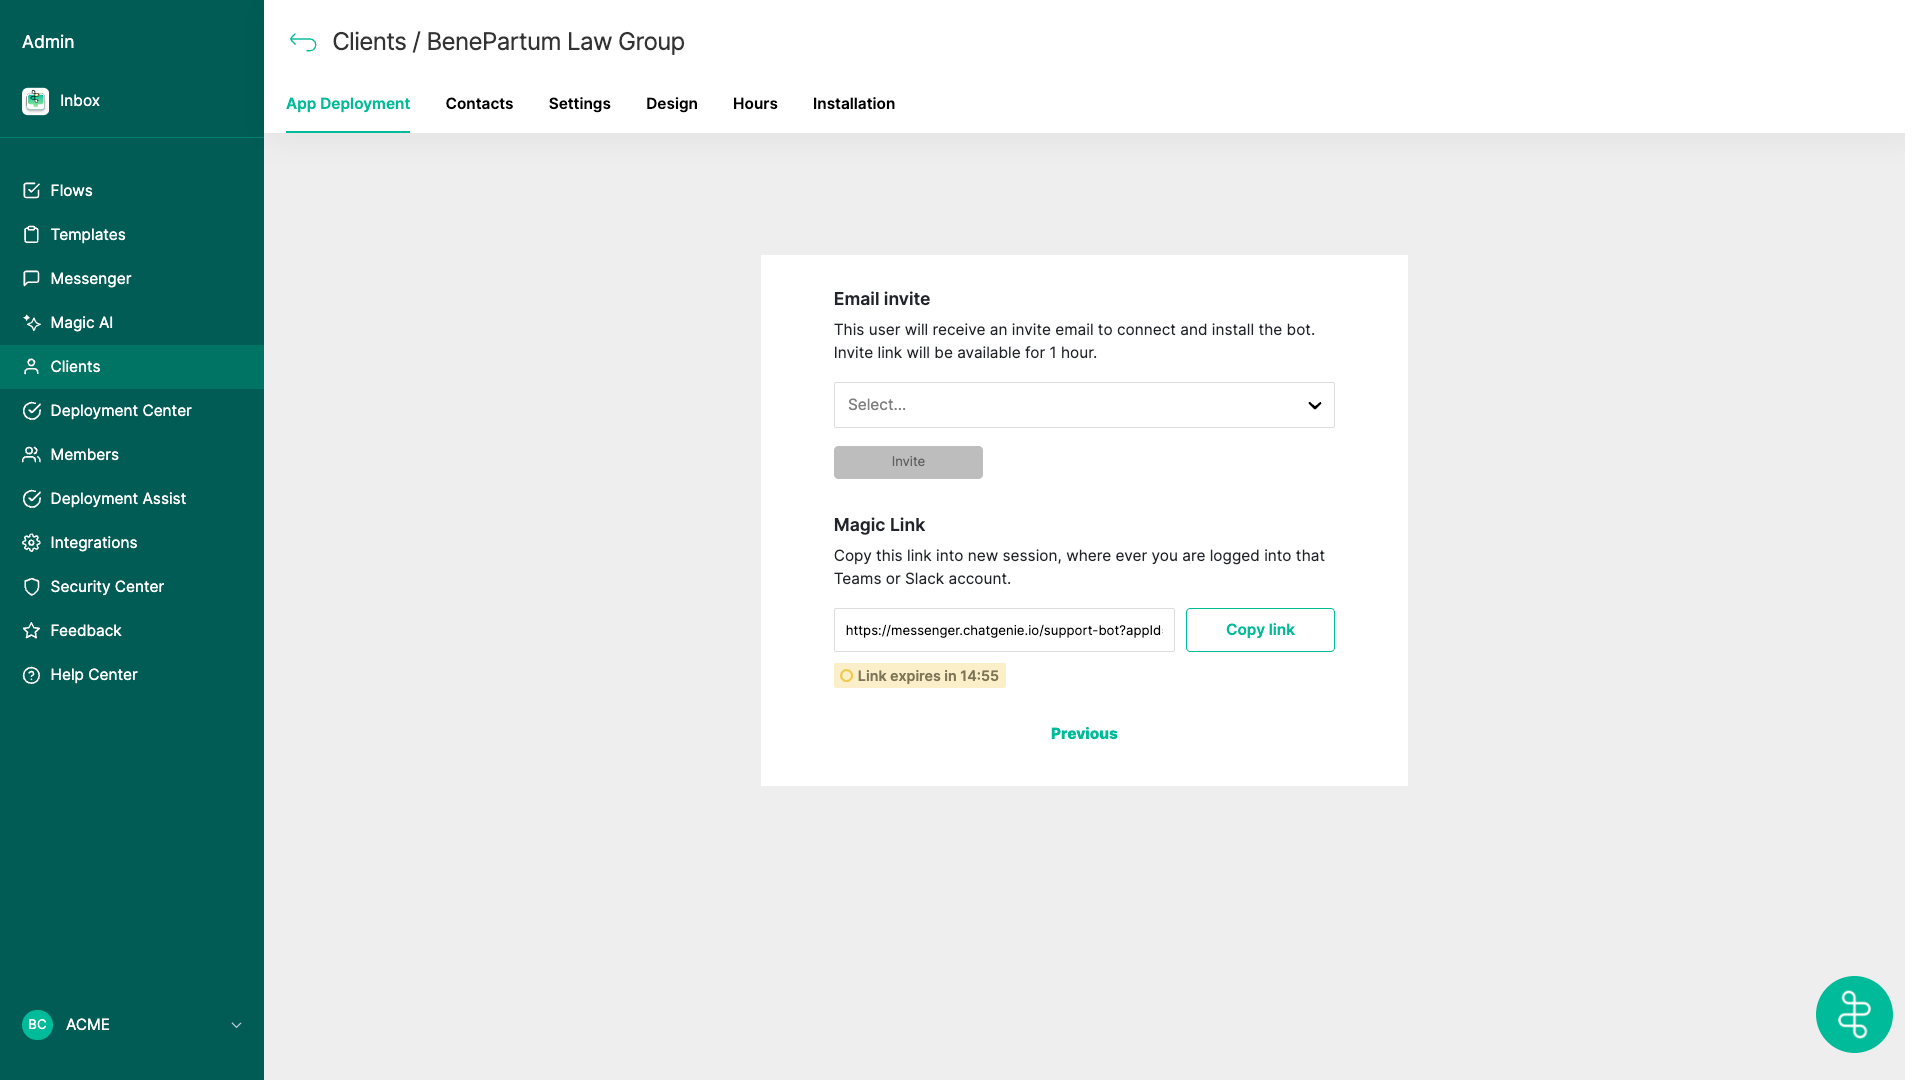
- Click "Copy link" next to the Magic Link and paste it into a new tab in your current incognito browser session.
- When you navigate to the Magic Link, you'll be prompted to authenticate with an Administrator account in the customer's Microsoft 365 tenant. Enter the username for that account and click Next.
- Enter the password and complete any required MFA (multi-factor authentication).If you aren't already signed into Thread in your browser session, clicking on the Magic Link may prompt you to sign in to Thread before redirecting to the Microsoft login. Ensure you have admin access in Thread for this step to work.
The email link to share with others does not require that the recipient has Thread access.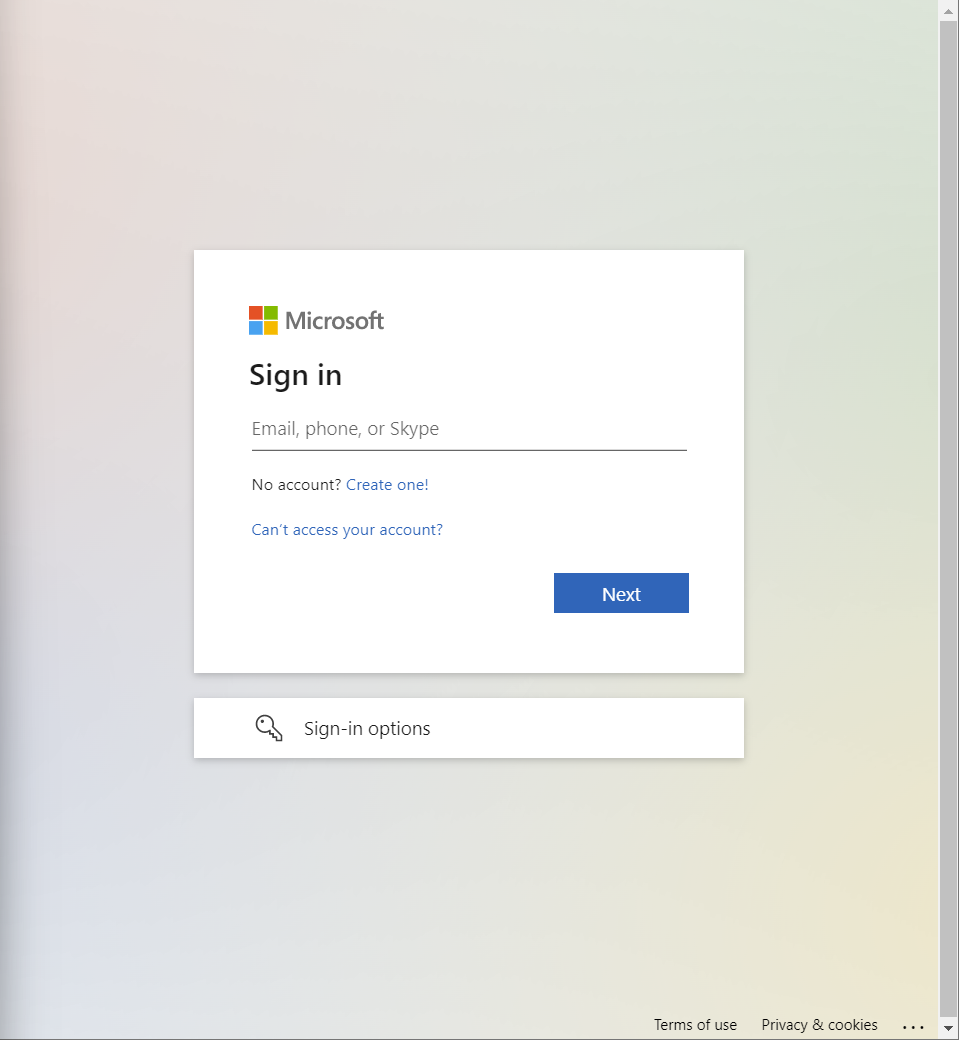
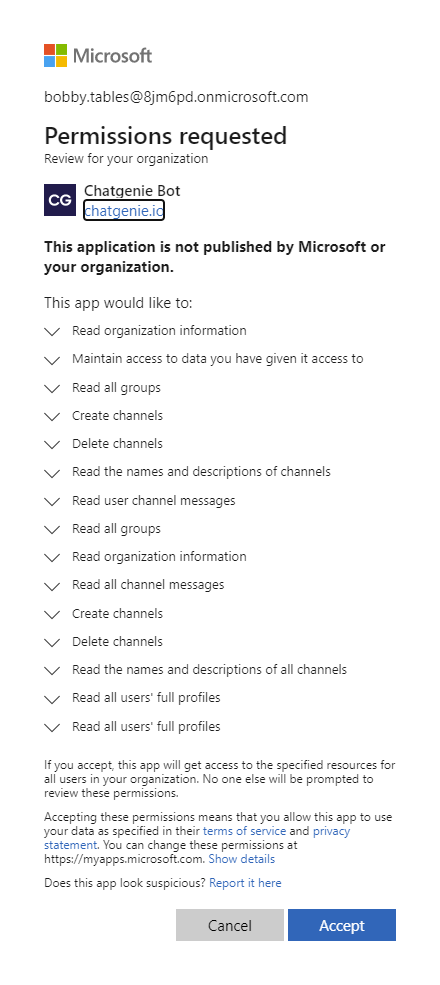
- You will be prompted to grant permissions for the bot. Click Accept.
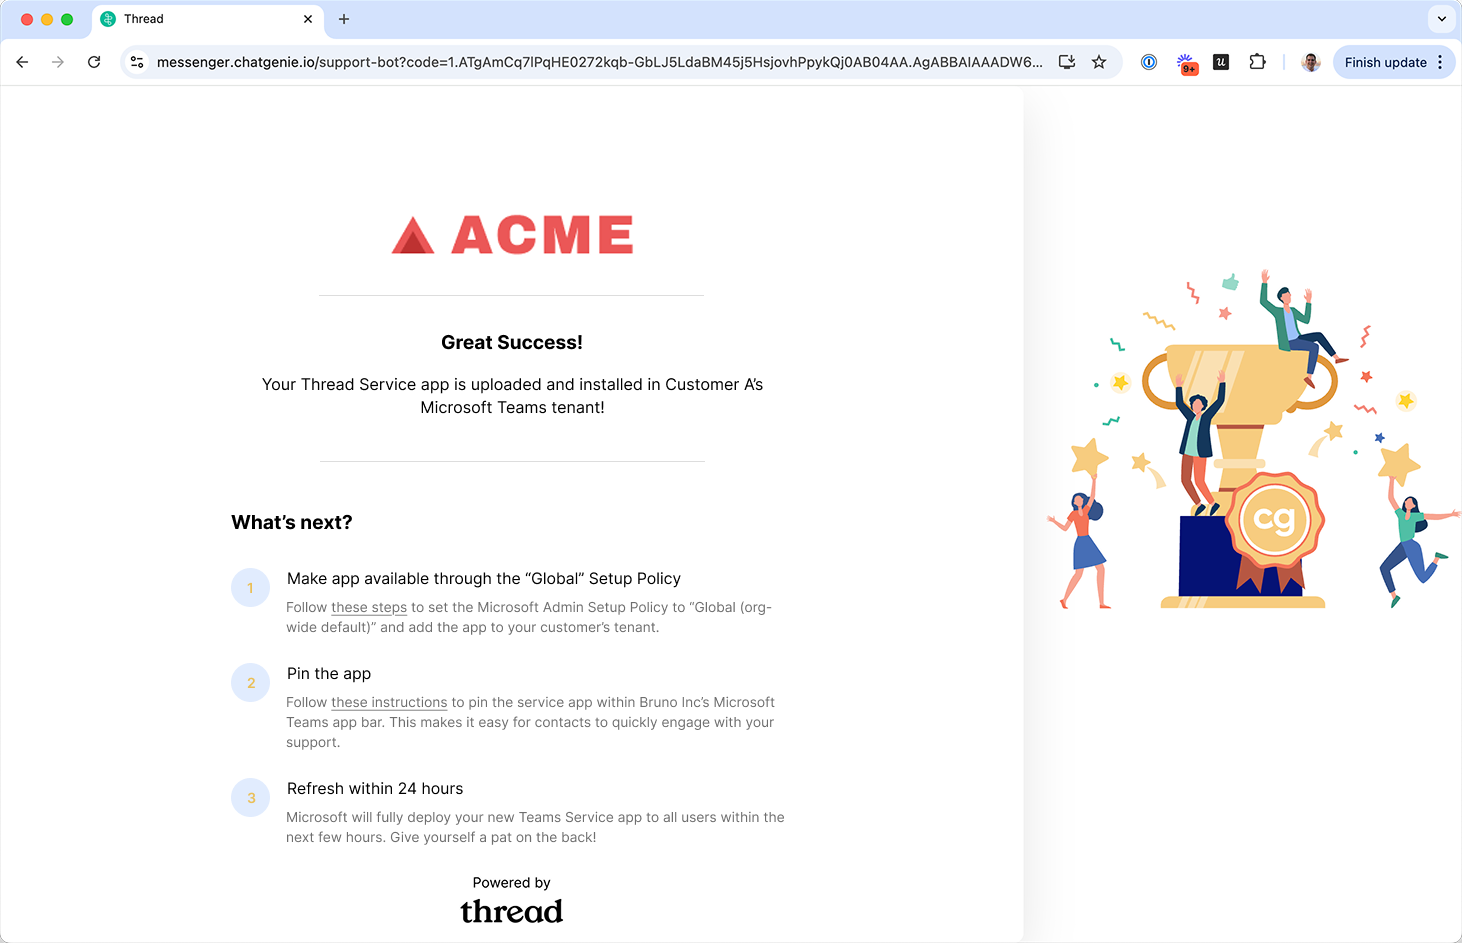
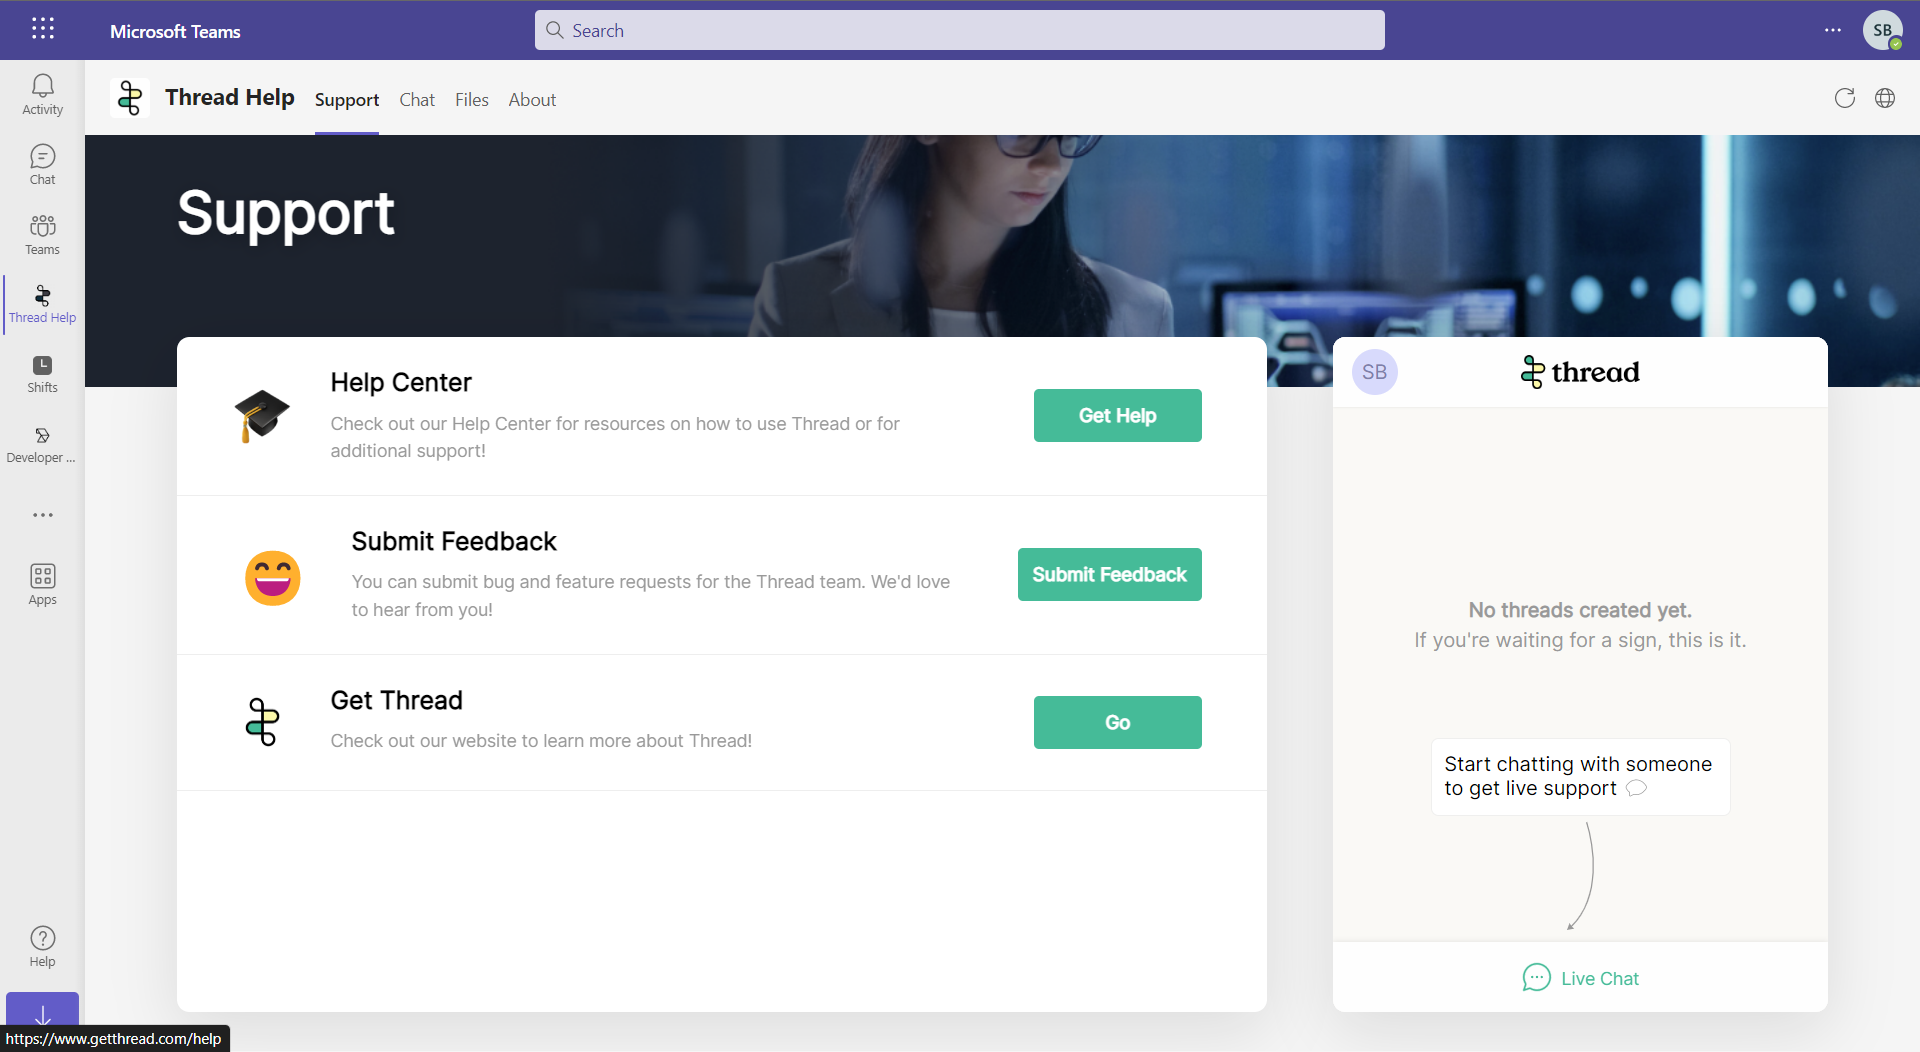
- If this step was successful, you will see a confirmation screen similar to the one below:
Step 1 — Locate Thread Stage in the Teams Admin Center
- Sign in to the Microsoft Teams Admin Center.
- In the left navigation, go to Teams apps → Manage apps.
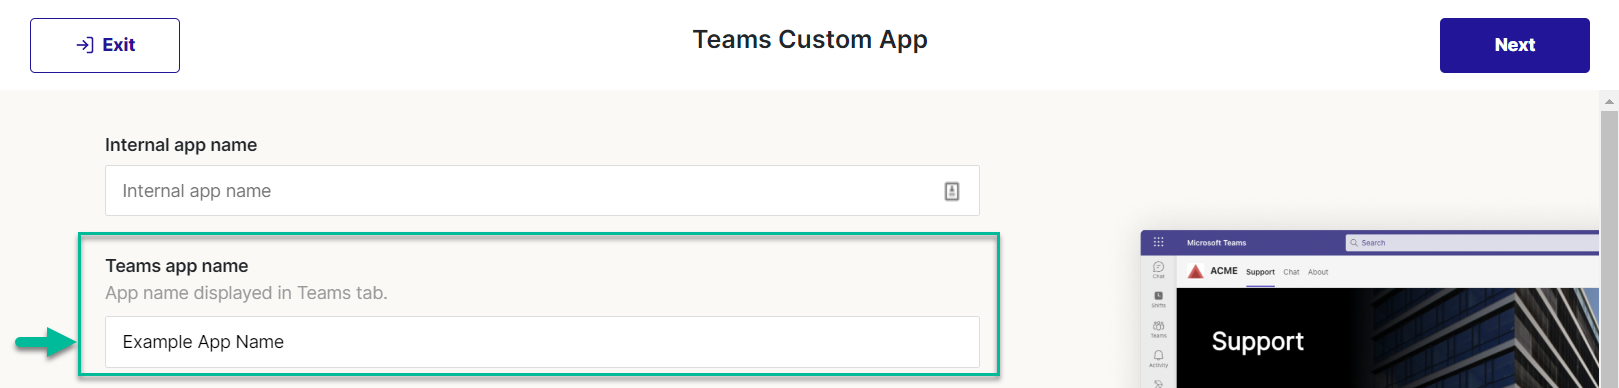
- Search for your app name and click the app name to open its details page.To identify the name of your custom app, navigate to the Thread Admin panel (Messenger -> Teams Apps -> Edit -> Teams app name). The Teams app name is what you want to search for.
You will see the app overview with publisher Thread Magic, Inc, the supported surfaces (Microsoft 365, Outlook, Teams), and the current published version.
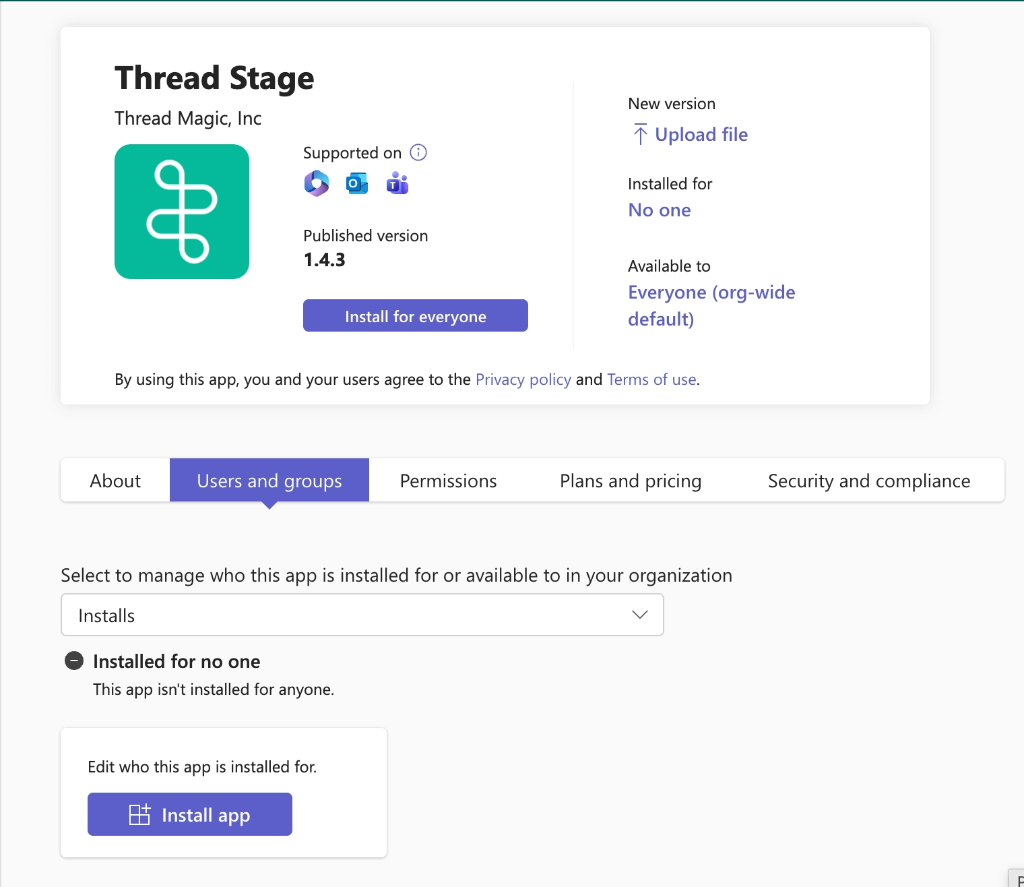
Step 2 — Install for Users
Click the Users and groups tab. You will see a dropdown labeled "Select to manage who this app is installed" with two modes. Select Installs.

Step 3 — Install for all users
- In the dropdown, select Installs
- Click Install App

- Choose Everyone
: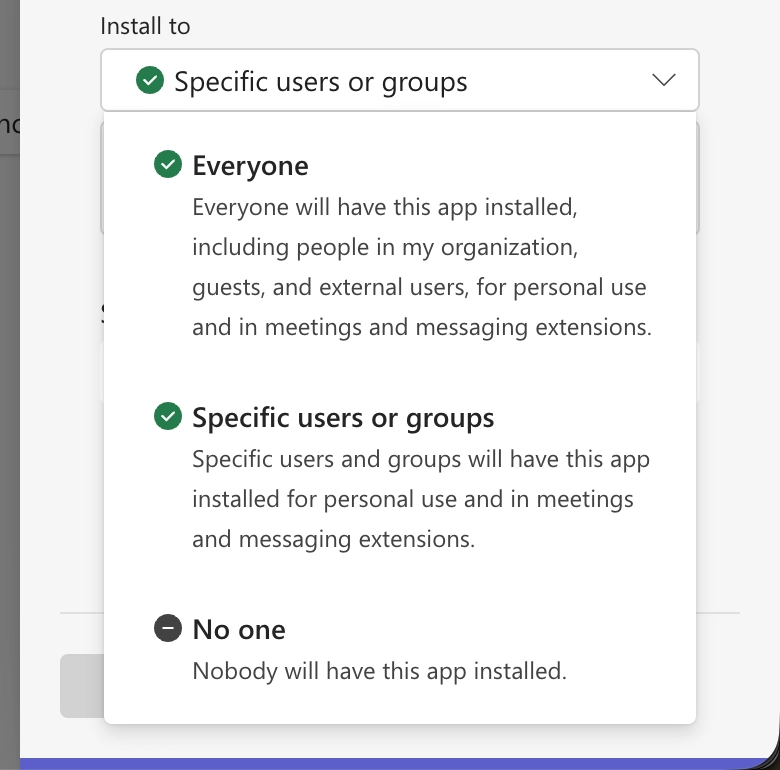
- Everyone — All users in your org, plus guests and external users, can install Your app.
- Click Apply.
Configure 'Setup Policies' in Teams
- Navigate to the Teams Admin Center (https://admin.teams.microsoft.com) -> Teams apps -> Setup policies.
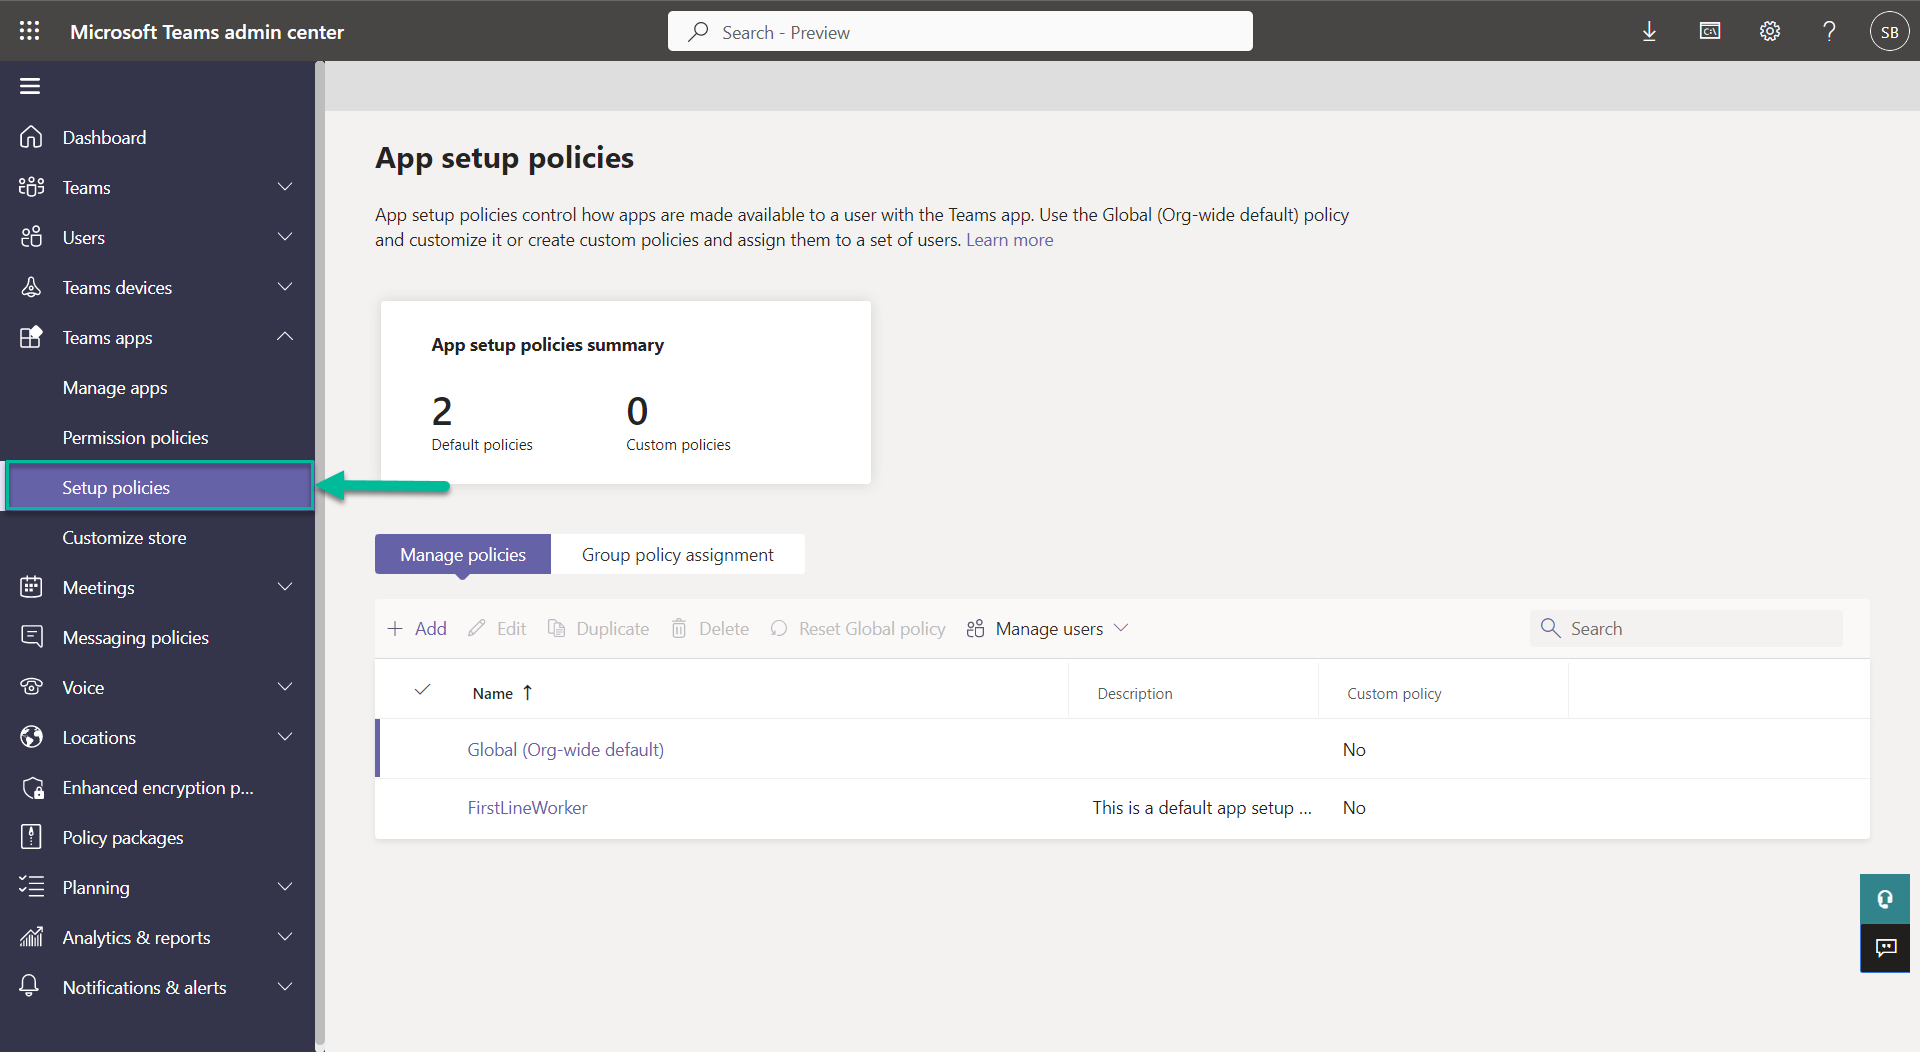
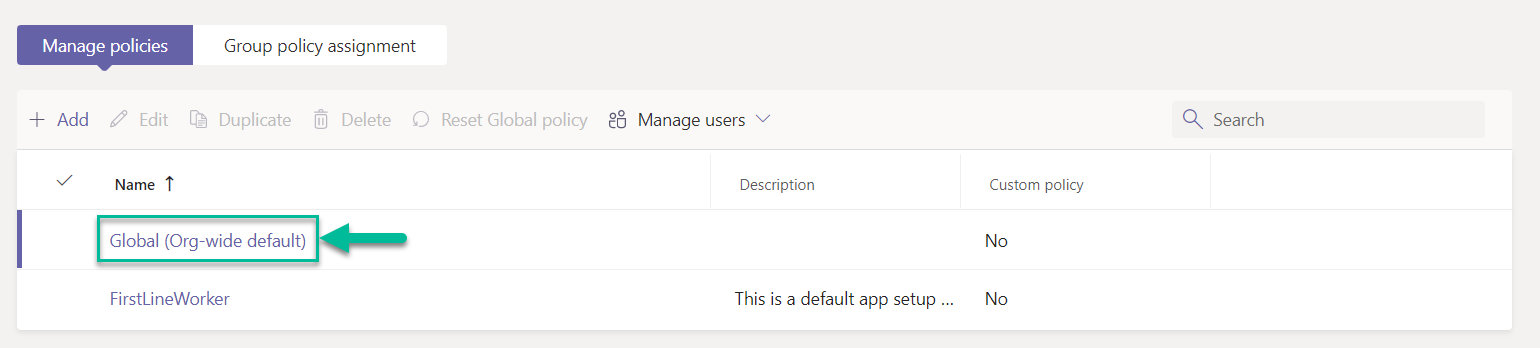
- Click Global (Org-wide default).The Global policy will apply to all users in the environment, but if you want to limit who in your customer's environment can use and interact with the application, you can set up your own policy assignment here. Follow our guide on How to roll out the Teams Service app to specific users here.
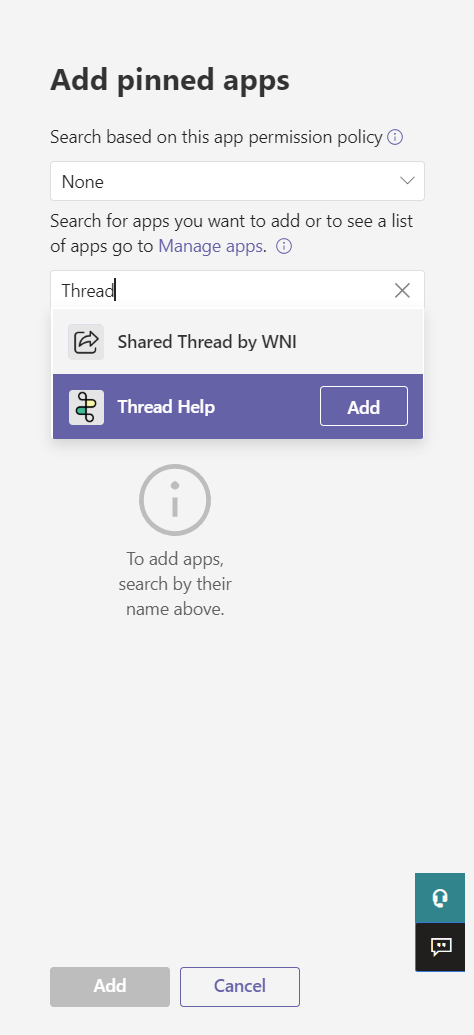
- An Add installed apps sidebar will appear. Search for the app based on the Teams app name you defined when building your custom teams app. Find the app, click Add and Add again at the bottom of the panel. Reapply the appropriate setup policy inside the Microsoft tenant to reinstall and pin the updated app.To identify the name of your custom app, navigate to the Thread Admin panel (Messenger -> Teams Apps -> Edit -> Teams app name). The Teams app name is what you want to search for.
- Under the Pinned apps section, click the + Add apps button.
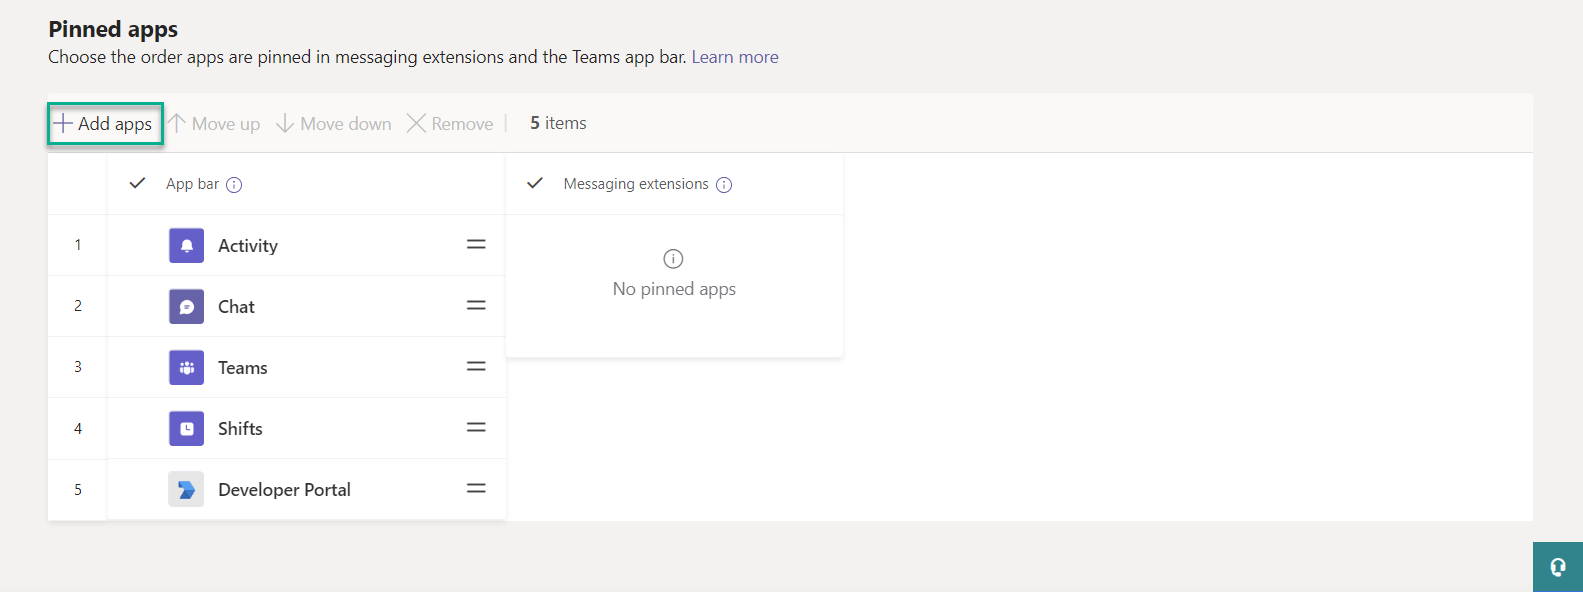
- Search for the app based on the Teams app name you defined when building your custom teams app. Find the app, click Add and Add again at the bottom of the panel.
- You will see the app under Pinned apps. If you want the app to feature prominently in your users Teams, you can move it up or down and click Save when done.

- Congrats you are all set up with your Teams app in your customer's Microsoft 365 tenant. After a short wait period, your end users are ready to start using Messenger.It may take time for the app to show up in users' Teams environment, due to Microsoft internal publishing process. Allow up to 24 hours for these changes to complete.
FAQ Section
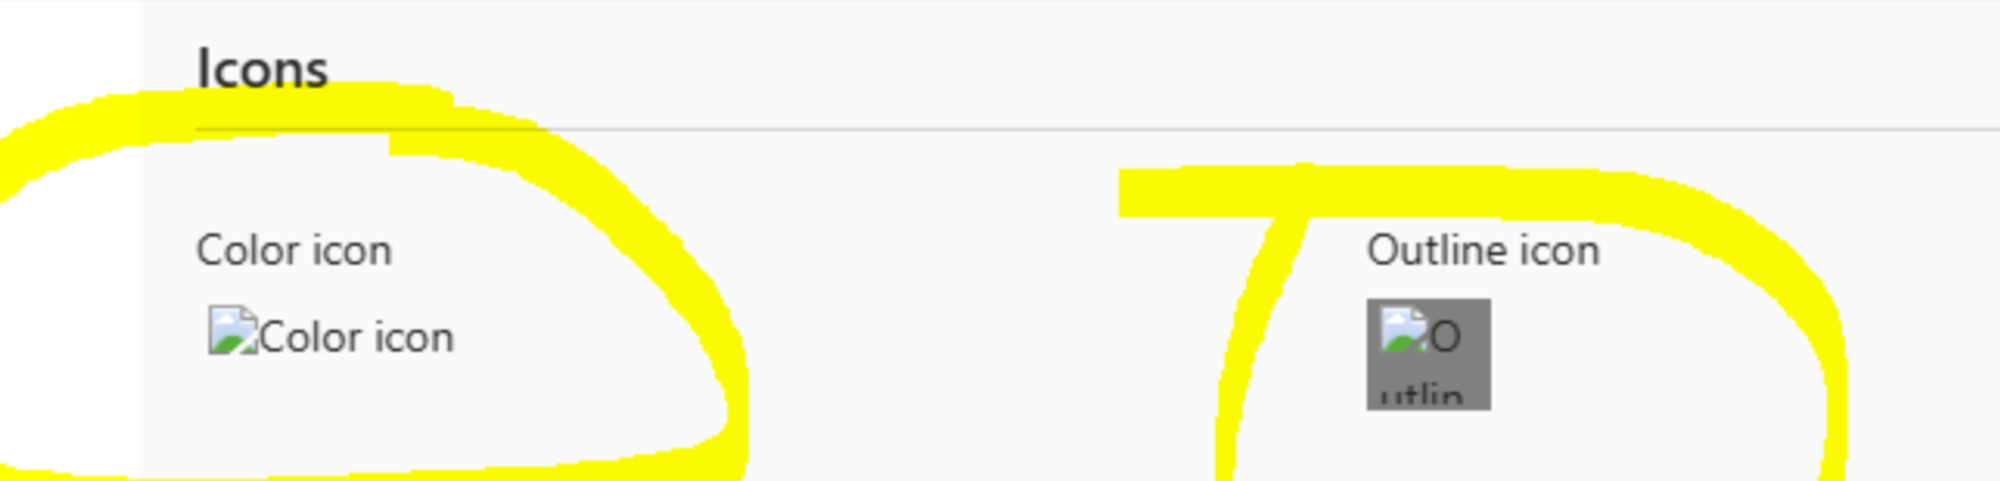
Q: "After publishing, the icon is not appearing correctly. How do I fix this?"
A: If the admin account you used to publish is not a fully licensed user in that Teams account (a common use case for IT Support providers), these icons do not display. The licensed end users in the account will see your full designs including icons.
Q: "I am getting a "Insufficient privileges to complete the operation" error when trying to deploy the teams service app. What should I do?"
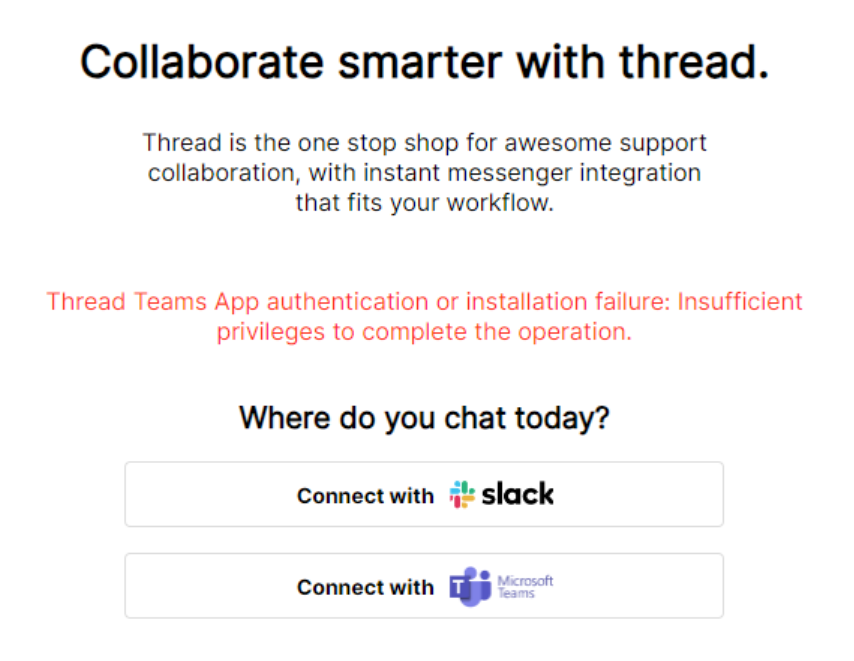
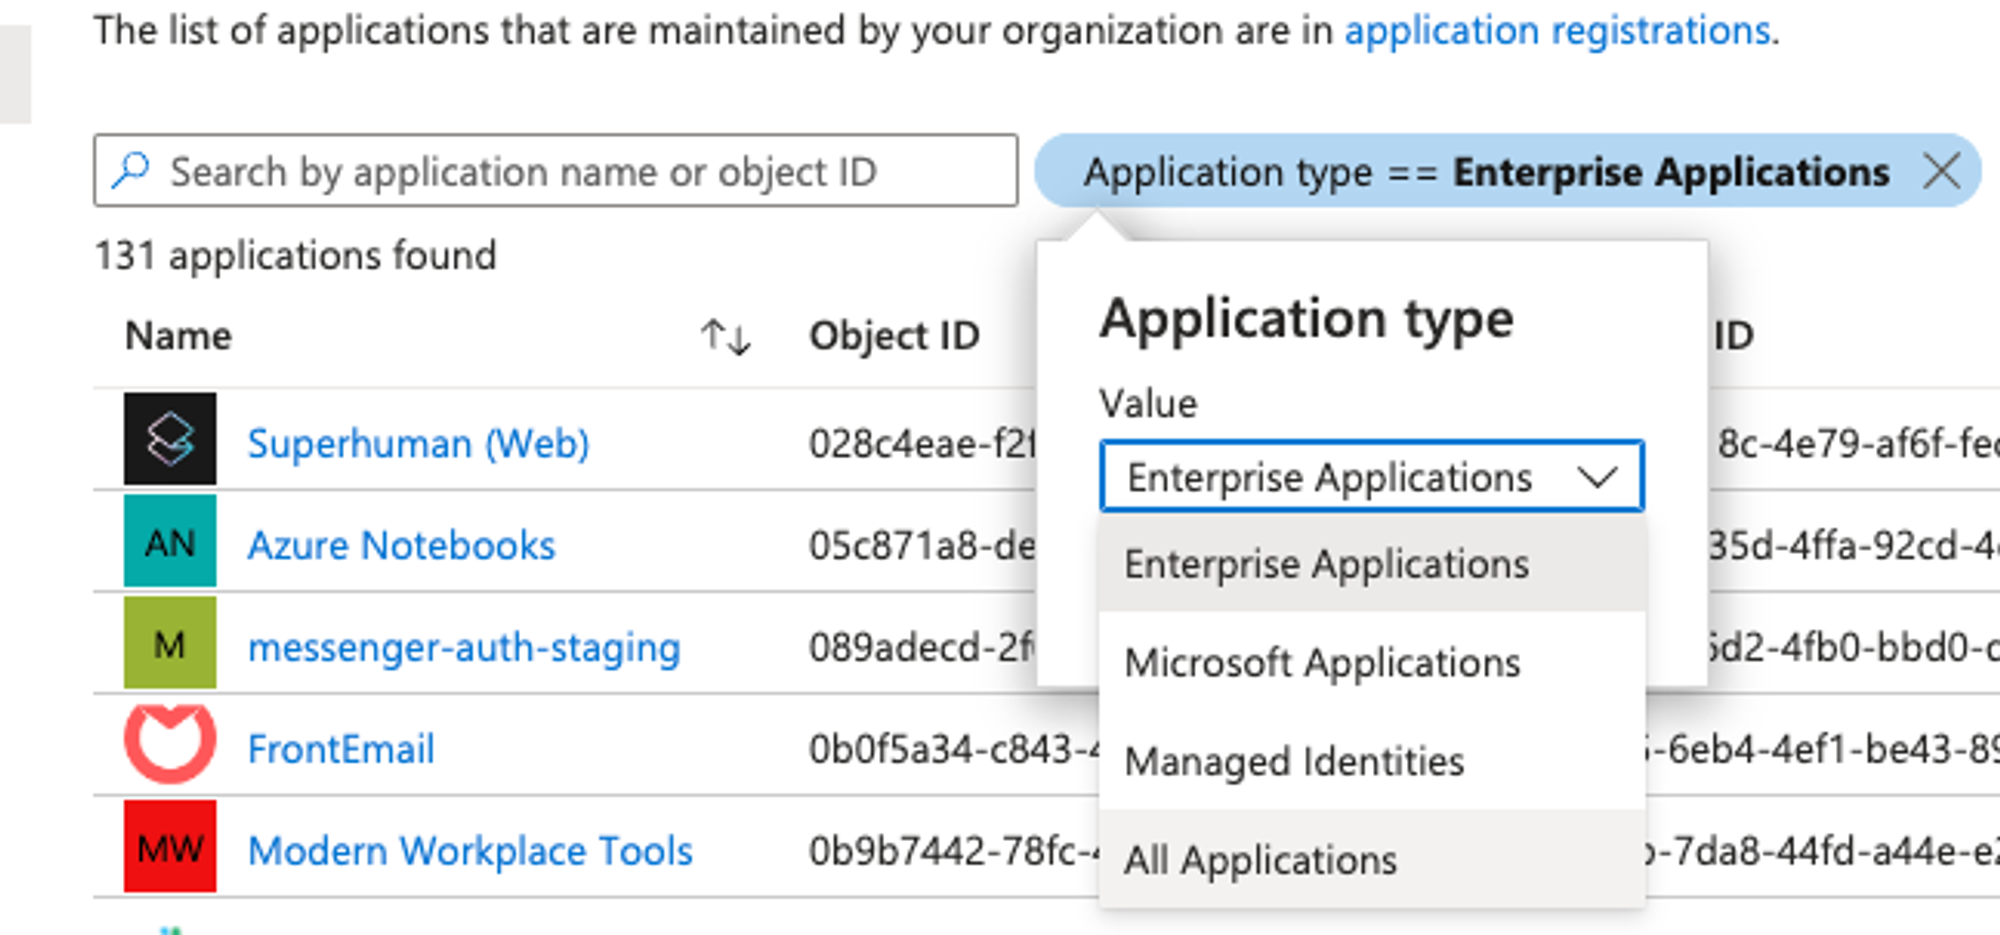
A: It may be there has been a previous deployment of a Thread service app (or Chatgenie for you OG's). To fix this remove any existing published apps from Enterprise applications in Teams. See this link.
Q: "I am getting a "Thread Teams App authentication or installation failure: Unexpected error occurred while requesting Microsoft API" error when trying to deploy the teams service app. What should I do?"
A: This error means that the tenant or company you are trying to deploy to does not have a Microsoft Teams license, or does not have Microsoft Teams at all.