Allow New Contacts to Open Chats in Messenger
 Updated
by
Stephen Boss
Updated
by
Stephen Boss
The default behavior of Messenger is to only allow contacts that exist in your PSA to initiate chats. This allows you to validate all the users opening support inquiries as belonging to that company.
This guide will show you how to override this default behavior and configure Messenger at the client-level to allow new contacts to open chats.
Enable New Contact Chat Flow
- Navigate to Admin Panel > Clients
- On the Company tab, select the client where you wish to deploy Messenger with a New Contact flow.
- From the client's screen, navigate to the Settings tab.
- Check the box for Override Parent Settings.
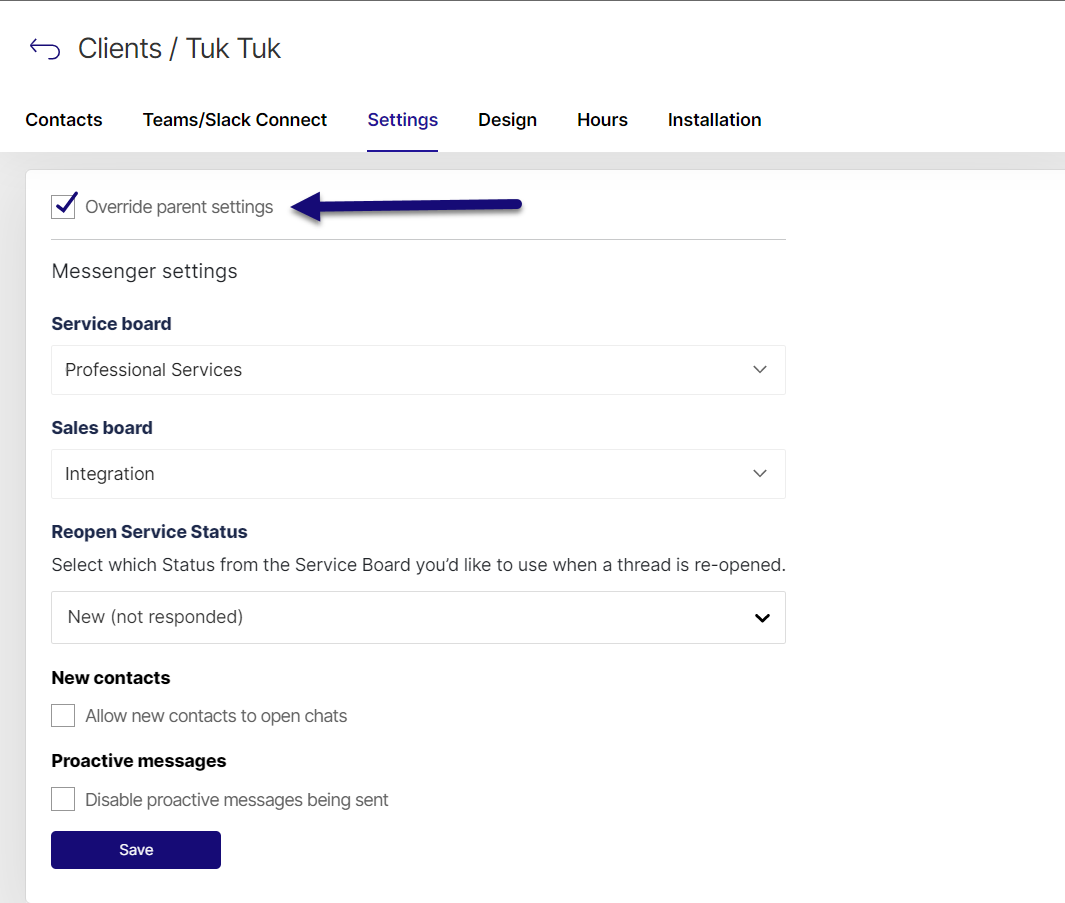
- By default, the Client will inherit the parent-level Messenger configuration, if you want to override those settings, do so here.
- When you are done modifying settings for the client, check the box for Allow new contacts to open chats.
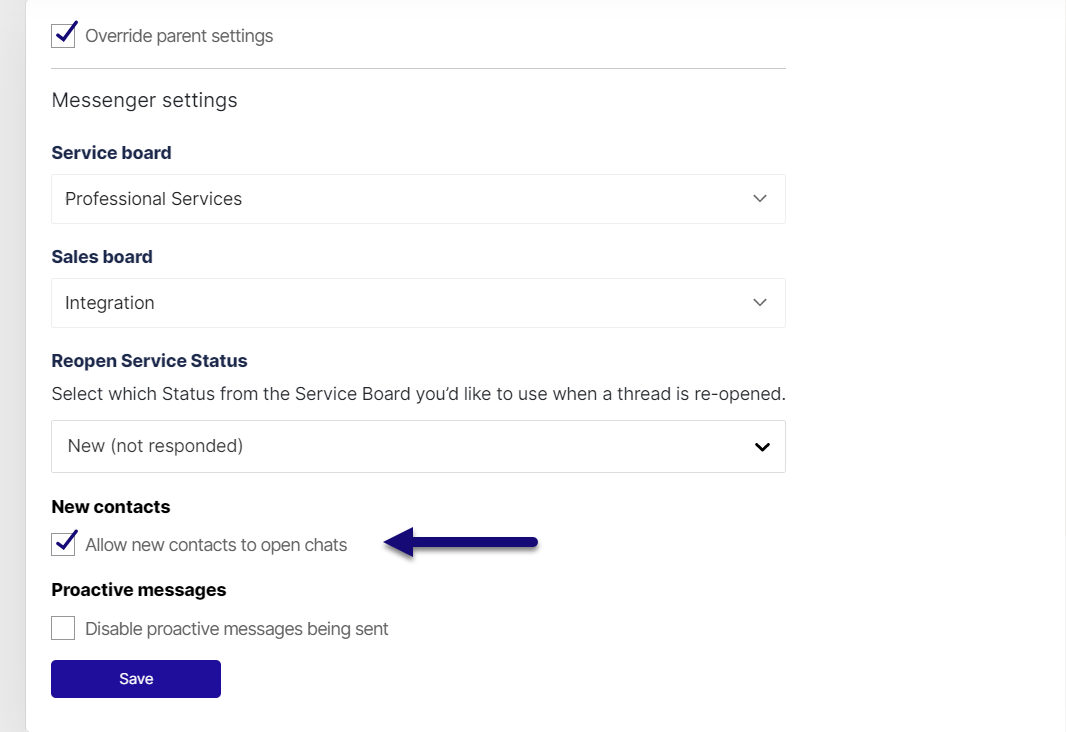
- Click Save.
Important Notes:
- Thread will create a new contact when the email address doesn't already exist in your PSA.
- Thread doesn't currently update or merge duplicate contacts automatically.
- To clean up duplicate contacts, merge the old contact with the new contact in your PSA.
- We do not support multiple email addresses for contacts at this time.
- Merging contacts will create an orphaned record in Thread. This can be disabled in the Thread Admin Panel.
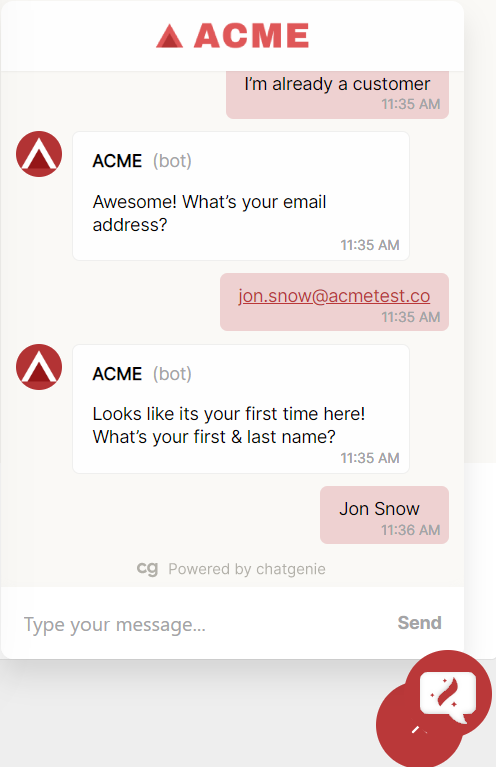
Test the New Contact Chat Flow (Optional)
Once you have enabled the setting at the Client-level, you can test the new flow by using the Messenger emulator on the right-hand side of the screen.
Deploy Messenger to the Client
The new contact chat flow will only apply to Messenger for Web or Desktop deployments that are deployed through the client-level App ID. If you previously installed Messenger using your parent-level App ID, you will want to redeploy using the client-specific App ID.
To Fetch the Client-Level App ID
- Navigate to Admin Panel > Clients
- On the Company tab, select the client where you wish to deploy Messenger with a New Contact flow.
- From the client's screen, navigate to the Installation tab.
- Copy the string under App ID
- Follow our Deployment Guides, use the App ID you copied in the previous step in your deployment.