Create Your First Views

In this guide, we’ll walk you through setting up the Triage and All Tickets views as your first views. These two views are essential for building out Thread Inbox, no matter your service model, and will help get your service team up and running quickly.
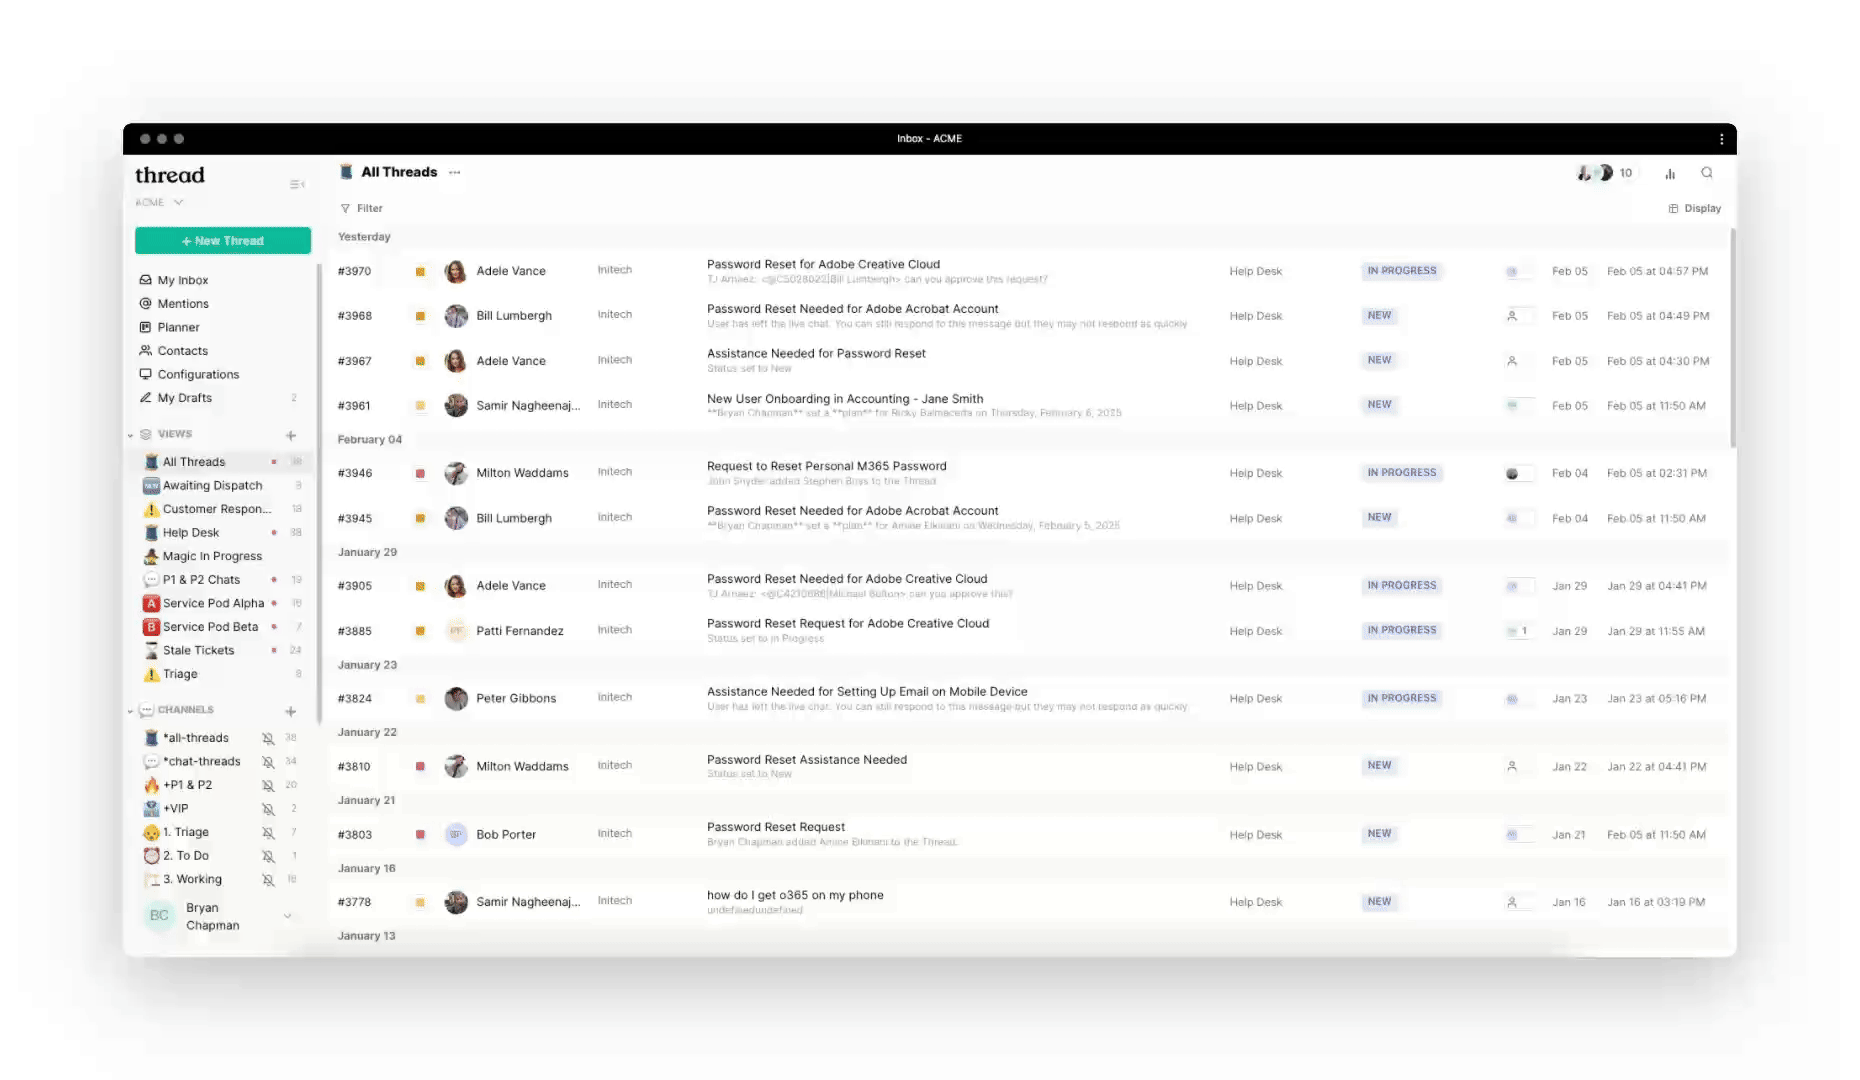
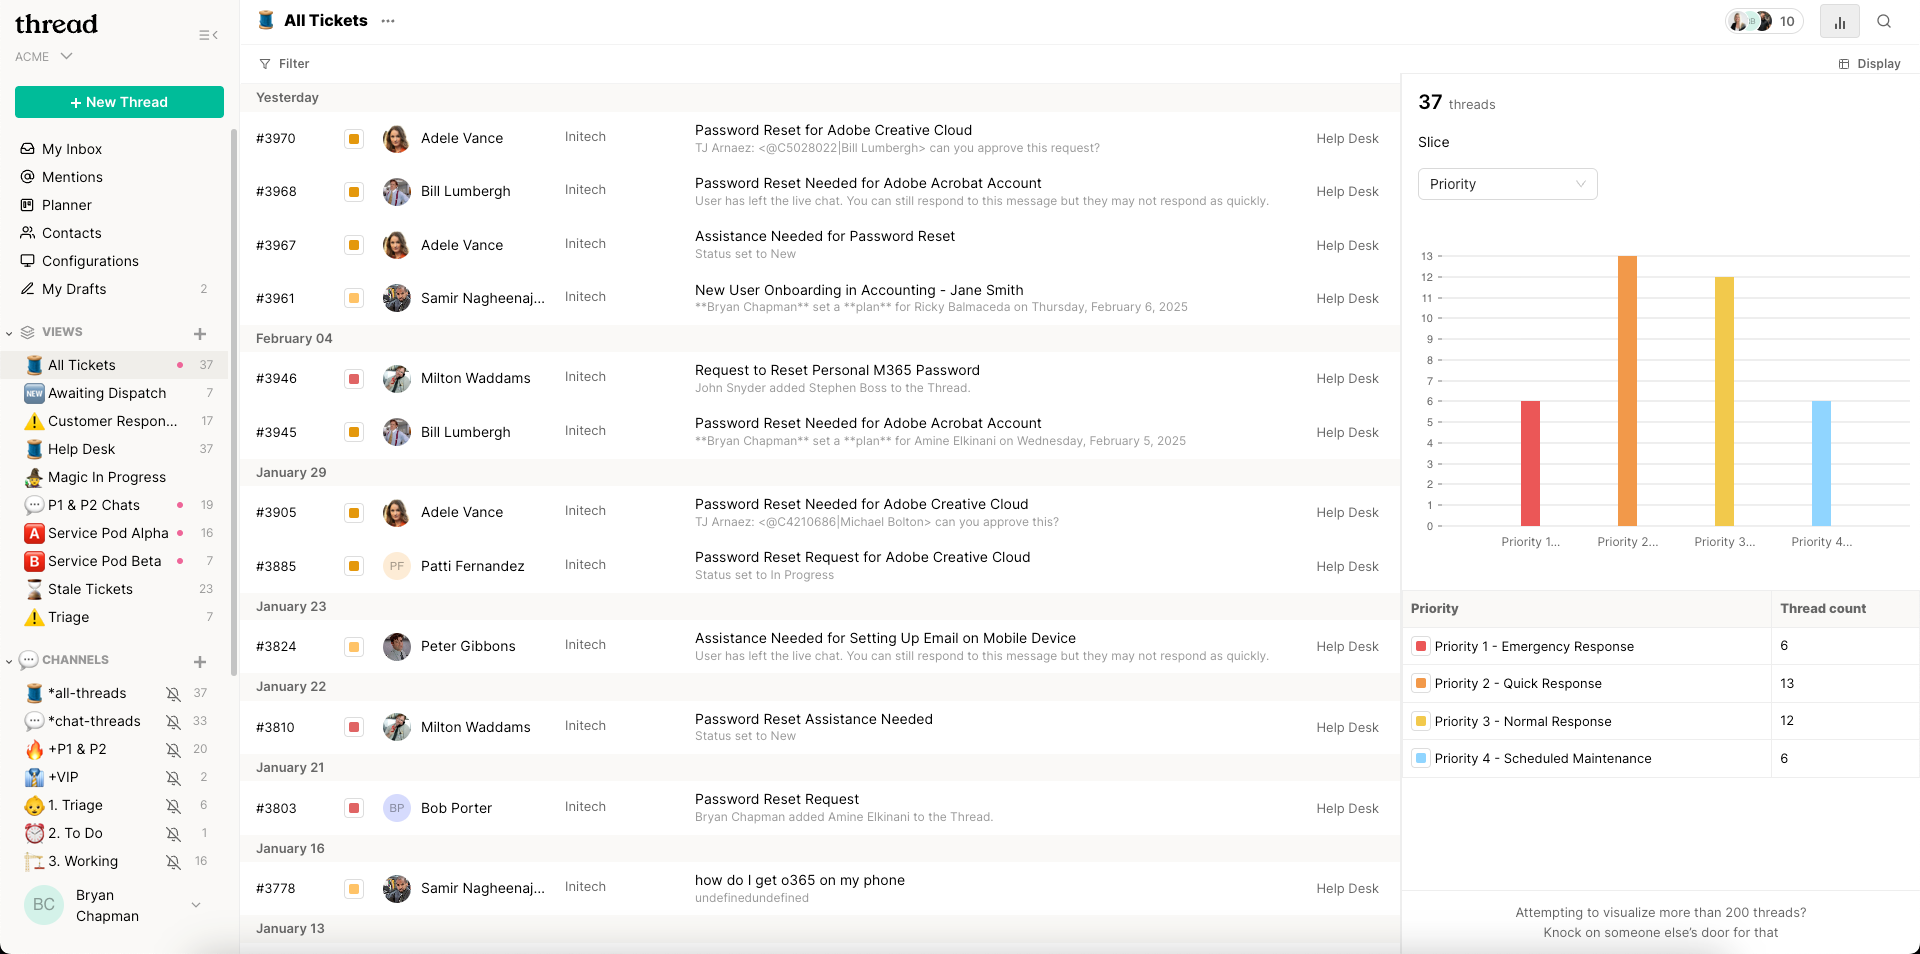
All Tickets View
The All Tickets view is essential for providing a comprehensive overview of all tickets within your system, ensuring that nothing gets overlooked. This view is designed to enhance searchability and make it easier to leverage Insights, allowing your team to quickly access and analyze tickets.
- Go to Thread Inbox
- As an admin, click the "+" icon next to Views in the left-hand navigation
- Apply "Source" is not blank. Alternatively, you can apply additional filters, such as Service Boards, Teams, or Queues, to help organize and display all tickets more effectively.
- Enter a name for your view All Tickets
- Choose an emoji to represent your view
- Invite your service team to access the view
- Click Save
Team/Pod View(s)
We recommend creating a view for each team or pod on your Service Desk. These views will be the hub where each team on your Service Desk works inside of Thread.
- Go to Thread Inbox
- As an admin, click the "+" icon next to Views in the left-hand navigation
- Apply the appropriate filter(s) for the team's tickets, e.g. Board/Queue, Team, Company Type, Territory,Member, Owner etc.
- Enter a name for your view, e.g. Team Rocket
- Choose an emoji to represent your view
- Invite the members of the Team/Pod to access the view
- Click Save

Triage View
The Triage View is specifically designed for your first responders and dispatch teams, allowing them to receive notifications for all tickets where the owner is unassigned or blank. This view helps promote accountability and serves as your "Inbox Zero" to ensure timely responses and adherence to SLAs. It’s a great starting point, regardless of your service model.
- Go to Thread Inbox
- As an admin, click the "+" icon next to Views in the left-hand navigation
- Apply the following filters: "Owner" is blank. If you are using Magic Agents and the Magic in Progress view (below), also apply the filter: Magic Agent is Disengaged, Never Engaged
- Enter a name for your view Triage
- Choose an emoji to represent your view
- Invite members to access the view
- Click Save

Magic In Progress View
The Magic in Progress view is recommended if you are using Magic Agents to triage your incoming Threads so you can see what the agent is handling for you in real-time.
- Go to Thread Inbox
- As an admin, click the "+" icon next to Views in the left-hand navigation
- Apply the filter Magic Agent is Engaged.
- Enter a name for your view Magic in Progress
- Choose an emoji to represent your view
- Invite members to access the view
- Click Save
Learn more about views here: Views and Insights