How to Set Up User-Defined Fields (UDFs) in Autotask for Approvals
Overview
This guide explains how to create a User-Defined Field (UDF) in Autotask, assign it to contacts, and configure Thread to use approvals.
Approvals can be used in the following:
Feature | Description |
Thread Inbox | Manually trigger or cancel an approval directly within Thread Inbox or Pods/Insights. |
Triage Agent | Automatically send approval requests directly within an intent with Triage Agent. |
Step 1: Create a Contact UDF in Autotask

- Login to Autotask PSA.
- Click on Admin in the top navigation bar.
- Select User-Defined Fields (UDFs) under Application-Wide (Shared) Features.
- Click on the Contacts tab.
- Click New to create a new UDF.
- Enter a Name: (e.g.,
Approval Role) - Field Type: Select
List (Single Select) - Under the List Options click New to add Contact Types and define approval roles, such as:
Approval Role
Description
Approver
Reviews and approves or denies requests.
Finance
Reviews and approves requests related to budgets, expenses, and financial impact.
Procurement
Reviews and approves vendor, contracts, and purchasing requests.
Human Resources
Reviews and approves new hire, termination and other human resource related requests.
Change Advisory Board (CAB)
A committee that reviews and approves system-wide IT changes.
- Click Save & Close to save the new UDF.
Step 2: Assign the UDF to Contacts in Autotask
- Login to Autotask PSA.
- Go to CRM > Contacts in Autotask.
- Search for and select the contact.
- Find the newly created Approval Role UDF field.
- Choose the correct role from the dropdown (e.g., Approver, Procurement).
- Click Save & Close.
Step 3: Sync Data from Autotask to Thread
- Login to the Thread admin panel.
- Go to the PSA Sync tab.
- Click Force Sync next to Contact Types.
- Wait for the sync to complete.
Once completed, Thread will now recognize the Approval Role UDF and use it for the approvals workflow.
Step 4: Configure Thread to Use the UDF for Approvals
- Login to the Thread admin panel.
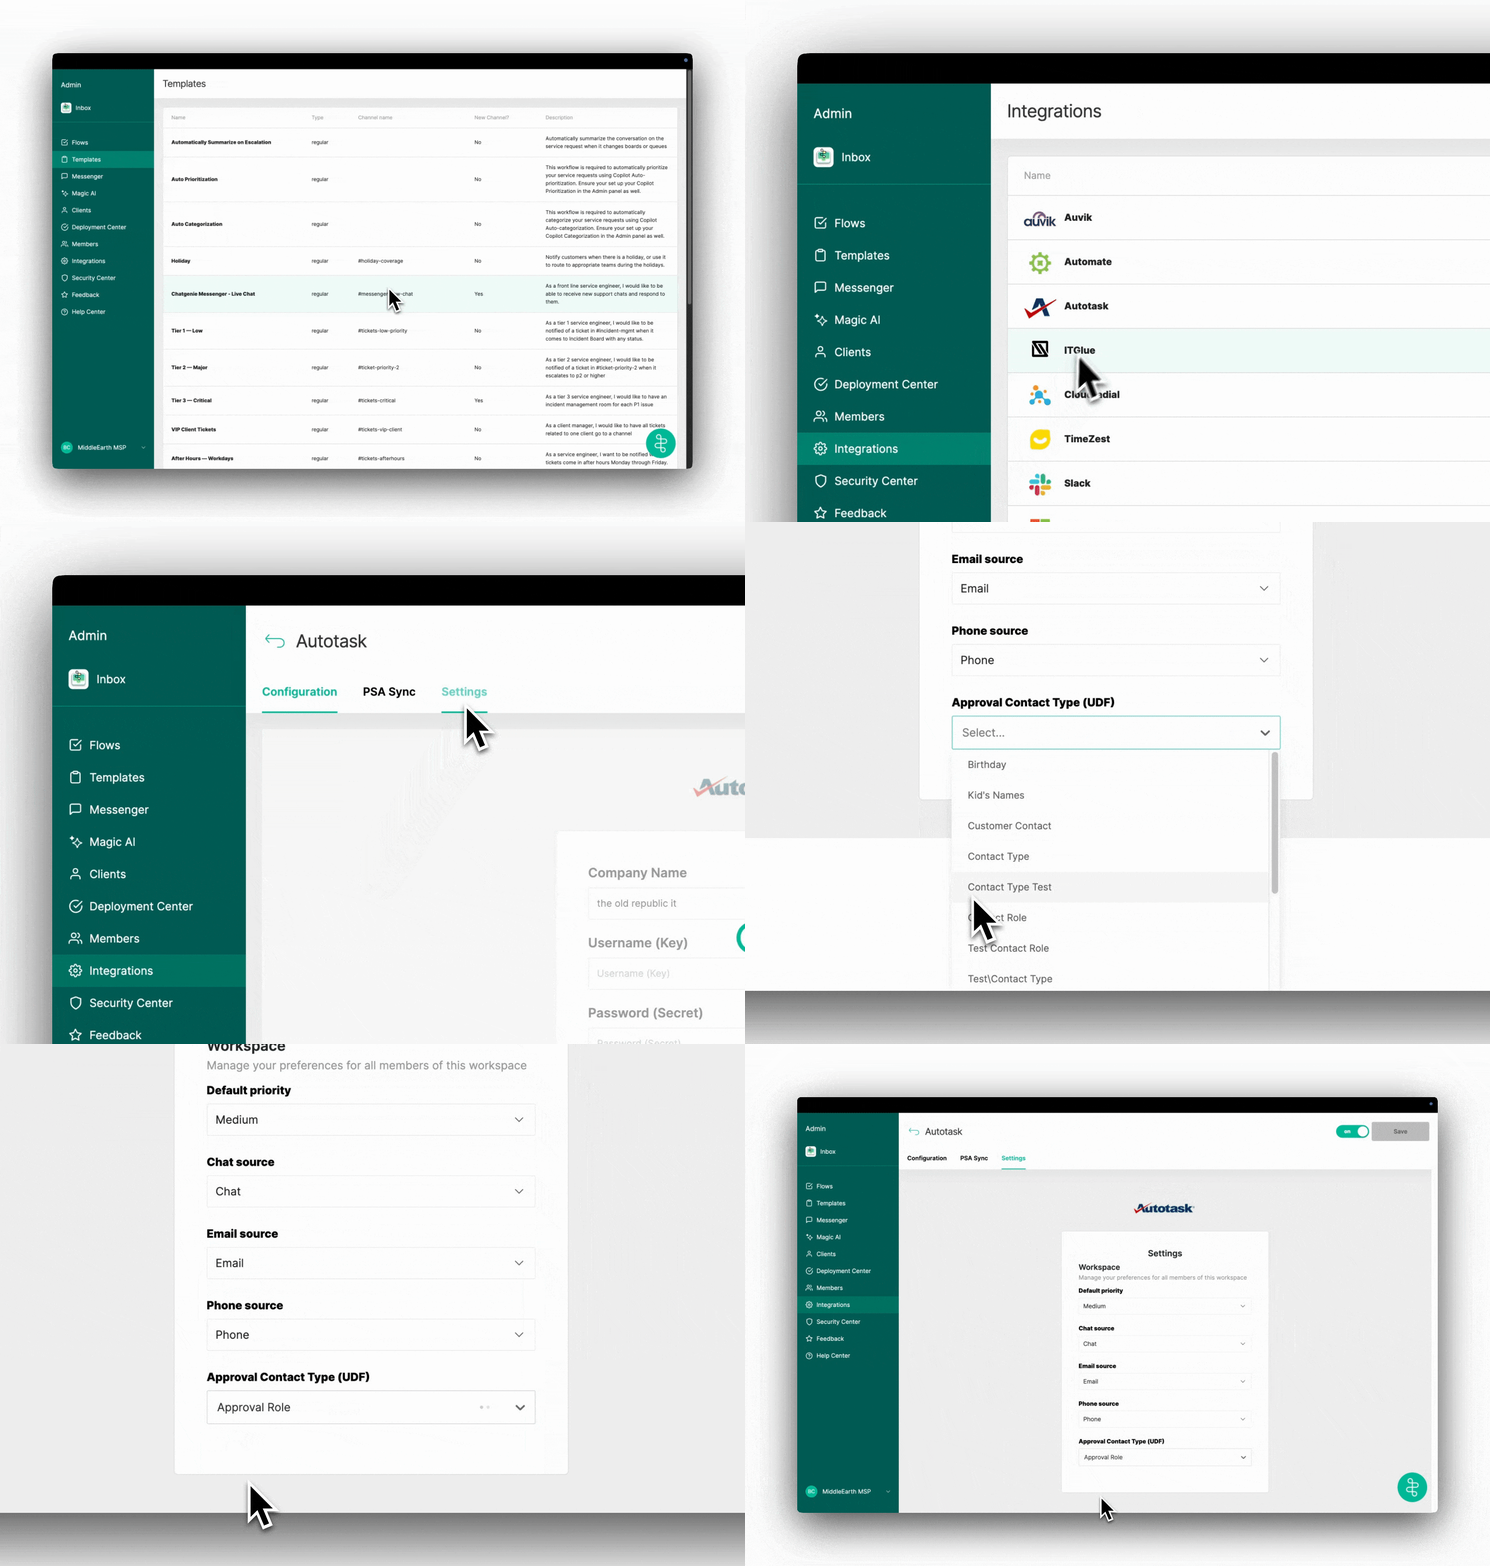
- Click Admin > Integrations > PSA > Settings.
- Locate the Approval Field setting.
- Select the UDF you created in Autotask (e.g.,
Approval Roles). - Click Save Changes.

Completion
- Check a request in Thread to ensure that approvals are assigned correctly.
- If the UDF is not showing, verify that the Autotask-Thread sync was successful.
- If issues persist, reach out to support.

