How to Setup Autotask Ticketing Integration
 Updated
by
Stephen Boss
Updated
by
Stephen Boss
This guide explains how to set up the Autotask Integration in the platform.
During the initial setup of your account in the platform, you are prompted to set up your ticketing system. Following the prompts for Autotask will lead you to the following screen asking you to enter API credentials.
- Leave this screen open, we will come back to it later.

- Open a new browser tab or window to continue to the next step, configuring the API user.
1. Configure the Security Level for the API User
- Log-in to Autotask:
- Go to Admin section of the menu and open Account Settings & Users page
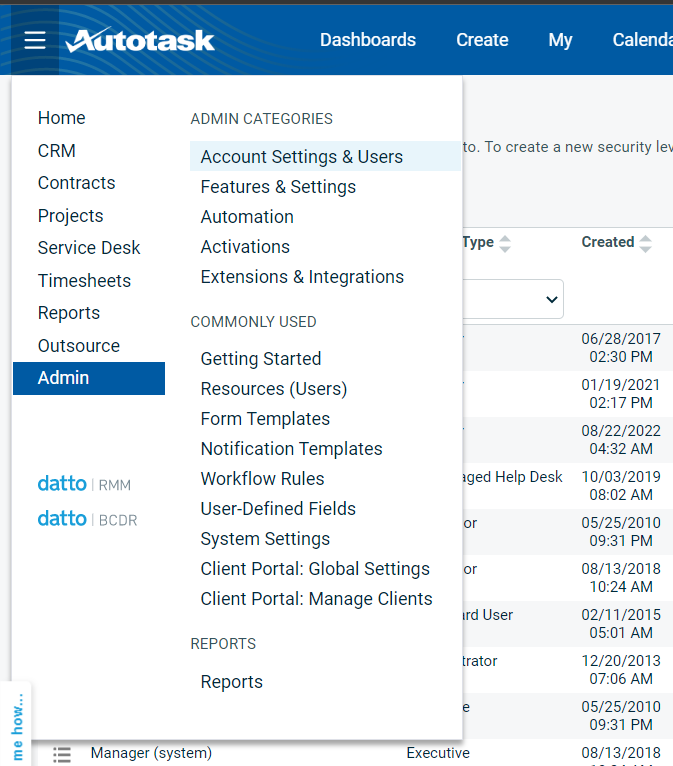
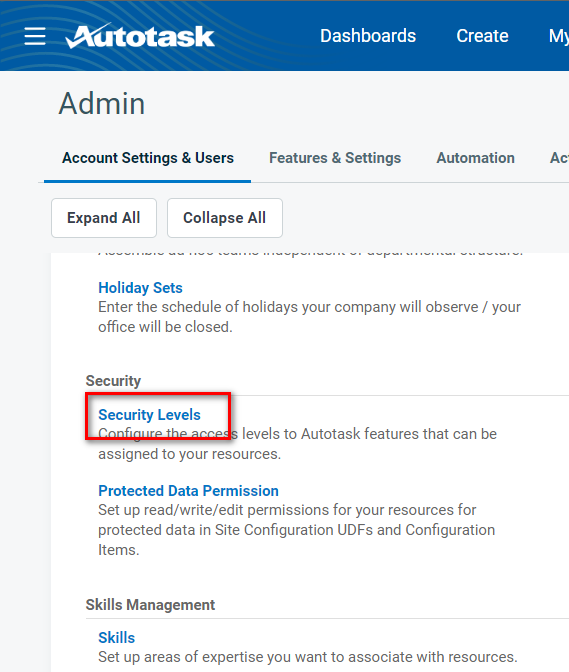
- Select Security Levels item from Resources/Users (HR) -> Security section
- Select Copy item from the menu of API User (system) (API-only) role
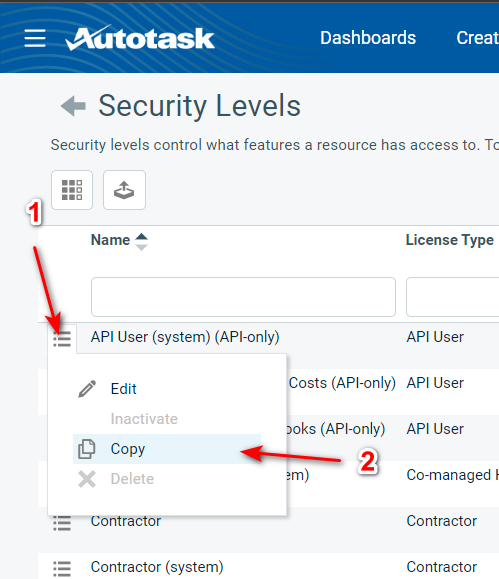
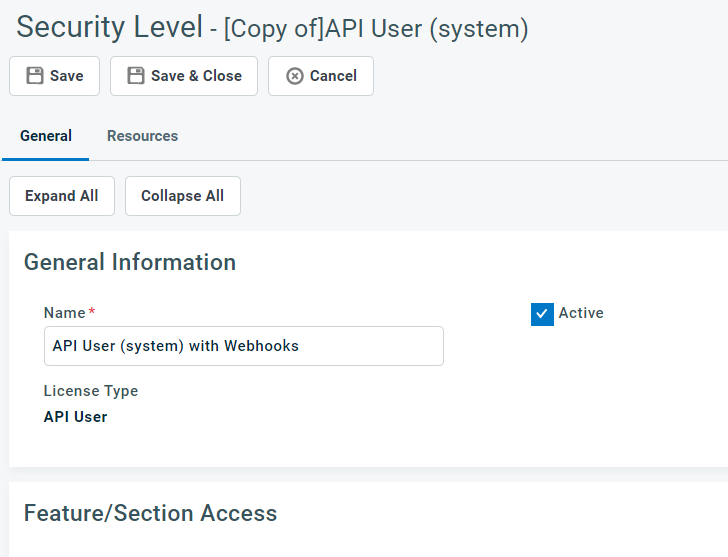
- On the opened window, change Name field to "API User (system) with Webhooks"
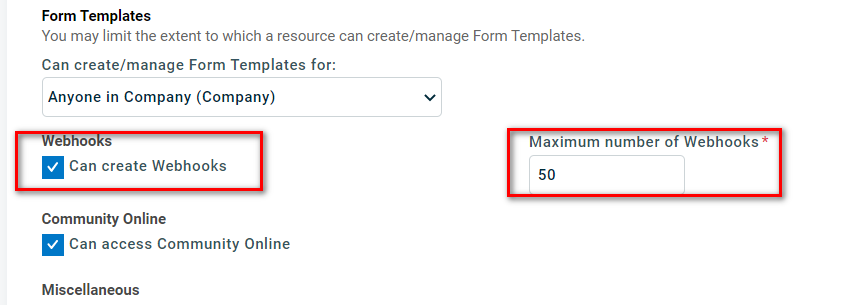
- Then go to the Other section and enable Can create Webhooks setting. Make sure to write 50 to the "Maximum number of Webhooks" field
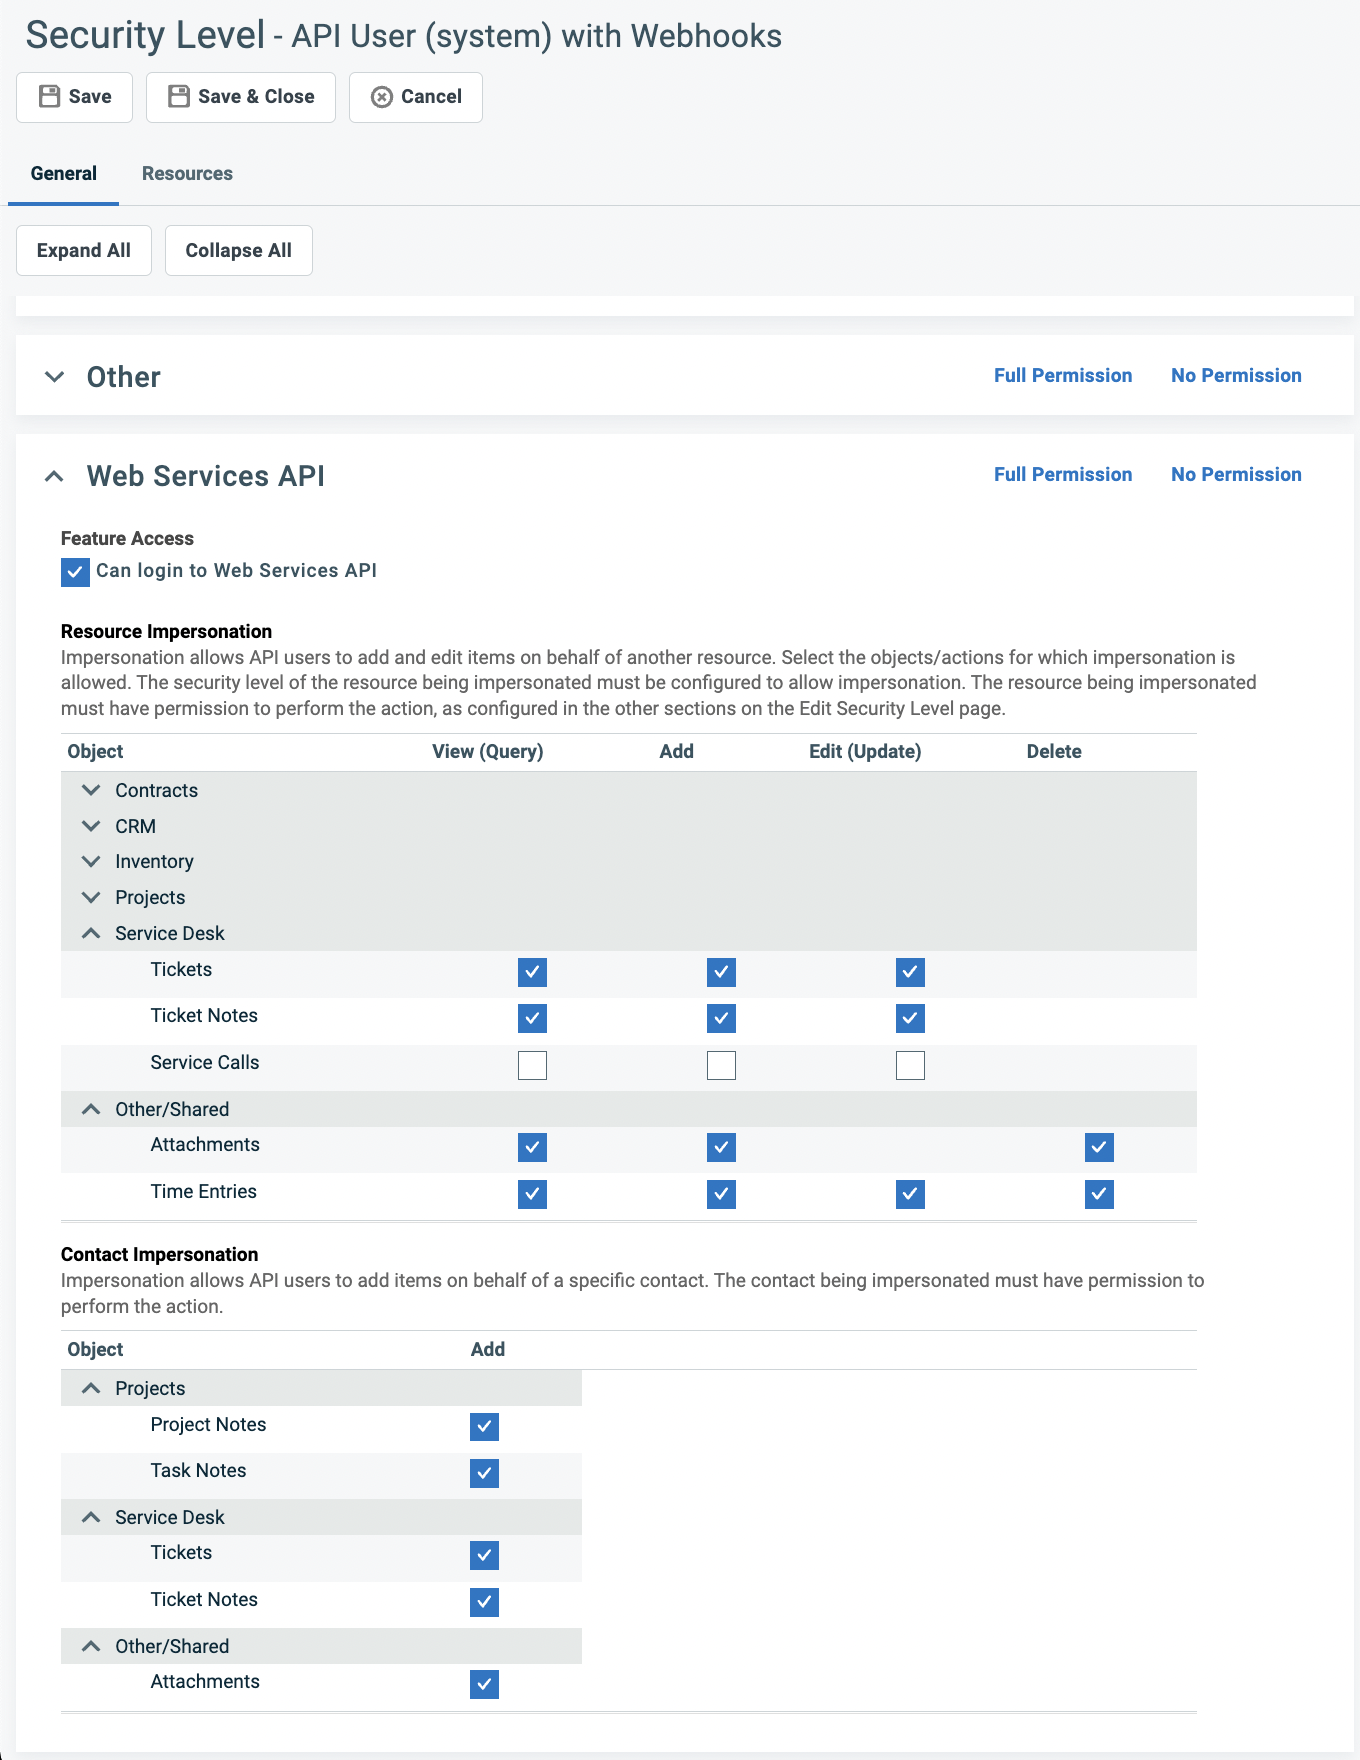
- Next, navigate to the Web Services API section. Under Resource Impersonation, check all the permissions indicated in the screenshot below. Do the same for Contact Impersonation.These settings are used to impersonate your users so if they respond to a customer via Inbox, Teams or Slack, the notes update as them in Autotask. In a later step, we will also configure your user security levels so that the API user we create here can impersonate them.
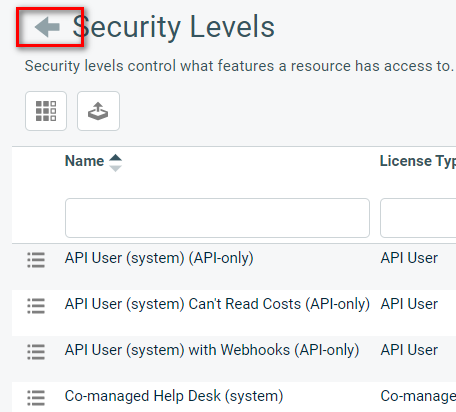
- Once all the impersonation settings are configured, click Save & Close button to save the role. After that, click Back button to return to the Account Settings & Users page
2. Configure User Security Levels
In this section, you will need to reconfigure the security levels that each of your users are assigned to so that the platform can effectively impersonate these users for Service notes, time entries and more.
The security level for each user that is going to respond to tickets in Inbox, Teams or Slack will need to be configured to allow for resource impersonation.
- In Autotask, Navigate to Admin -> Account Settings & Users -> Security -> Security Levels
- Change the filter on the Active column to Yes (active)
- Each security level in the list will show how many resources are assigned to each. You only need to update each security level that has a resource assigned. API type security levels do not need to be updated, only security levels assigned to active users.
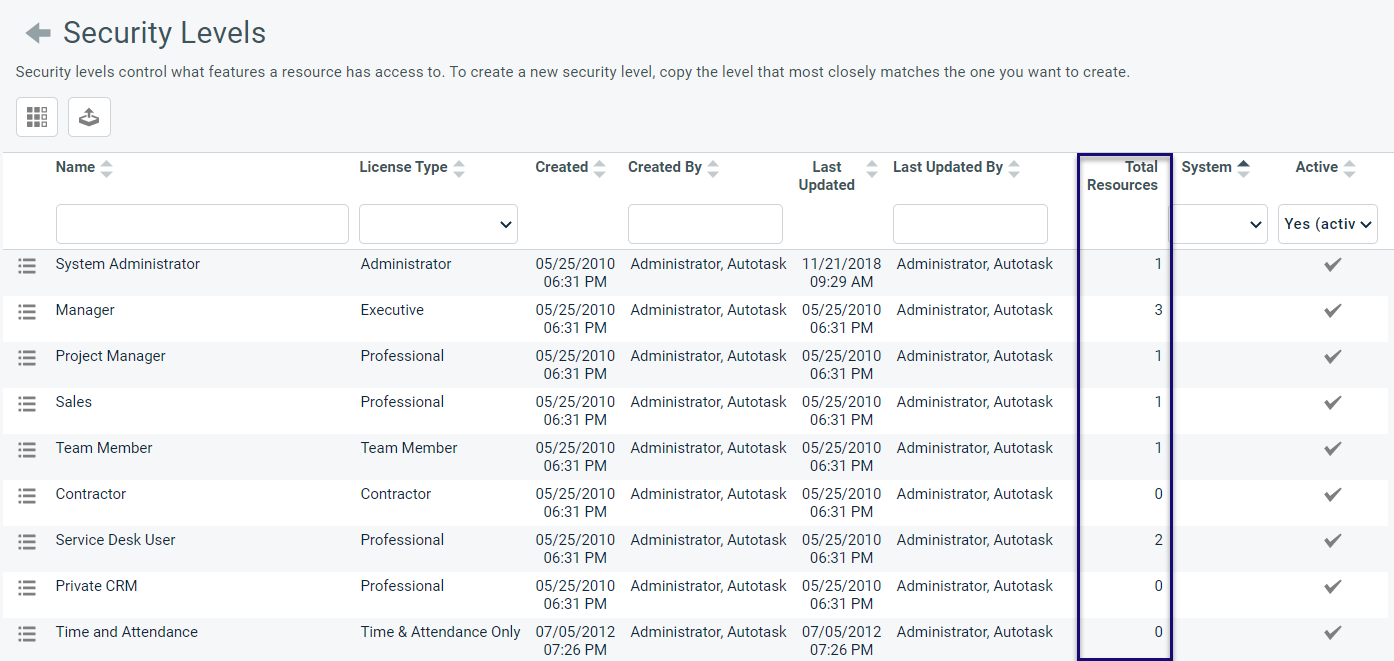
- Start by selecting the first resource on the list that is in use and assigned to 1 or more resources.
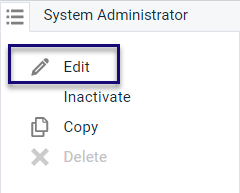
- For that resource, click the menu button on the left (or right-click on it) and select Edit
- A window to edit that security level will pop up, scroll down to the Web Services API section and expand. Under Web Services API -> Resource Impersonation -> Check the box for Allow Impersonation of resources with this security level.

- Click Save & Close.
- Repeat steps 4-7 for each Security Level on the list that is assigned to a resource and not an API User type.
3. Create the Ticket Source
The ticket source is used for reporting to allow you to distinguish tickets created via the platform/chat from other tickets.
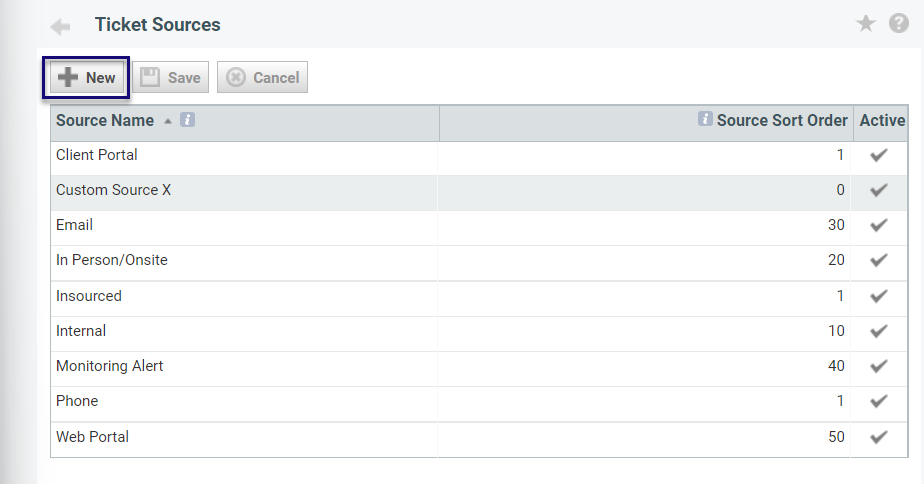
- In Autotask, Navigate to Admin -> Features & Settings -> Service Desk (Tickets) -> Sources
- Click the + New button to create a new Source
- Enter in the Source Name "Chat", enter a number for the Source Sort Order (this can be whatever you want) and check the Active box.
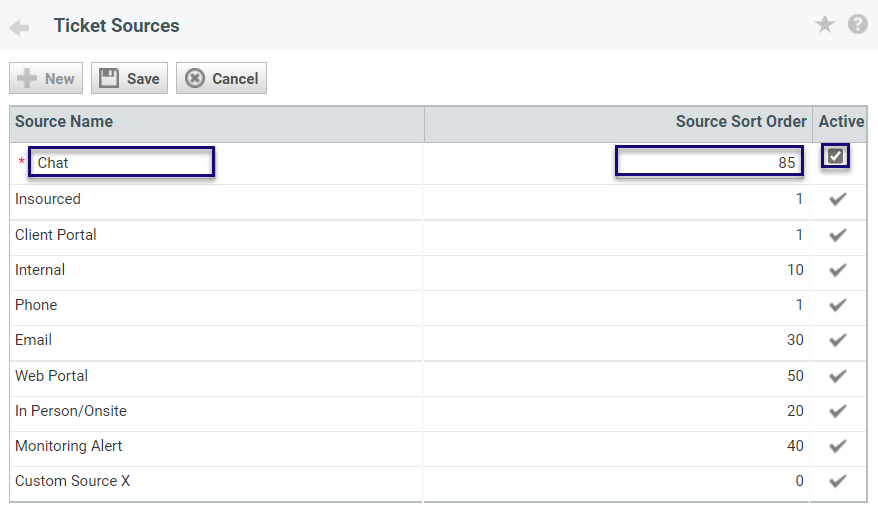
- Click Save when done.
4. Create the API User
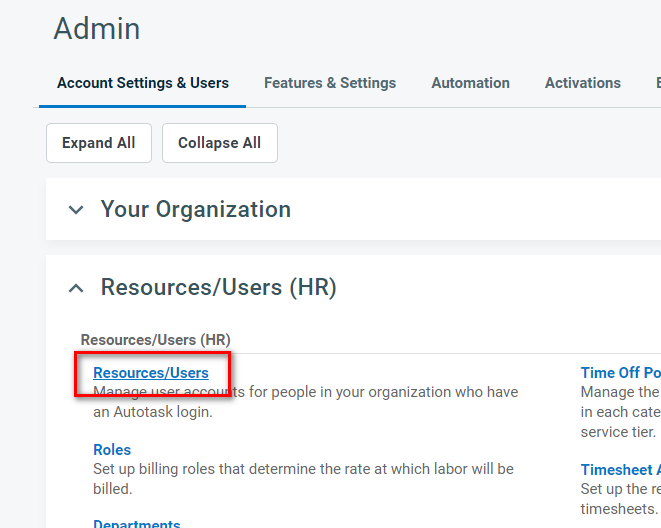
- Open the Resources/Users page from Resources/Users (HR) section
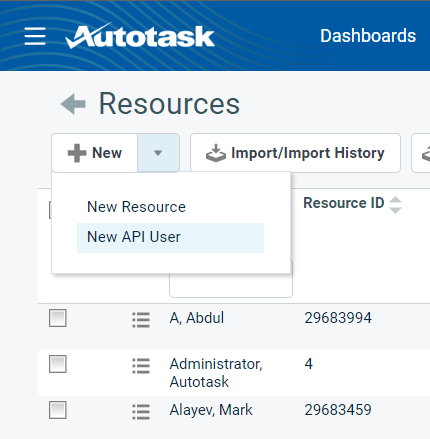
- Select "New API User" button from "New" button dropdown.
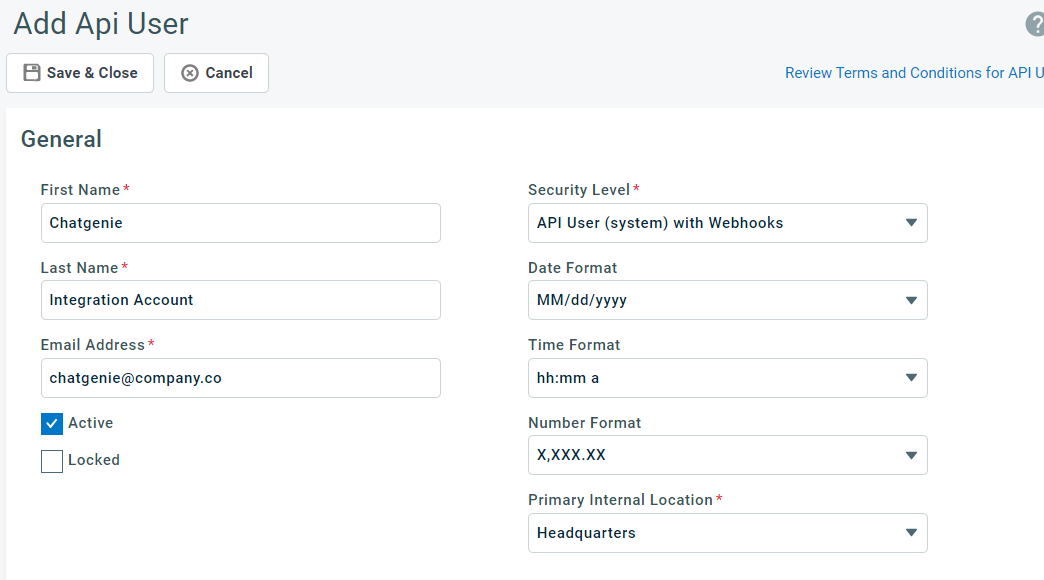
- In the opened page fill all required fields with self-explanatory values. Make sure to select "API User (system) with Webhooks" in "Security Level" field.
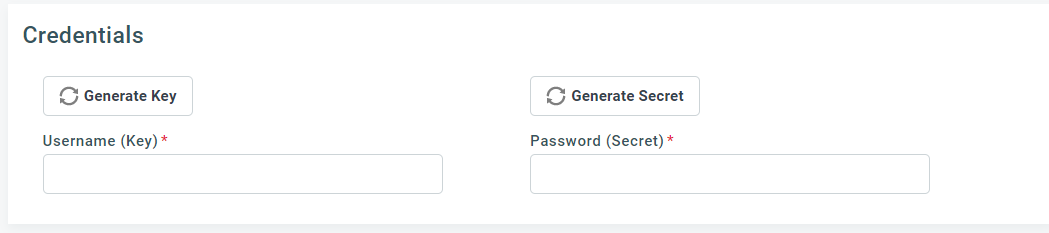
- Click "Generate Key" and "Generate Secret" buttons in "CREDENTIALS" section. Store generated values somewhere as it will be required later for the integration.
- Select the "Integration Vendor" option from the list and select "Thread - Messaging" from the drop down list.

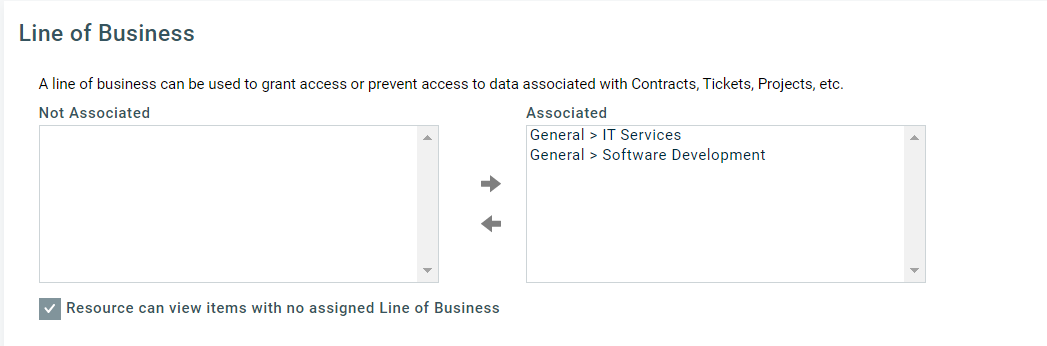
- From the "LINE OF BUSINESS" section, select one or many (or all) lines of business to grant the access to the integration account.
- Click the "Save & Close" button.
5. Configure Thread with the API Information
Now that you've set up your API keys, it's time to integrate Autotask with Thread! It's time to take the information you saved in the previous steps and enter it into the web form.
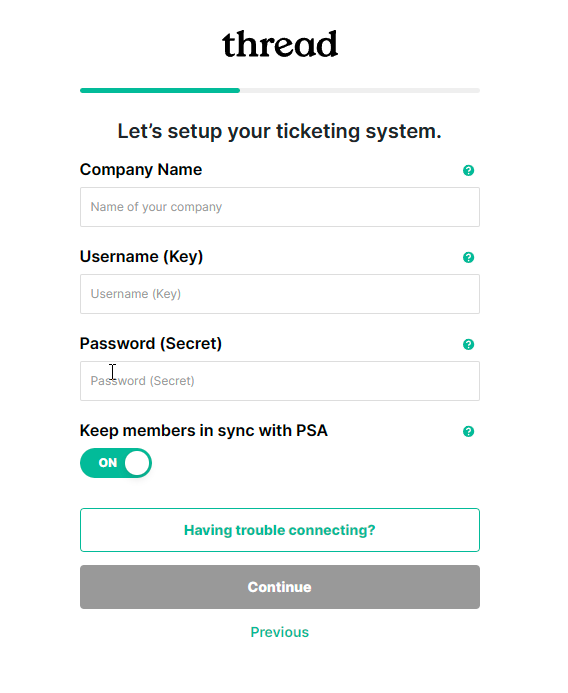
- Company Name - Enter your company name
- Username (Key) - Enter the Username (Key) that you saved in step 4.3 Create the API User.
- Password (Secret) - Enter the Password (Secret) that you saved in step 4.3 Create the API User.
- Keep members in sync with PSA
- Leave this checked to quickly enable your team's access to thread.
- Uncheck this if you prefer to invite members individually. If you choose this option, you will be able to invite members later.
- Once everything has been entered correctly, click Continue to proceed.