Voice AI Setup - 🛑 Phase 0 (Do Not Skip)

Step 1: Create Agent Identity (General Settings)
Estimated Time: 5-10 minutes
NOTE : The Agent will create tickets under your default phone source. For the sake of Automation, we recommend
Setting a new Ticket Source for Voice AI and then Sync Sources in your PSA.
Instructions:
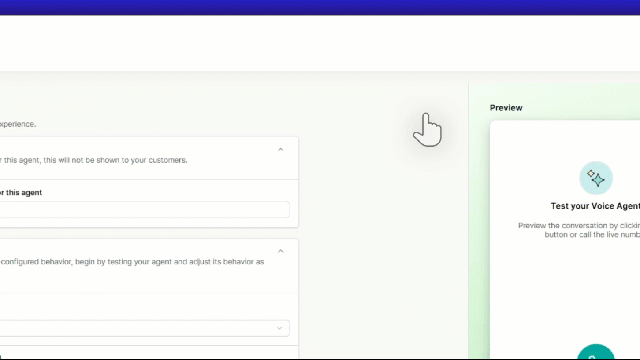
- Navigate to the voice tab on the side bar and select the Agents Tab > + Create Agent.
- Name: Create an Internal name for your Agent (e.g., "Thread Overflow").
- Communication Style: Select voice profile ,Background Noise, and Communication Rules (Default Settings Recommended).
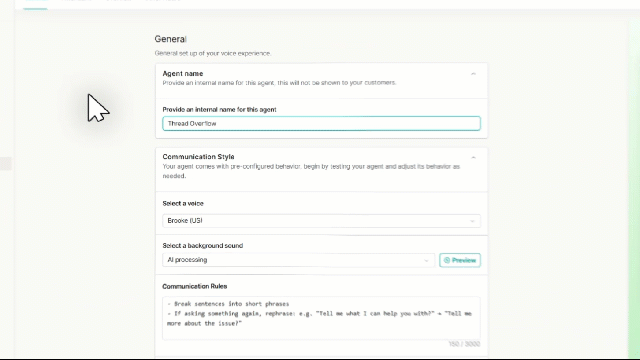
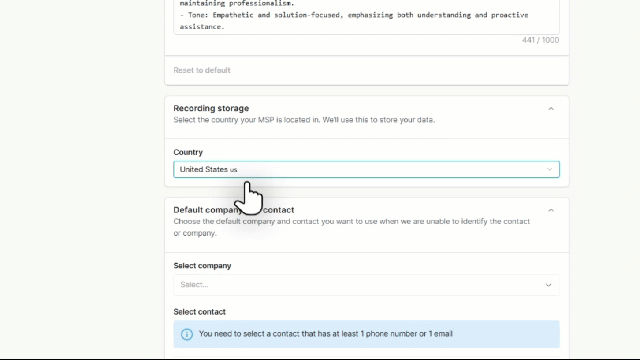
- Tone Settings: Define Punctuation, Delivery, Phrasing, and Tone, then select your Recording Storage Country .(Default Settings Recommended) .
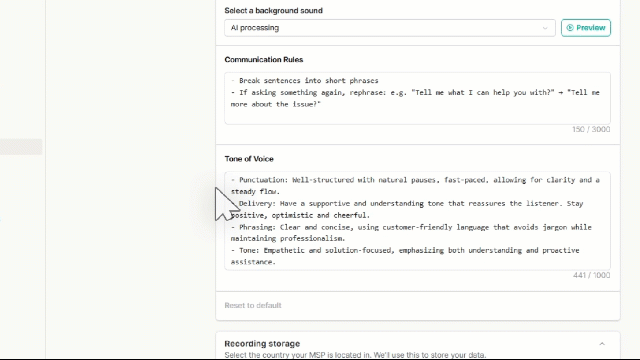
- Recording Storage : Select the Country that You MSP is located in
For recording media (audio):- Recordings are stored in an S3 bucket
- the bucket is regional, so the data stays in-region (at rest)
- Right now we have three regions:
- us
- ca
- au
- Right now we have three regions:
- it's stored in admin and inbox
- in admin, it's available when you view a voice call
- in inbox it's available in between-notes and at the [right] side bar, under "Phone calls"
- Mandatory Default Contact: Search and select a fallback contact from your PSA.
- This contact receives tickets when the caller cannot be identified.
⚠️ WARNING: The Mandatory Default Contact is REQUIRED. The agent will fail without it. It must be a REAL, active contact in your PSA.
- Toggle Feedback : Toggle the Feedback Switch to turn on or off Feedback Requests