Create a Channel for Your Chats!

It's time to set up Inbox! Inbox is where your Service Team works to respond to customers in real-time! It is the app you use, as the service provider, to collaborate with your teammates and customers. Inbox was designed to give your team service superpowers so that you can focus on providing a great customer experience!
When logging into Inbox for the first time, you'll see a setup screen to create your first channel: What's your team working on right now? We want to create a channel for incoming chats. Channels are where your team collaborates on service threads inside Thread Inbox.
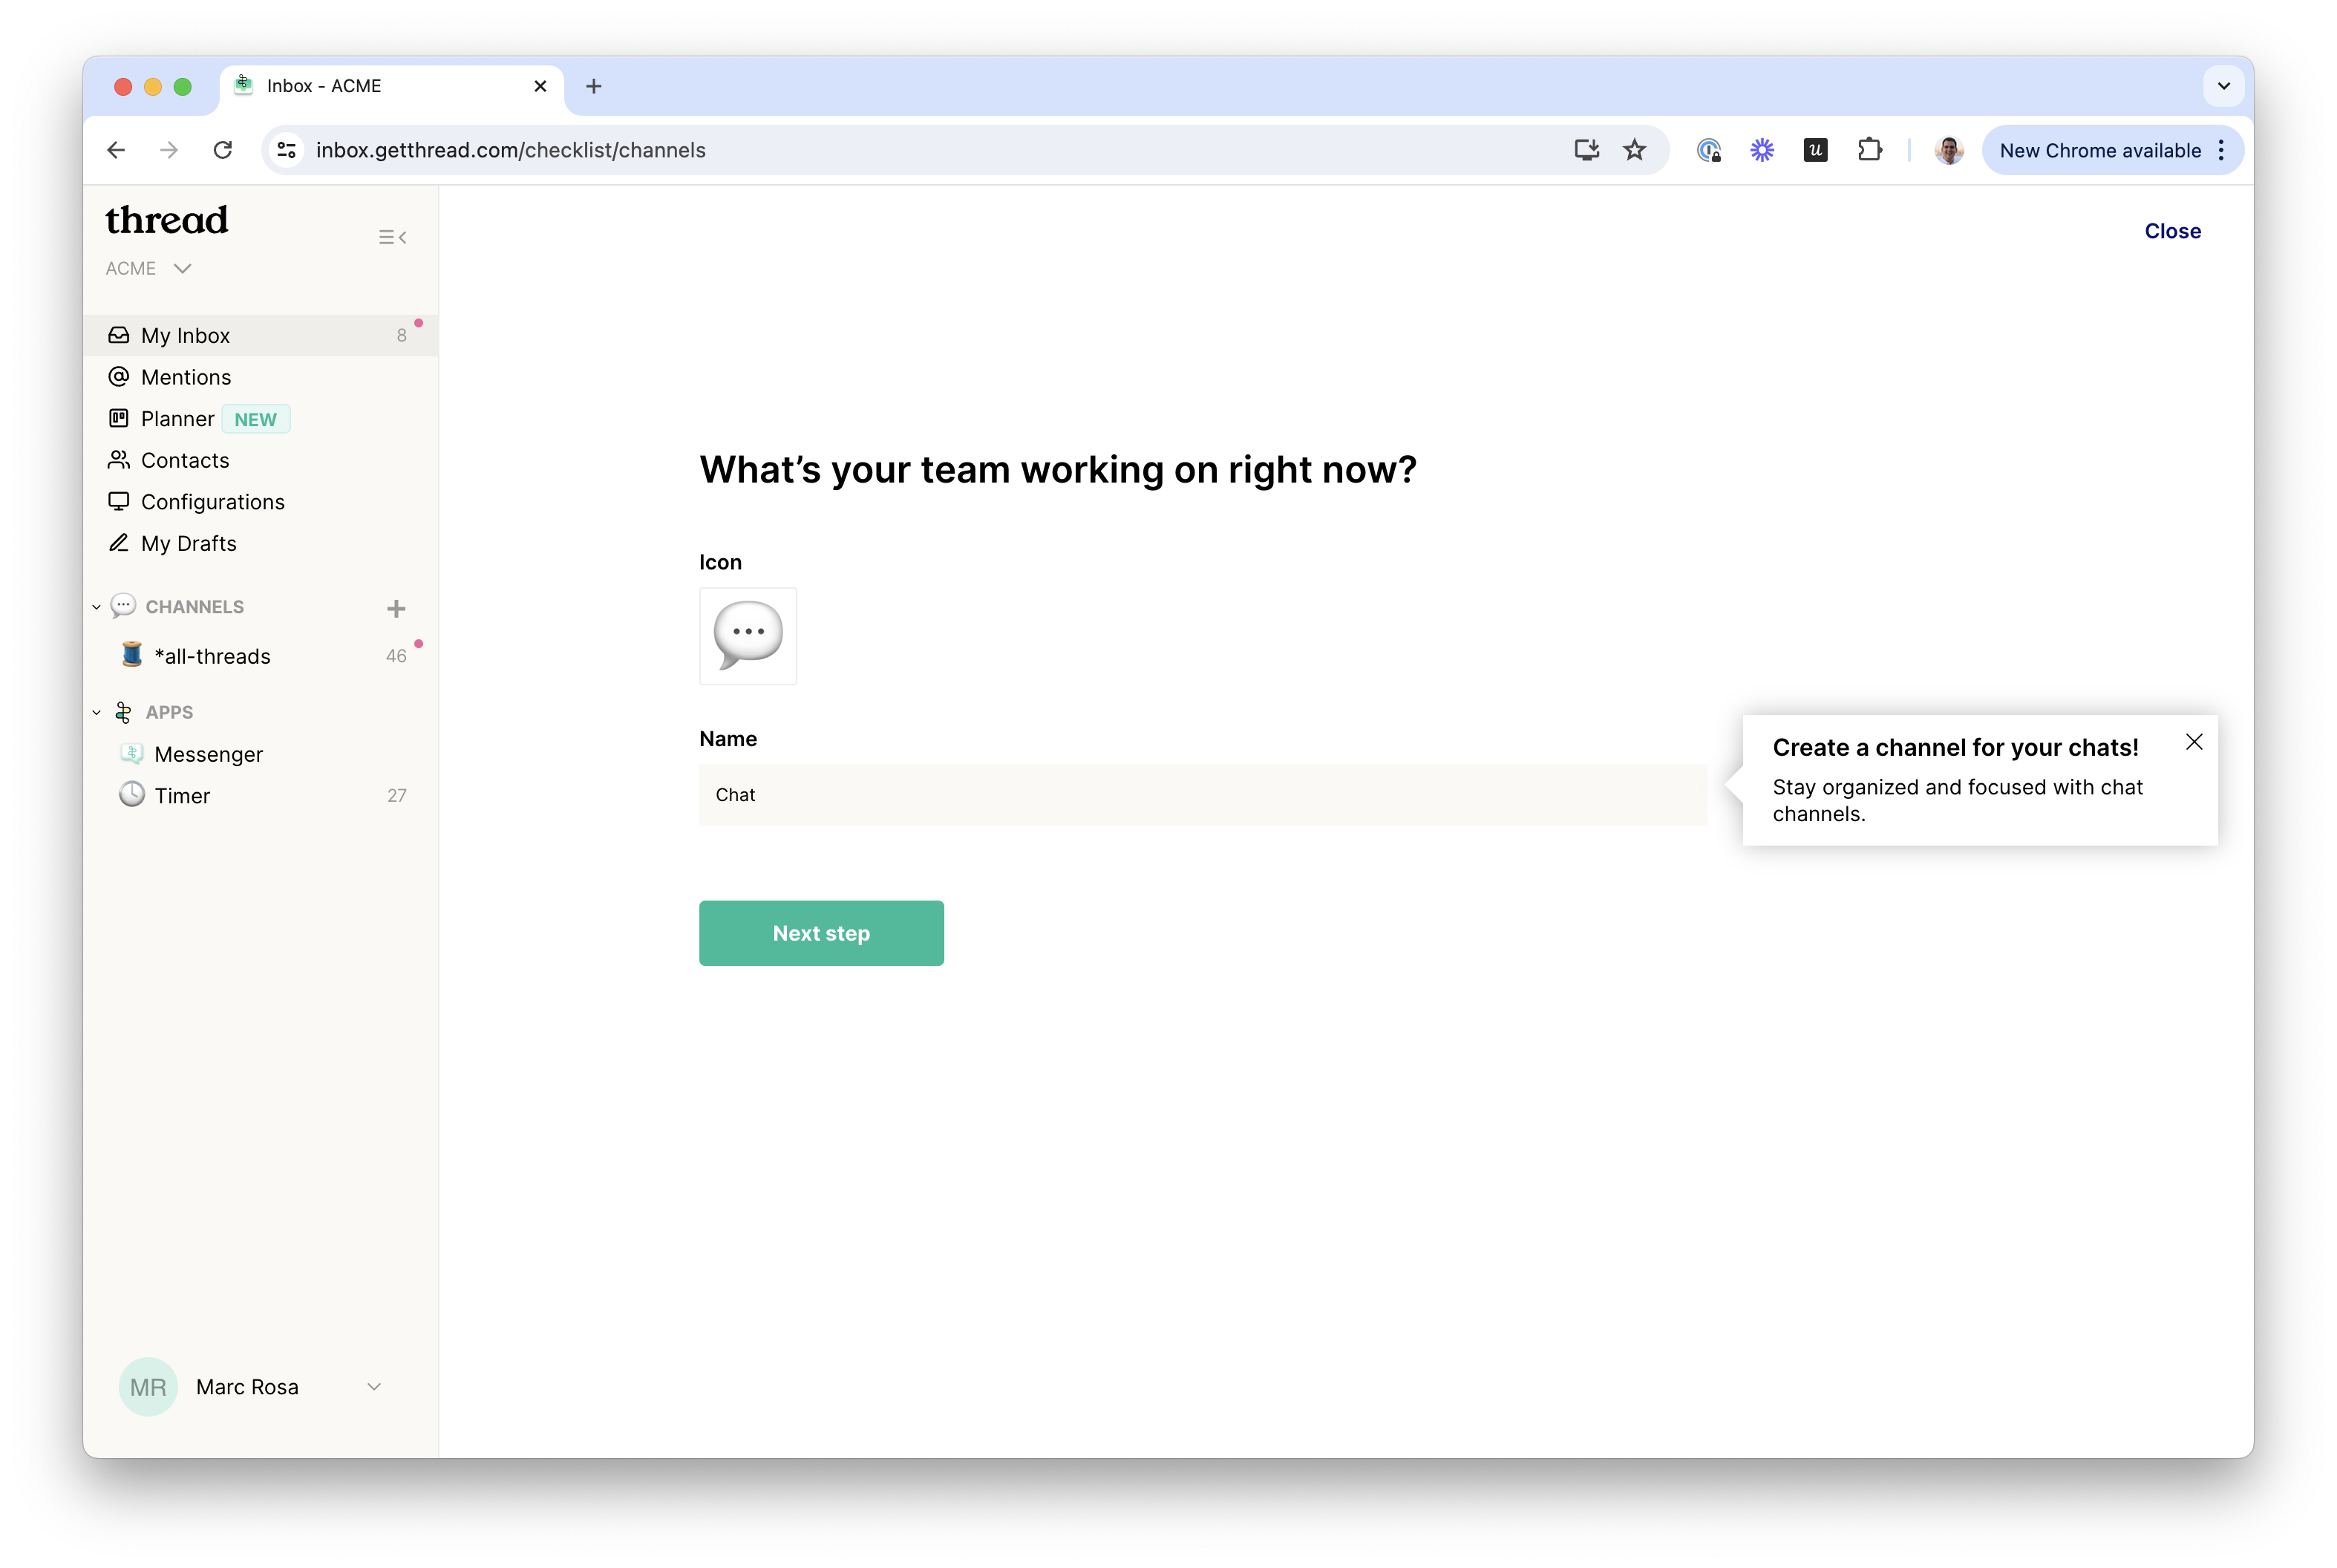
- Let's start by creating your first channel for Chat. You can change the name or icon now, but remember, you can always update it later.
- Click "Next step" when you're ready.
- Select the members of your service team who will be responding to incoming chats by clicking into the "Please select team members" box.Adding your team members to the channel will ensure they get notified and can respond to incoming chats in real time. We recommend adding anyone on your service team who typically handles incoming service requests, whether by email or phone.
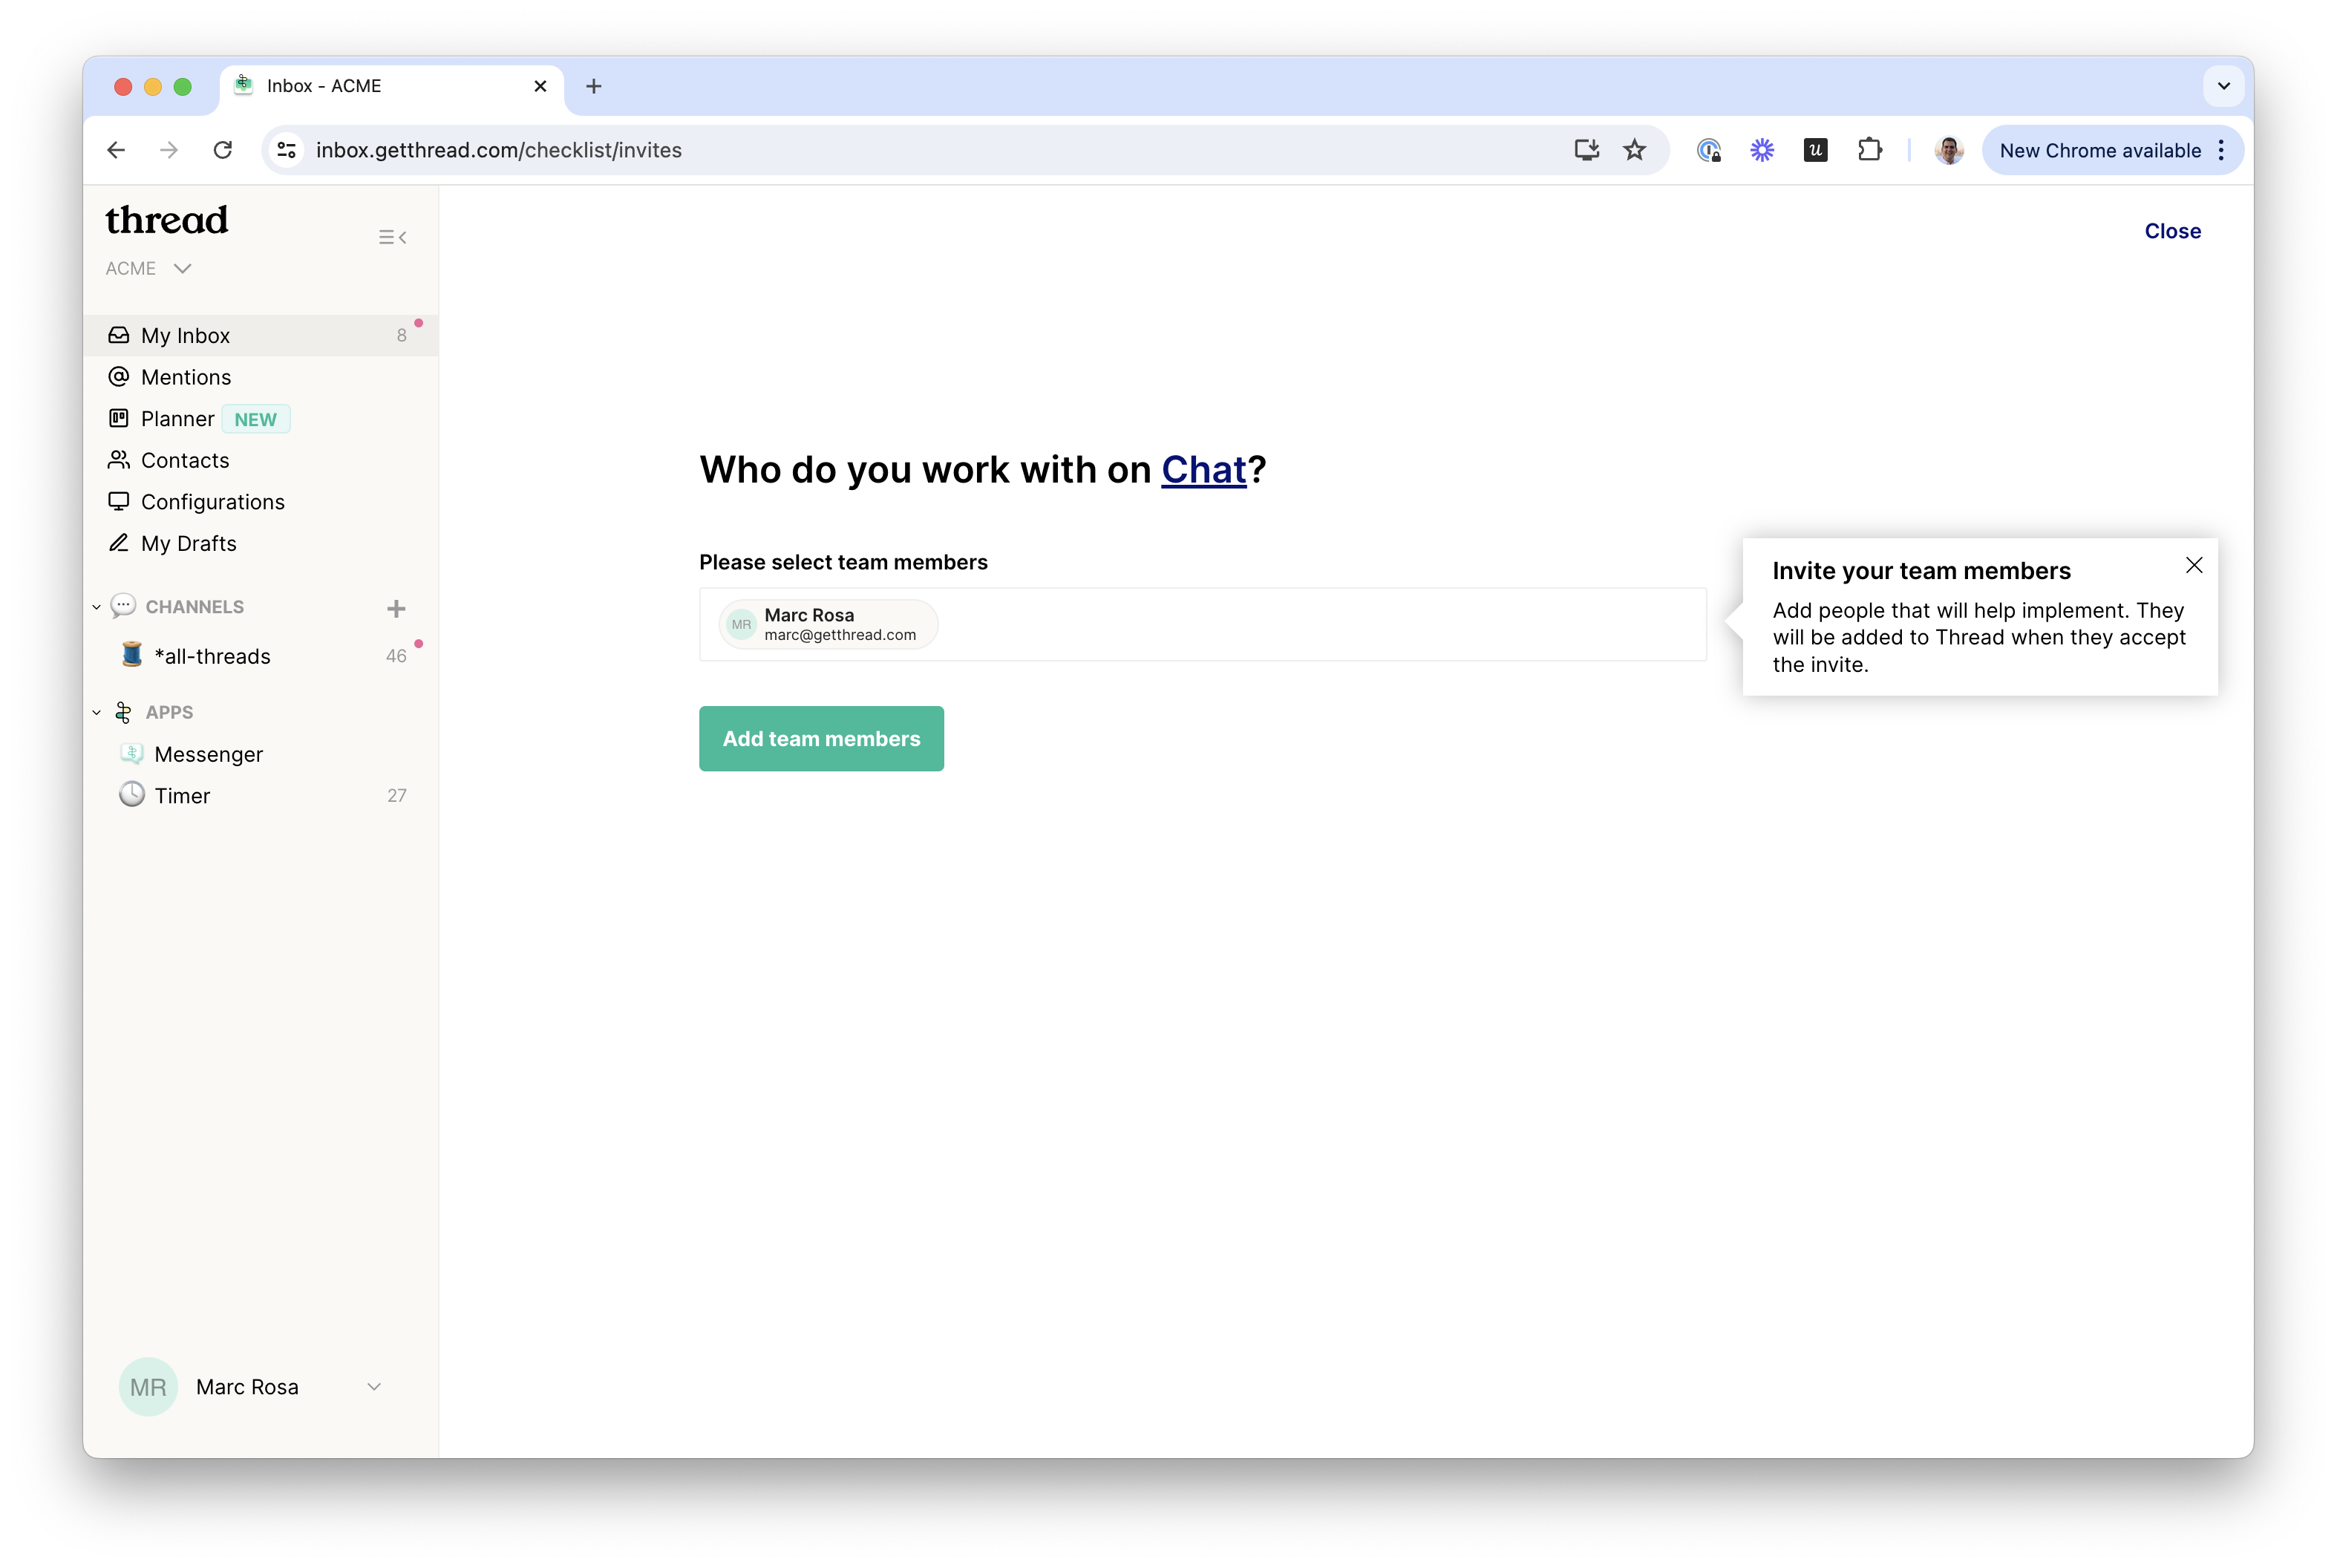
- Click "Add team members" to proceed to the next step.
- Next, you'll create a flow to route tickets into your Chat channel in Inbox, where the ticket source equals your default chat source.
For this step, you shouldn't need to change anything—just click "Create Flow". This will enable you to receive incoming chats inside of Inbox. Starting here is recommended, and we'll dive into more complex channels and flows later. Flows power your Inbox channels and direct Thread on which threads (tickets) to route into the channel. A flow triggers the moment a ticket is created or updated that matches your flow filter criteria. You can set complex rules here to populate channels in Inbox with over 30 filter options.
Flows aren't just for powering Inbox channels; they can also be used to:
1. Route threads to Teams or Slack for notifications and service thread management
2. Auto-prioritize incoming threads using Magic AI
3. Send automated replies to customers
4. Add internal notes to threads
5. And much more!
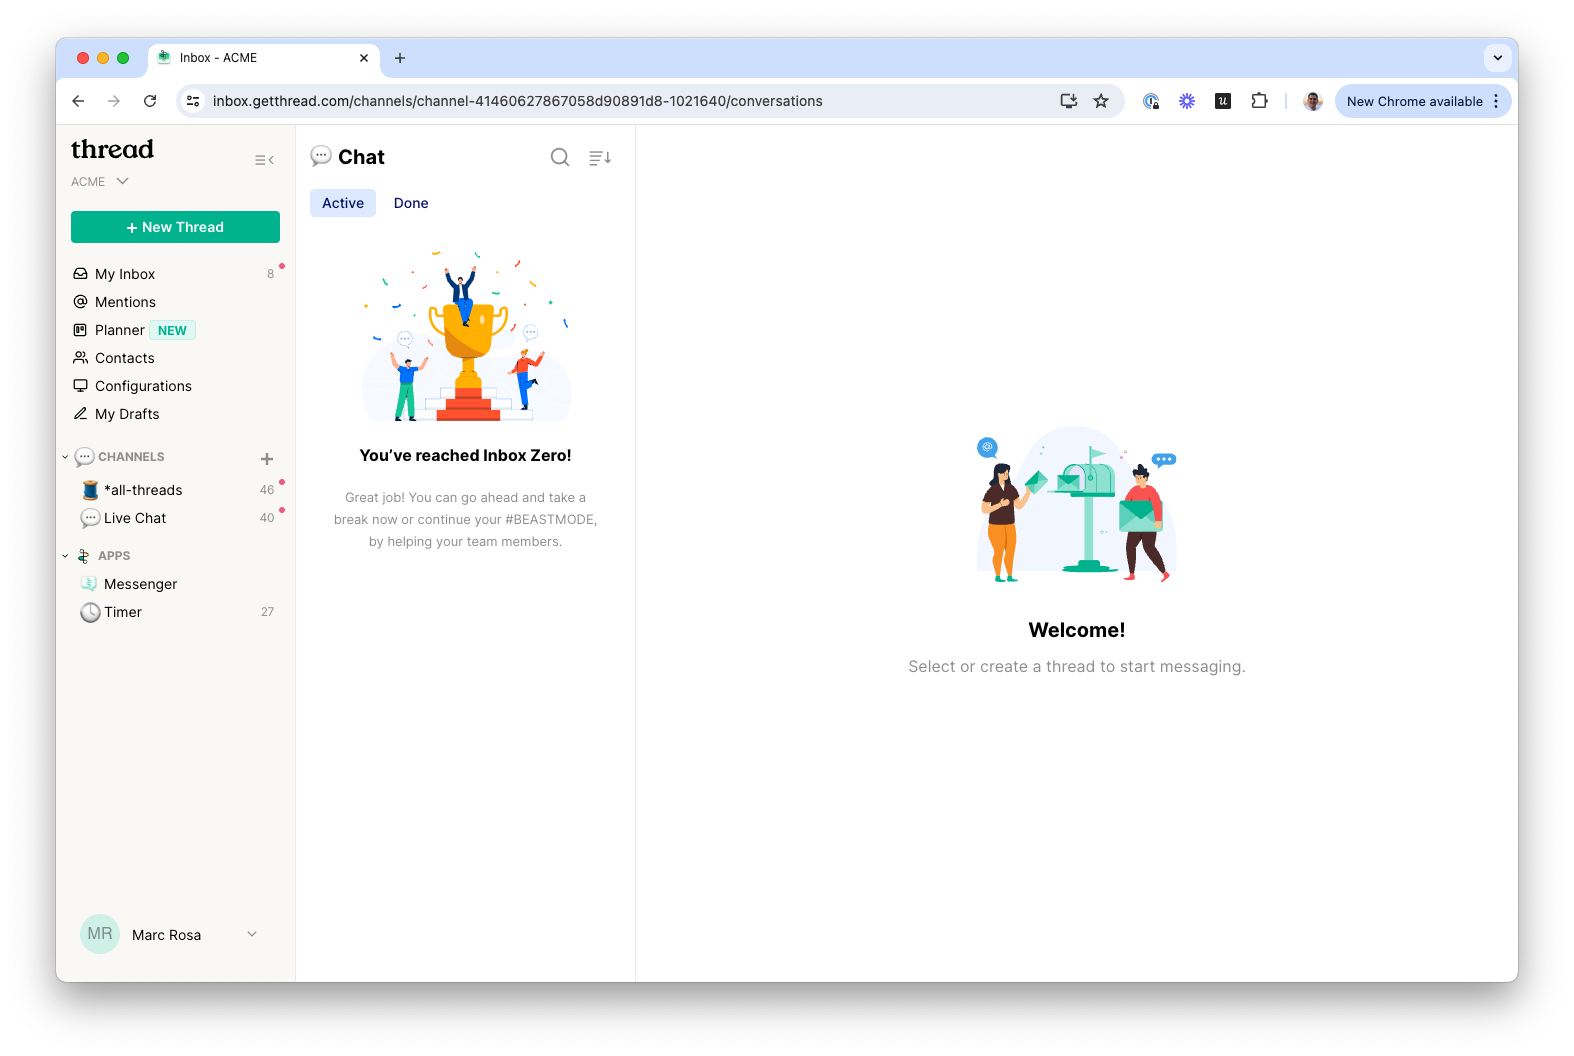
Read more about building channels and flows in Thread here. - 🎉Congrats! You've created your first Inbox channel! Now you can start collaborating with your service team in real-time.
- For rich notifications and auto start, download Inbox for Desktop here: Downloads (getthread.com)
- You can also bookmark Inbox at https://inbox.getthread.com
Start Learning Inbox with Your First Chat
Now that we've set the stage to receive Chats inside of Inbox, we are ready to learn how to use Inbox with our first chat!
- It's time to introduce you to Thread Admin Panel. To get there, either follow this link, or navigate to admin panel from Inbox by clicking your workspace name -> Admin Panel
- From Admin Panel, navigate to Messenger Settings. On the right-hand side of the screen is a full version of Thread Messenger tied to your organization. Here is where we will create our first test chat!
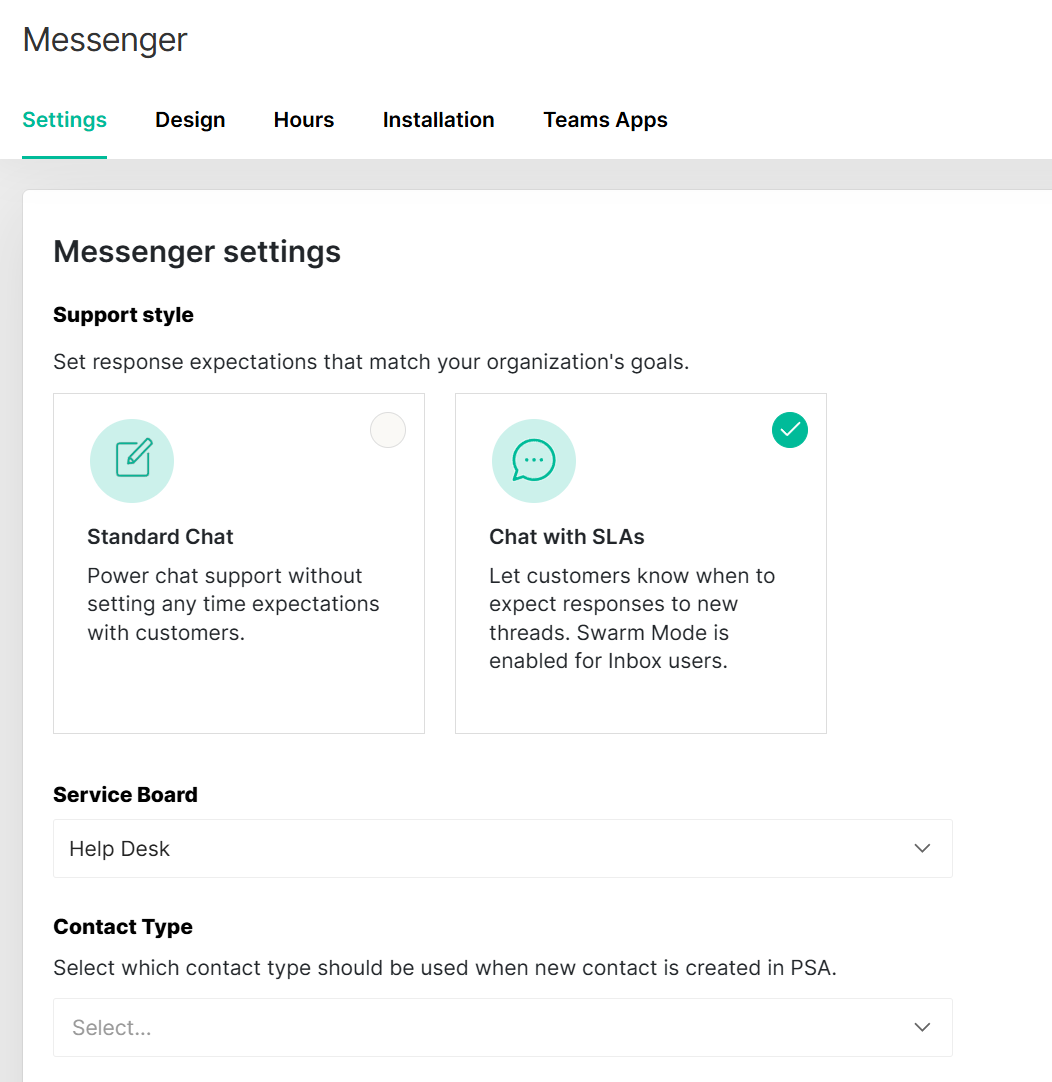
1. Fine tune your service board and other Messenger Settings such as customizing your flavor of chat support and the chat prompts.
2. Modify your design
3. Set the hours of operation for chat.
- In the messenger window on the right...
- Enter in the email address you'd like to test with.
- Enter in the OTP code you receive from thread in that email.
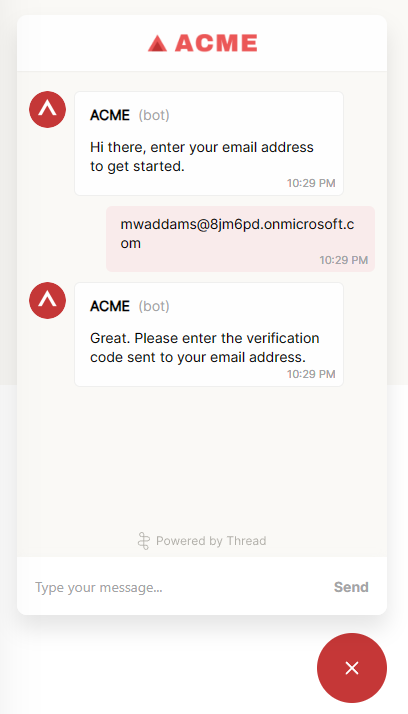 Thread Messenger for desktop and web authenticates each user session for security purposes via an OTP code sent to that email (Teams, Slack and Cloud Radial versions of Messenger leverage single sign-on).
The email you use for this step should be:
1. An email you have access to
2. Associated with a contact in your PSA.
- Click New Chat to start a new thread (it may also say New Request if your Messenger "Support Style" settings are set to Standard Chat).
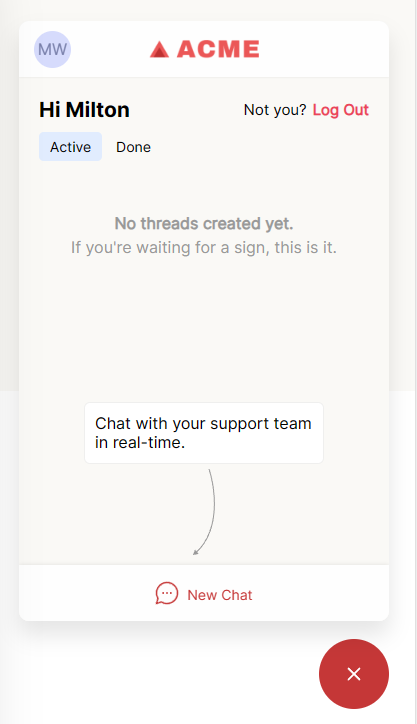
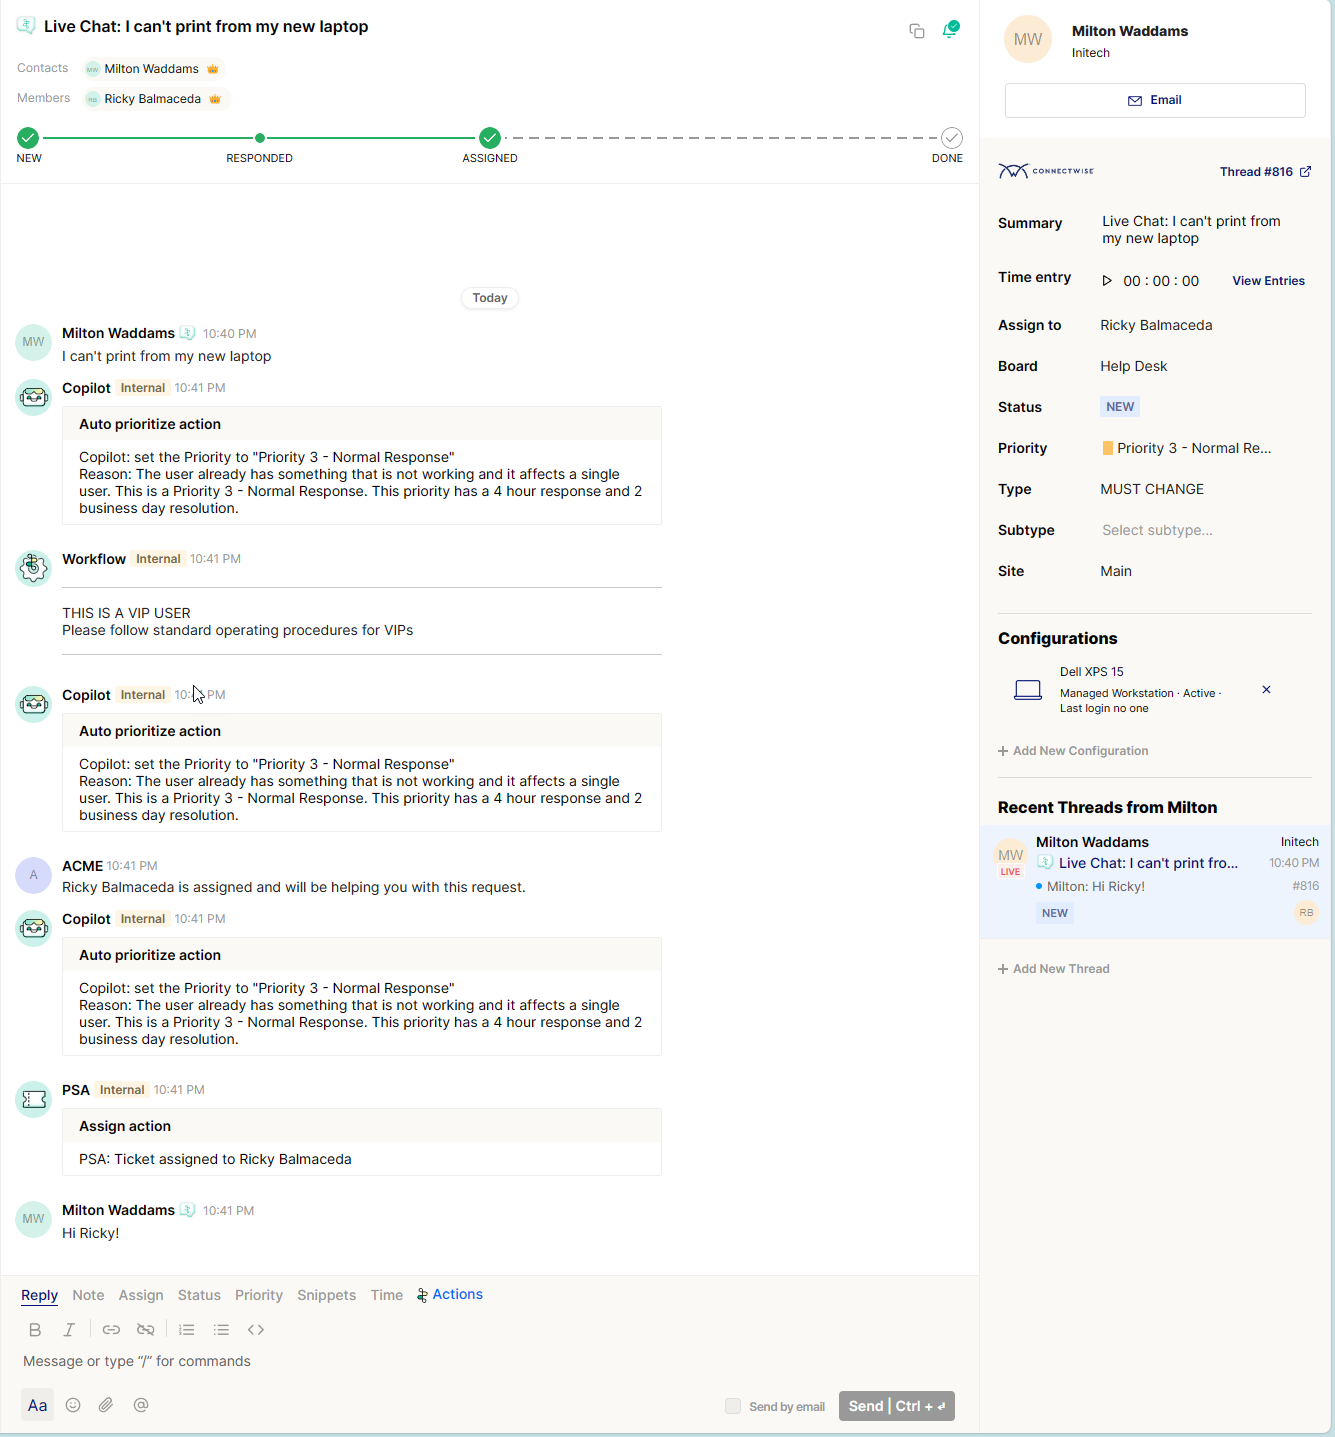
- The bot will ask how it can help, enter in a problem summary, example: "I can't print from my new laptop". It will create a new thread. Try asking for help, you'll notice it creates a corresponding ticket in your PSA and syncs the entire conversation in real-time!
- Next, navigate back to Inbox here. You'll see a new thread was created in your channel. Try responding to the thread!
Technical Questions?
Here are 3 ways to get in touch:
- Chat with us via the widget on the bottom right-hand corner in your Thread admin panel
- Chat with us at https://help.getthread.com
- Email us at help@getthread.com