How to Deploy Messenger for Windows Through Automate via Script
 Updated
by
Kristof Orts
Updated
by
Kristof Orts
- Download the Automate zip -> Chatgenie Automate Script.zip
- Open and expand the ZIP file to a location that you can easily access.
- Login to your Automate Desktop Control Center using a Super Admin user account.
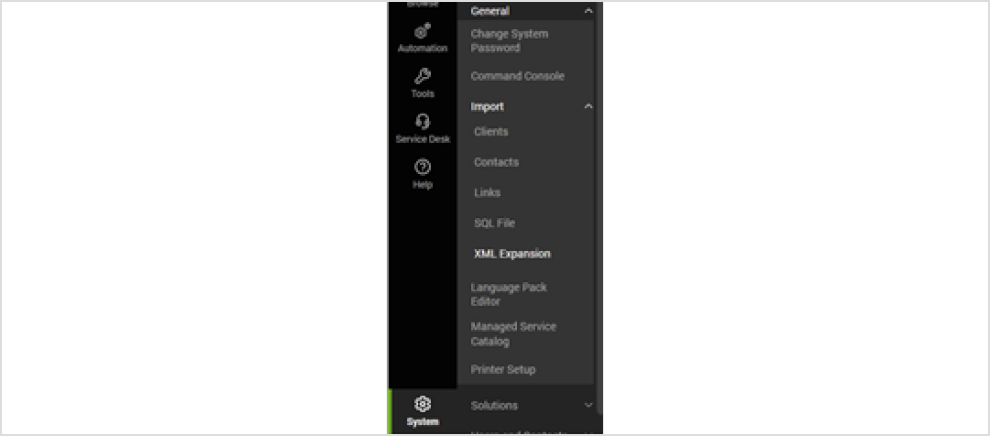
- From the Desktop Control Center, click System > General > Import > XML Expansion.
- Open the file named “Chatgenie – Script Import.xml” file. If prompted to create new or update existing, click Yes.
- Due to a known issue with Automate with imports, repeat step 5 again to ensure all components are properly imported.
- From the Desktop Control Center, click System > General > Import > XML Expansion.
- Open the file named “Chatgenie – Group Import.xml” file. If prompted to create new or update existing, click Yes. You do not need to repeat this step.
- To ensure your Desktop Control Center has update-to-date cache information, click on your profile icon in the upper-right of the Control Center and select Reload System Cache.
- Using any computer in Automate, run the script called “Chatgenie - Setup Auto-Install*” which is found under the Chatgenie script folder. If any errors occur during the setup process a ticket will be opened on your standard RMM Alerts board with details of the setup failure.