New Custom Rules — Triage Agent

Custom Rules give you precise, structured control over how the Triage Agent behaves on your tickets — replacing the single free-text rules field with a set of focused, individually targeted rules you can iterate on safely.
What's changing
Before: one large free-text custom rules field, plus a few tile-based default rules. Everything you wanted the agent to do had to live in the same paragraph, and any "this rule only applies to client X" or "this rule only applies to VIP contacts" caveats had to be written in plain English inside the rule and hoped to be respected by the model.
Now: structured Custom Rules with the following capabilities.
Capability | What it gives you |
Multiple rules | Up to 10 rules per workspace, each up to 5,000 characters. Way more total content than the previous single-field approach allowed. |
Per-rule filters | Each rule can be targeted at a specific group: all clients, specific clients, a client type, a contact type, a parent organization, or the top of your customer hierarchy. No more cramming "for healthcare clients only" into the rule text and hoping. |
Smarter LLM context | For every ticket, only the rules that actually apply are sent to the agent. The model isn't reading your VIP rule on a non-VIP ticket. Cleaner, faster, more reliable. |
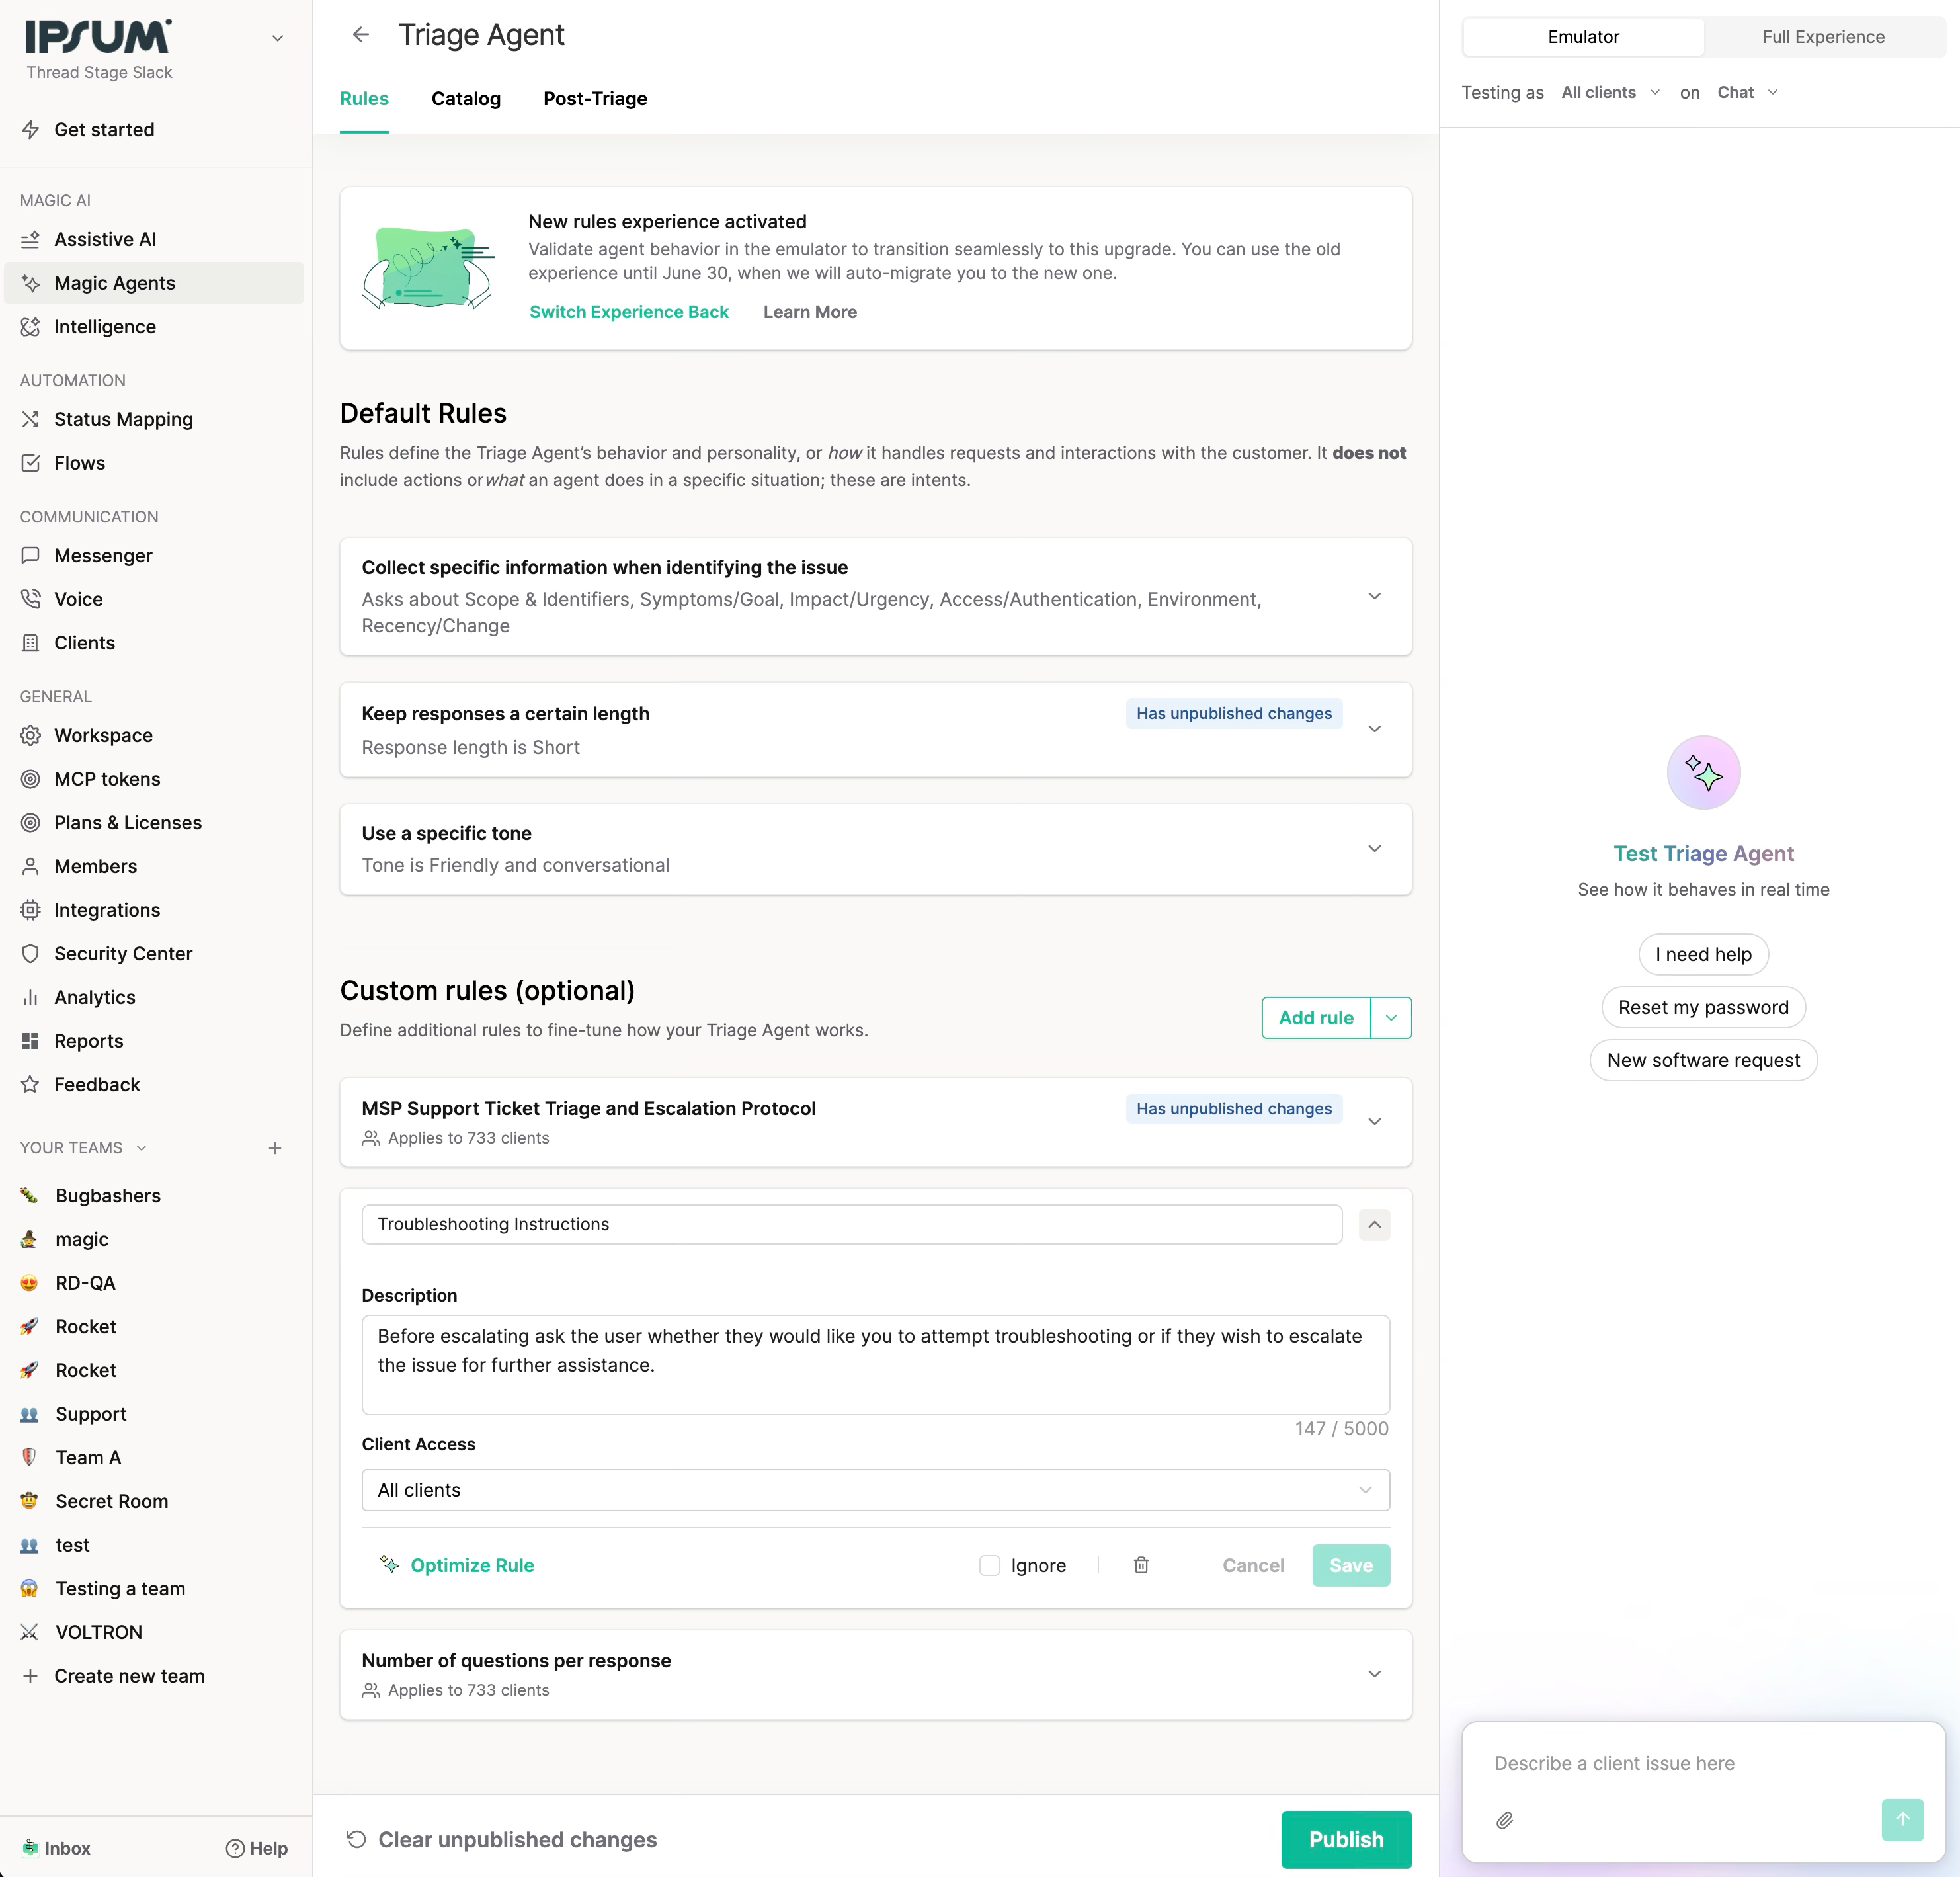
Draft and Publish | Edit freely without affecting live tickets. Stack as many drafts as you want and publish them in a single coordinated step. |
Emulator | Test how the agent will behave with your draft rules — before they touch a real ticket. |
AI Optimize | One-click rule refinement — tightens wording for the agent and flags conflicts with your other rules. |
Soft disable | Turn a rule off without deleting it. |
Simpler default rules | The default rules tile set is leaner and easier to reason about. |
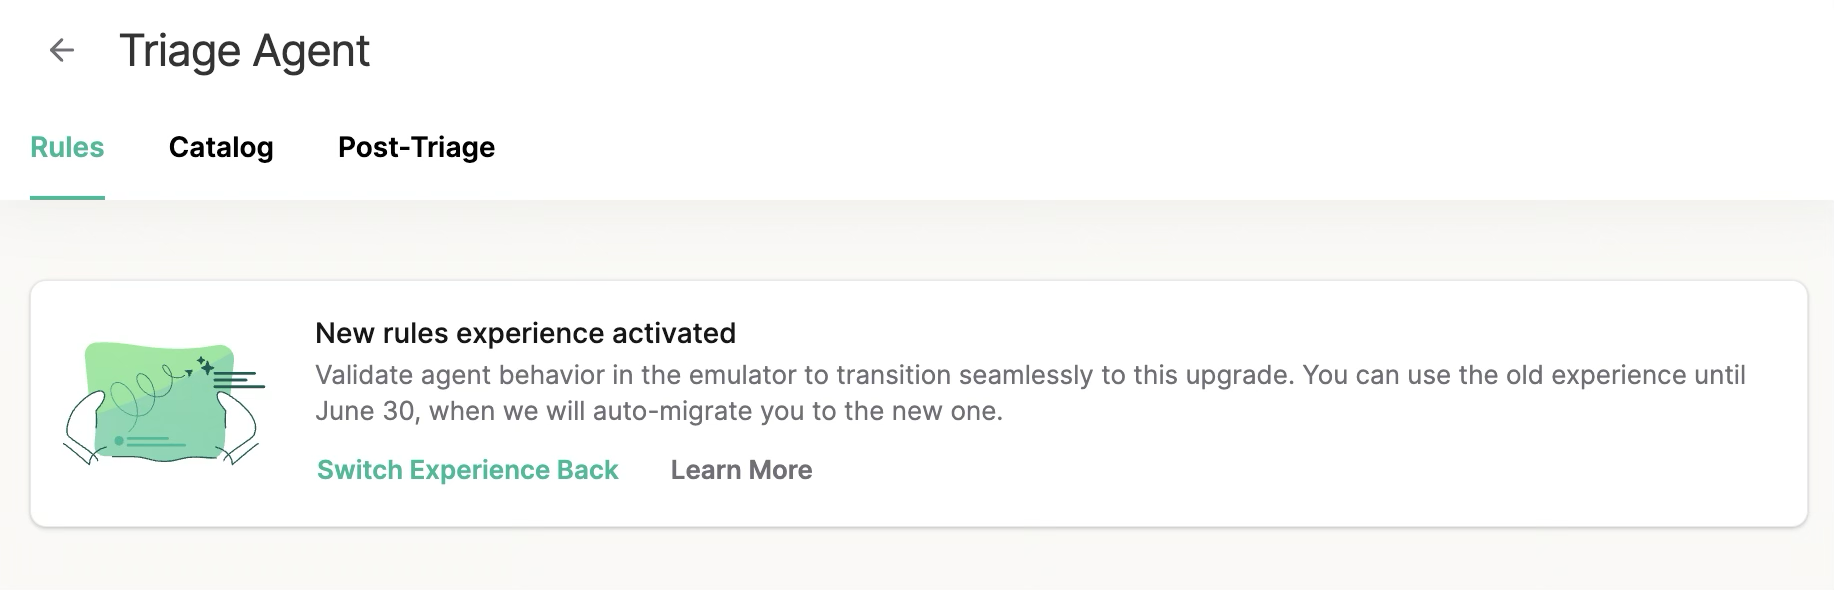
Day-one: how the switch works
Custom Rules ships behind a workspace-level toggle so you can adopt it on your own timeline, test thoroughly, and roll back instantly if needed.
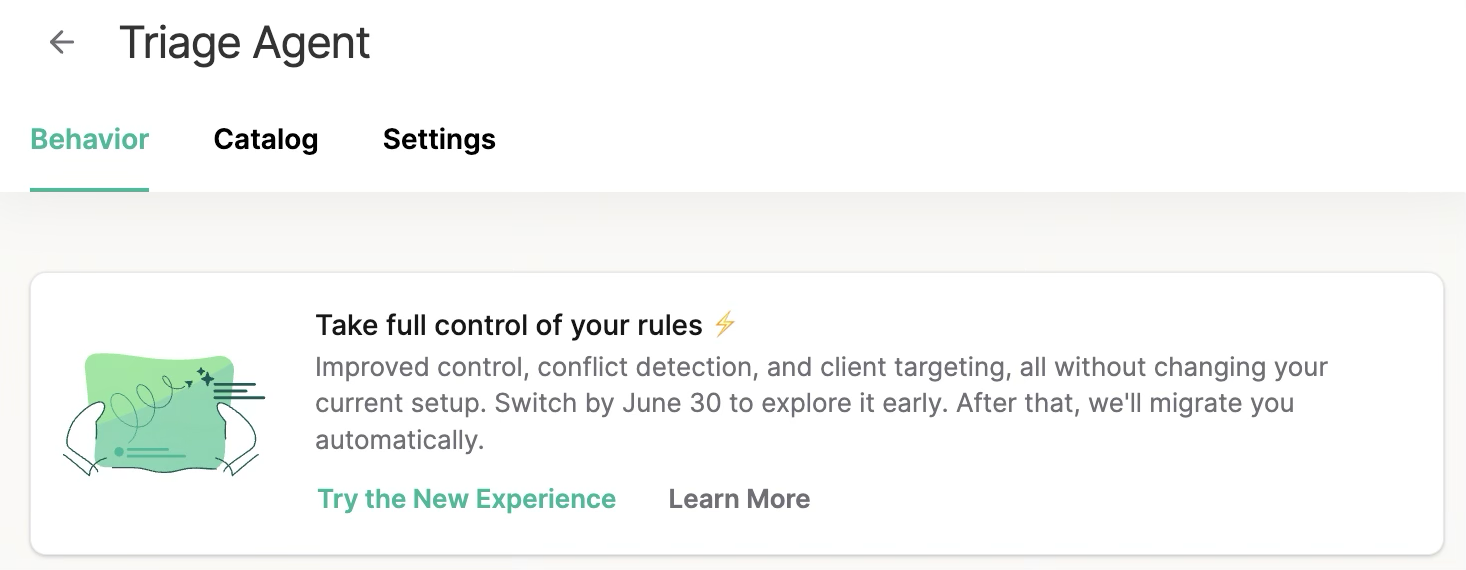
When you flip the toggle on
- The new Custom Rules module opens up in your admin panel — you can create, edit, and target rules immediately.
- Your old rules remain published and live on the agent. Tickets the agent handles still follow your existing rules. Nothing changes for end users yet.
- Anything you build in the new module is in Draft state until you click Publish.
While you're building
- Iterate freely. Add rules, change filters, soft-disable, optimize. Drafts don't touch the live agent.
- Test in the Emulator. Pick a ticket, run it through your draft rules, and see exactly how the agent would respond if your drafts were live. The emulator uses your actual data and your draft rule set — no surprises at publish time.
- A counter on the Custom Rules page shows you how many unpublished changes you have at any moment.
When you're ready
- Click Publish. All your drafts go live simultaneously, replacing the old rules in one atomic step. The agent immediately starts using the new rule set on incoming tickets.
Rollback (any time)
- Flip the toggle back. Your old rules are restored as the live rule set. Nothing in the new module is lost — it's still there in draft form when you flip the toggle back on.
- Use this freely. The whole point is for you to evaluate the new system without risk.
Creating a rule
Step 1 — Open Custom Rules
In Thread admin, go to Magic Agent → Custom Rules.
Step 2 — Add a rule
Click New Rule and fill in:
- Rule name — a short label so you can find it later. Internal only — the agent doesn't see this.
- Rule content — the actual instruction you want the agent to follow, in plain language. Up to 5,000 characters.
- Filters — who the rule applies to (see the next section).

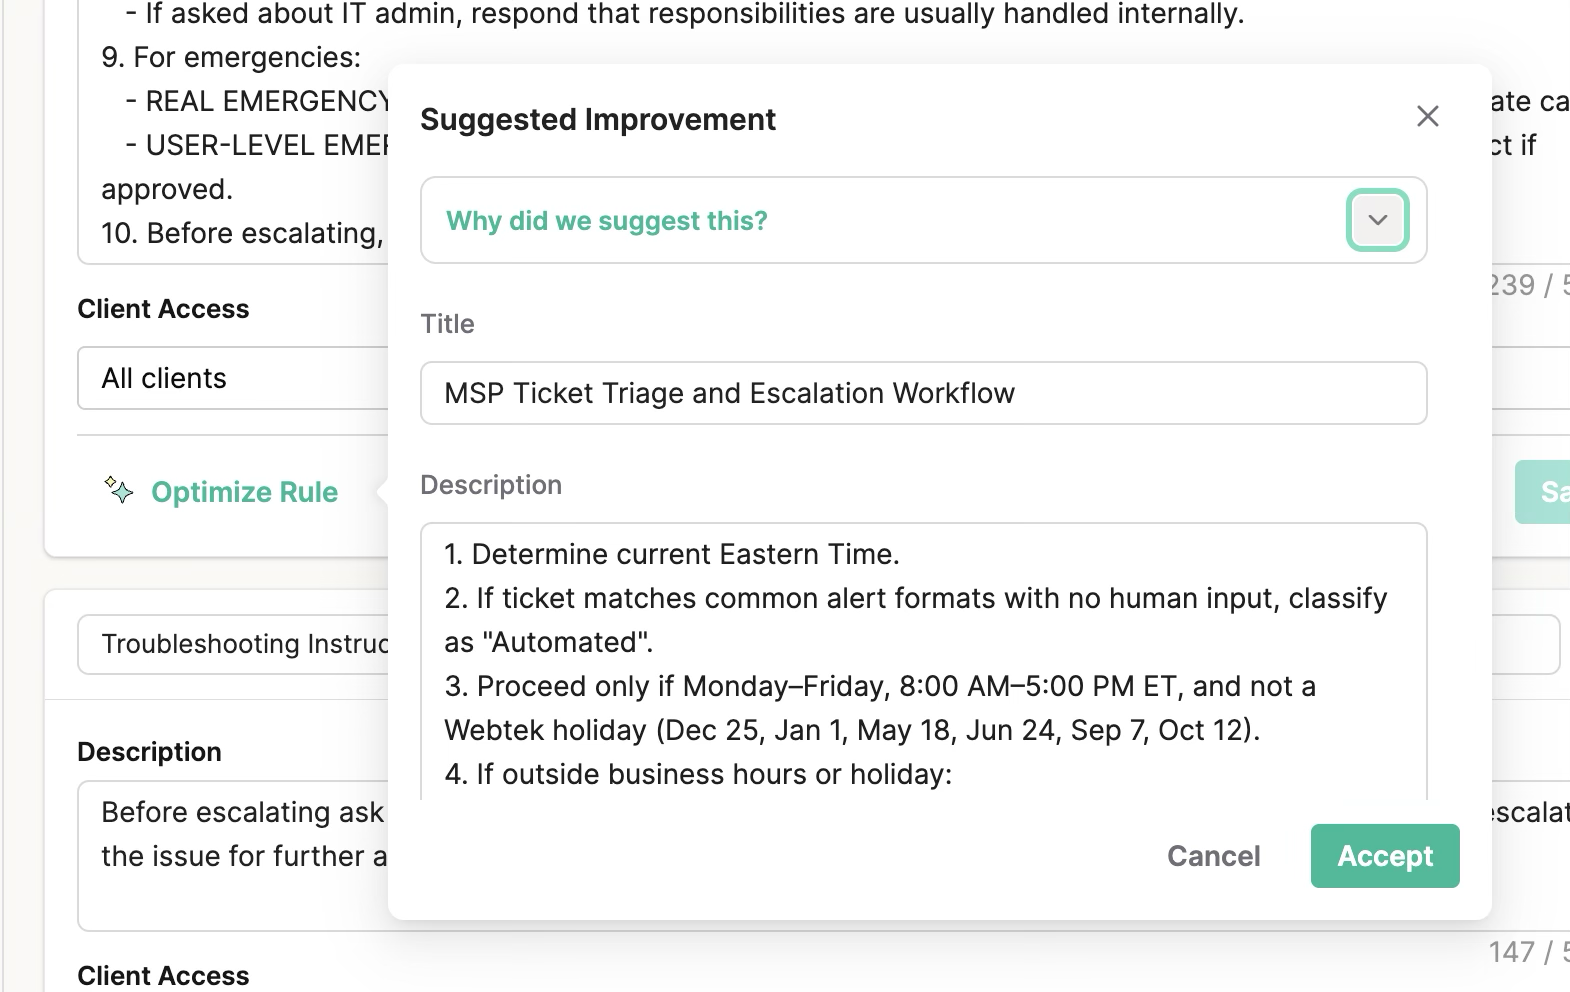
Step 3 — Optimize (recommended)
Click Optimize to have AI tighten the wording, restructure for clarity, and check for duplicates or conflicts with your existing rules. Accept the optimized version, edit further, or keep your original.
Step 4 — Test in the Emulator
Open the Emulator, pick a recent ticket that the rule should apply to, and run it. You'll see how the agent would respond with your draft rules in place — including which rules were applied and which were filtered out.
Step 5 — Publish
When you're ready, click Publish. Your drafts go live in one coordinated step.
Rule filters (who each rule applies to)
Each rule can target one of six audiences. Only matching tickets will see the rule.
Filter | What it means | Use case example |
All clients | Applies workspace-wide. | "Always confirm the user's identity before resetting a password." |
Specific clients | Only the end-customers you list. | "For Acme Corp tickets, escalate any 'production outage' issue to a senior tech immediately." |
Company type (CW) | All clients matching a type you've defined (e.g. industry vertical). | "For all healthcare clients, never include patient identifiers in agent responses." |
Contact type (CW) | Based on the type of contact opening the ticket. | "For VIP contacts, always offer a same-day callback option." |
Parent organization (AT) | All subsidiaries under a parent. | "For all entities under Globex Holdings, route security tickets to the central security team." |
Top of hierarchy (Halo) | The very top of your customer tree. | "For all clients under our enterprise umbrella, default to formal tone." |
A rule has one filter at a time. If you want the same content to apply across multiple filters, create one rule per filter — the Optimize button will help you avoid duplicating language.
Why filters matter: when a ticket comes in, Thread evaluates each rule's filter and only sends the matching rules to the agent. The agent isn't distracted by rules that don't apply, which makes its responses faster, cheaper, and more accurate.
The Emulator
The Emulator lets you preview how the Triage Agent will respond using your draft rule set, before publishing.
What you can do in the Emulator:
- Pick any recent ticket from your workspace.
- Run it through your draft rules.
- See the agent's response, plus which rules were applied and which were filtered out for that specific ticket.
- Tweak rules, re-run, repeat.
Why this matters: the Emulator removes the guesswork from rule changes. You can verify a rule fires when expected (and only when expected) before any real customer touches it.
Draft and Publish
Every rule has both a Draft version and a Published version. Edits land in the draft first; the agent only ever reads the published version.
Operations available:
- Save (custom rule or default rule) — your changes are stored, no impact on the live agent.
- Clear unpublished changes 🔄 — abandon every pending change at once.
- Publish — promote all pending drafts to published in a single step. The agent picks them up immediately.
A badge on the Custom Rules sections shows how many unpublished changes you have at any moment.
AI Optimize
The Optimize button takes a draft you've written and:
- Returns a tightened, agent-friendlier version that's clearer for the model to follow.
- Compares it against your existing rules to flag duplicates and conflicts — so you don't end up with two rules giving contradictory guidance on the same ticket.
Use it whenever you create or edit a rule. It's optional.
Limit | Value |
Maximum rules per workspace | 10 |
Maximum characters per rule | 5,000 |
Maximum total characters across all rules | ~50,000 (versus a single-field 5k cap before) |
Filter per rule | 1 |
These limits are intentionally generous compared to the previous single-field approach.
Best practices
- Filter tightly. A rule scoped to a specific client or contact type fires reliably and won't dilute the agent's attention on other tickets. Workspace-wide rules are best for principles, not client-specific behavior.
- Run Optimize before publishing. It catches duplicate logic across rules you may have forgotten about.
- Use the Emulator on a few real tickets before publishing. It's the fastest way to catch unintended interactions between rules.
- Use soft-disable instead of delete. If you're not sure whether a rule is helping, soft-disable it for a week and watch the agent's behavior before deciding to remove it permanently.
FAQ
- What happens to my existing rules when I turn the new Custom Rules on?
Nothing changes immediately. Your existing rules stay published and live on the agent. The new module opens up in draft mode so you can build at your own pace. Your old rules stop being live the moment you Publish in the new module. - Can I roll back to the old rules?
Yes — flip the toggle off at any time. Your old rules are restored as the live rule set. The drafts you built in the new module are preserved, so flipping the toggle back on returns you to where you left off. - Will my drafts affect the live agent?
No. Only published rules are visible to the Triage Agent. Drafts are entirely yours to iterate on. - What if two rules conflict on the same ticket?
The Optimize button will flag conflicts at draft time. If a conflict slips through, the agent follows the more specifically-filtered rule (e.g. a contact-type rule beats a workspace-wide rule on the same ticket). - Is there a hard limit on rules or rule length?
Yes — 10 rules per workspace, 5,000 characters per rule. - Why doesn't the agent see all my rules on every ticket?
By design. We send only the rules whose filter matches the current ticket. This keeps the agent's context focused, faster, and more accurate. You can always see which rules were applied to a specific ticket via the Emulator (drafts) or — coming soon — directly on the ticket itself.